7 Event Safety Planning Steps for Staff Teams
August 23, 2026

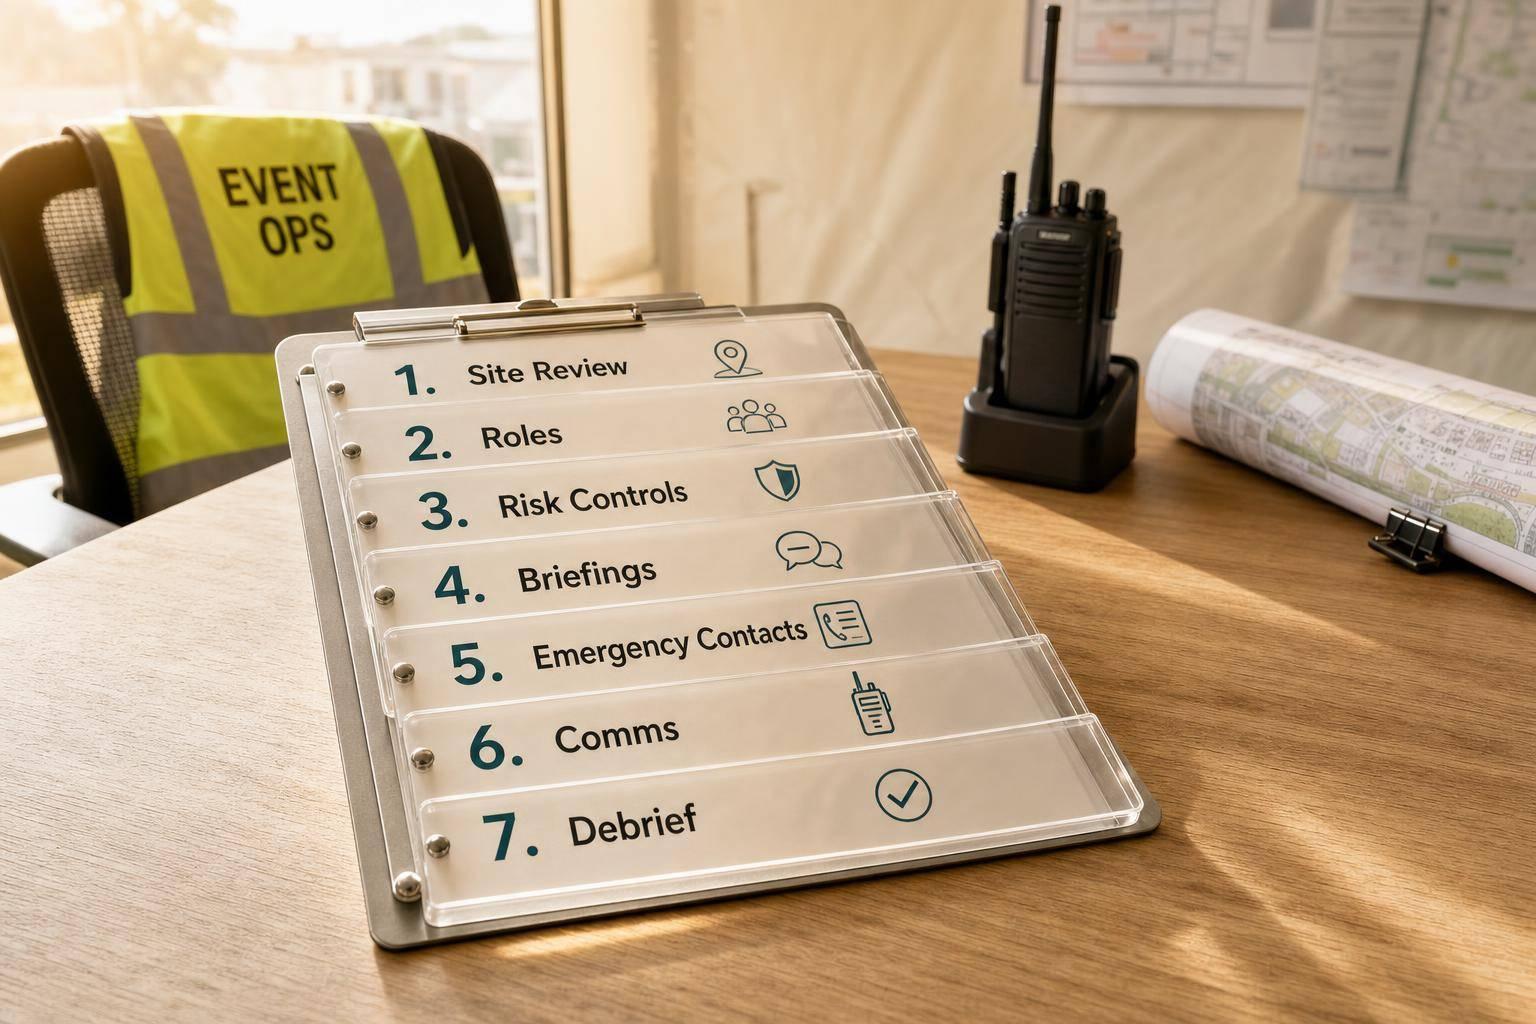
If temporary event staff are on site, safety planning needs to start before the shift, not during it. In this article, I lay out 7 clear steps: review the venue, assign safety ownership, log risks and controls, brief staff, set the contact chain, choose communicating with event staff on the day of the event, and debrief after the event.
A few facts make the point fast:
If I had to boil the article down to one idea, it would be this: treat every temp worker like they’re new to the site. That means giving them a route-based site review, one named supervisor, short pre-shift instructions, a plain emergency contact path, and a simple way to get updates during the event.
Here’s the full 7-step flow covered in the article:
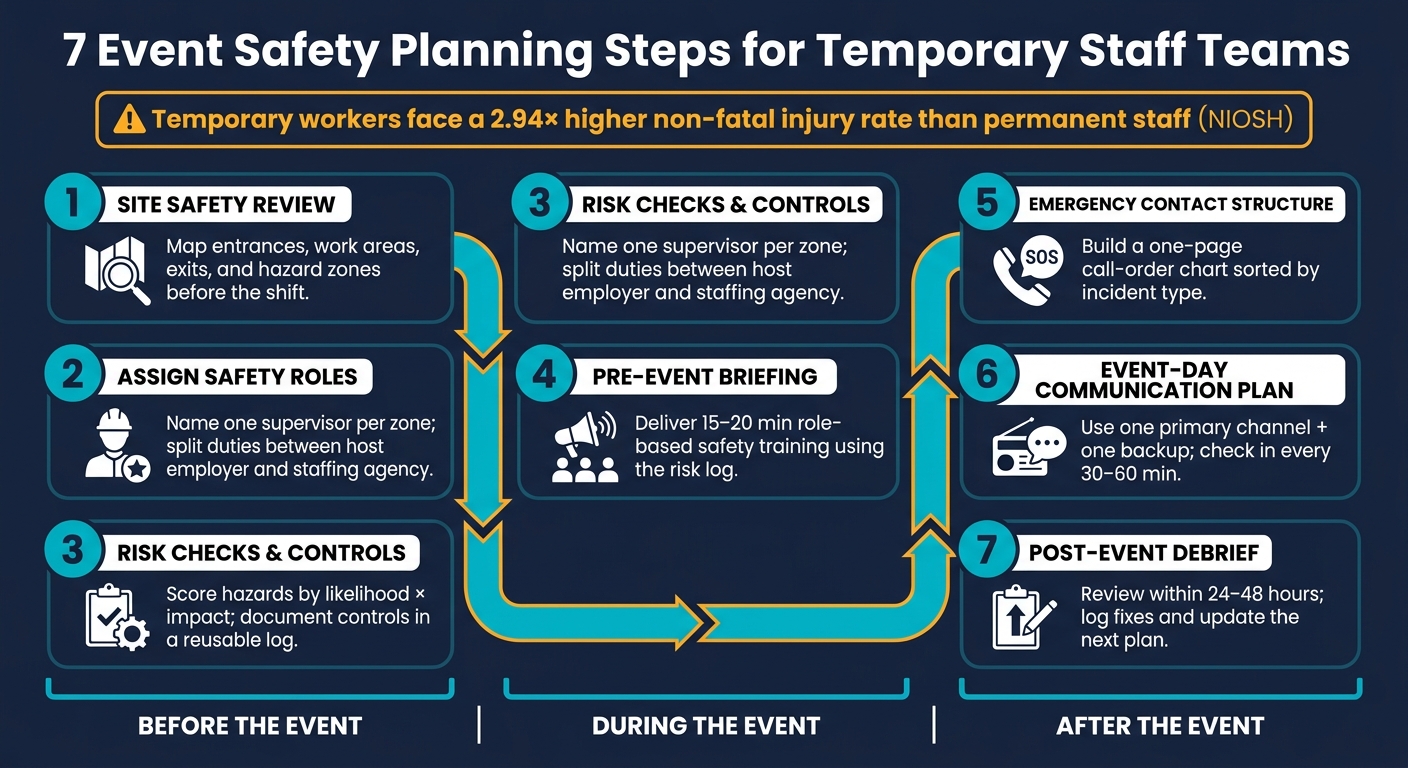
7 Event Safety Planning Steps for Temporary Staff Teams
| Step | Main Goal | What staff need to know |
|---|---|---|
| 1. Site review | Find hazards before the shift | Where risks, routes, and exits are |
| 2. Roles | Stop confusion | Who is in charge and who to report to |
| 3. Risk checks | Put controls in writing | What hazards exist and how they’re handled |
| 4. Briefing | Turn the plan into action | What to do in their role and zone |
| 5. Contacts | Speed up response | Who to call first for each problem |
| 6. Communication | Keep updates clear during the event | Which channel to use and when |
| 7. Debrief | Fix gaps before the next event | What happened and what changes next time |
Bottom line: this article is a simple system for event staff scheduling to keep temp teams safer before, during, and after the event.
Temporary workers face a higher injury risk than permanent staff. One review found a 2.94 rate ratio for non-fatal injuries among temporary workers compared with permanent staff. In event work, where conditions can shift fast and small mistakes can snowball, that difference matters.
A big part of the problem is simple: temps usually don't know the site yet. They may not know where the exits are, which areas are off-limits, or who they should report to when something goes wrong. At the same time, they're often placed in physically tough jobs like carrying tables, managing entry lines, or handling food service. The work starts right away, but the site knowledge isn't there yet.
Outdoor assignments add another layer of risk. Staff working parking lots or entry gates can spend long stretches in the heat, and in summer that can lead to heat illness if water, shade, and rest breaks aren't easy to access.
Conflicting instructions can make things worse in a hurry. A temp might get direction from the catering lead, the venue coordinator, and the event planner all at once. If those directions don't line up, safety rules can get muddled fast.
The fix is pretty direct: give temporary staff the same hazard information and training as permanent staff before each assignment. NIOSH recommends doing this before a temp starts a new assignment or takes on a new task. The safest approach is to treat every temp as new to the site, even if they've worked plenty of events before.
| Risk Area | Why Temps Are More Exposed | Planning Response |
|---|---|---|
| Venue layout | Don't know exits, restricted zones, or hazard locations | Site walk-through before shift starts |
| Supervisor clarity | May report to multiple people with conflicting instructions | Designate one safety lead per event |
| Physical hazards | Assigned to setup, teardown, or crowd-facing roles | Manual handling guidance and proper footwear |
| Weather exposure | Often stationed outdoors with limited relief options | Scheduled breaks, water stations, shade access |
| Emergency response | Unfamiliar with procedures and reporting lines | Pre-event briefing with clear escalation steps |
Those gaps should shape the site safety review in Step 1.
Use the review to map the venue the same way temporary staff will move through it. Do a structured walk-through on the exact route they'll take: arrival and parking, staff entrance, load-in, workstations, storage, break areas, and exits. Bring a checklist, a site map, and your phone so you can log hazards as you go.
Timing matters. Walk the site when staff will actually use it. If it's a night event, inspect it after dark. That small step can show problems you'd miss during the day.
During the walk-through, look closely at issues that can cause injuries or slow the job down:
For outdoor events, mark where shade, water stations, and scheduled breaks will go. Use red, yellow, and green markers to label high-, medium-, and low-risk zones. It sounds simple, but color-coding makes problem areas easier to spot at a glance.
After the main walk-through, go back and inspect the highest-risk movement areas again. Give load-in and load-out extra attention. These spots often involve vehicle movement, dock conditions, and ramp slopes. Keep staff and guest paths separate, and mark routes with signs such as "Staff Only", "Equipment Route," and "No Guest Access."
Then turn each issue into a clear action item. If a corridor is dark, add portable LED lights and directional arrows. If a ramp is steep, require two-person teams and place non-slip mats. Add those controls to your setup notes and briefing notes so the plan doesn't just live on the site map.
Once the site review is done, give one person ownership of each safety task. Do this before the shift starts, using the site review as your guide.
OSHA treats host employers and staffing agencies as joint employers. That means the host employer handles site controls, while the staffing agency handles worker prep and issue reporting.
Put that split on a one-page responsibility chart. Then attach it to the run sheet and briefing notes, so every named owner sees their job before the shift begins.
| Safety Task | Host Employer | Staffing Agency |
|---|---|---|
| Site hazard assessment | ✓ Leads | Reviews site controls before placement |
| Site-specific staff training | ✓ Leads | Confirms it happened |
| PPE selection and provision | ✓ Leads | Verifies adequacy |
| General safety orientation and worker rights training | Informed | ✓ Leads |
| Day-to-day supervision | ✓ Leads | Backs up |
| Recordkeeping | Typically records for workers under day-to-day supervision | Gets immediate notice |
| Incident reporting and escalation | Reports serious incidents as required | Informed immediately |
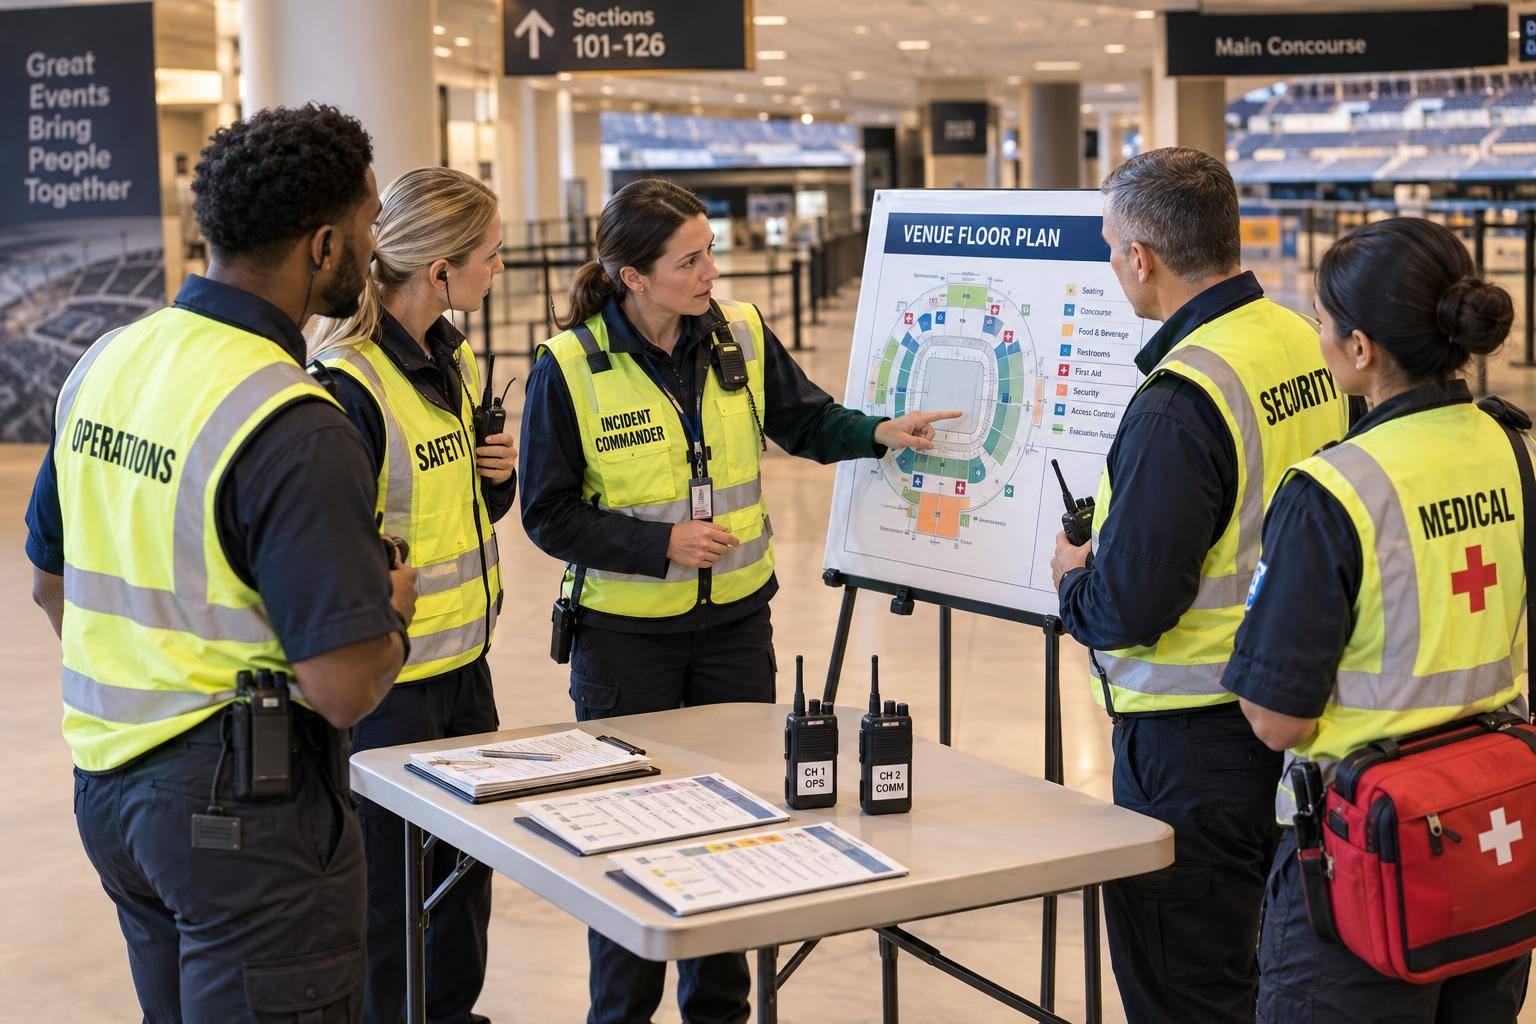
That host-agency split is only part of the picture. Each event also needs named people in core safety roles. At a minimum, assign:
These roles need to be assigned in writing. Each person should know their zone, who they report to, and who they contact when something needs to be escalated.
This matters even more for temporary workers. They often move from site to site, so they depend on direct, plain role definitions. Every worker should know exactly who their supervisor is and where to report a hazard. Giving each worker one named supervisor - and introducing that person during the pre-event briefing - makes that line clear.
Those same owners should also get the risk-check findings in Step 3.
Once roles are set, run a documented risk check before the doors open. Use your site review to build the hazard log, so the team isn't guessing later.
Begin with a zone-by-zone site walk and use a structured checklist. Go through each area in a steady, repeatable way:
Look for four hazard types. Physical hazards include loose cables, uneven flooring, unstable equipment, or vehicle movement. Health hazards include food safety issues, allergen exposure, heat or cold exposure, and fatigue during long shifts. Environmental hazards include severe weather, poor lighting, or noise that makes communication harder. Organizational or operational hazards include understaffing, unclear procedures, or limited supervision.
Then do the check again after setup, when the final layout is visible. That's often when the stuff that looked fine on paper starts to show cracks.
For each hazard, score likelihood and impact on a 1-to-5 scale. Multiply those two scores to get a risk rating. That number helps you sort fixes, deal with the highest-risk items first, and mark lower-risk issues for monitoring. If something scores high, fix it before the event opens.
After scoring, apply controls in this order:
The order matters. If a cable crosses a high-traffic walkway, reroute it first. That's elimination. If that can't happen, cover it and watch the area during peak times.
Documented controls make life easier for temporary staff. They know what to do, where to focus, and who owns each fix. Supervisors can move faster too, because the plan is already on paper.
Record everything in a reusable template. Each row should include the hazard, its location, who is at risk, the risk score, the control measures chosen, the person responsible, and a completion date. Use U.S. dates like 08/24/2026 and 12-hour times like 5:00 PM–11:00 PM so the log matches the roster. Reuse the same template for each event, update changes, and keep a copy on-site.
Use the completed log in the pre-event briefing.
Once your risk log is done and your controls are set, use that document as the base for your pre-event briefing. It should take each hazard and turn it into plain, role-based instructions people can act on.
Every briefing should cover four core areas: site layout, job-specific hazards, emergency procedures, and reporting lines.
Start with a simple annotated map that shows:
Color-coding makes the map easier to scan at a glance - red for emergency exits, green for assembly points, and yellow for high-risk areas. Then do a short walk-through before doors open. That gives staff a mental map of the venue, not just a piece of paper.
Match hazards to the work each team is doing. For catering staff, that may mean hot surfaces and heavy trays. For setup crews, load limits and cable rules. For front-of-house teams, crowd flow and when to escalate to security. That kind of focused training works better than one broad talk for everyone. One multi-company study found a 22% drop in minor injuries, with some sites reaching 43%.
For each scenario - fire, medical emergency, security incident, or severe weather - explain four things: how to spot it, what to do right away, where to evacuate, and who to contact. This matters even more when staff don’t know the venue well. A pocket card or a note on the schedule can help. You can also ask staff to repeat the steps back or point to the nearest exit. It’s a simple check, but it tells you fast whether the message landed.
Assign one briefing leader, usually the Event Safety Coordinator, and collect signatures. For assembly occupancies, use one crowd manager per 250 occupants as the reference ratio. Aim to keep the briefing to 15–20 minutes. Record the date, venue, topics covered, and the leader’s name. That roster will feed into the emergency contact list in the next step.
Use the briefing roster to make a one-page emergency contact tree for the event. The goal is simple: staff should be able to use it fast, without stopping to think.
Don’t sort the list alphabetically. Sort it by call order. Group the page by incident type: medical, security, facility hazard, and weather. Each group should show a clear chain of who to call first, second, and third.
If the situation involves serious injury, unconsciousness, fire, or active violence, staff should call 911 first and then notify the onsite safety lead. For non-life-threatening issues like a minor sprain, a guest dispute, or a tripped breaker, staff should start with their direct supervisor or safety lead.
| Incident Type | Call First | Call Second | Call Third |
|---|---|---|---|
| Serious medical emergency | 911 | Onsite Safety Lead | Event Manager / Venue Contact |
| Security issue / immediate danger | 911 | Security Team Lead | Event Manager |
| Minor injury or illness | Onsite Safety Lead | First-Aid Responder | Event Manager |
| Facility hazard (no active fire) | Venue Operations Contact | Onsite Safety Lead | Event Manager |
| Guest dispute / disturbance | Onsite Safety Lead | Security Team Lead | Event Manager |
For each contact, include:
Put the venue’s exact street address and nearest cross-streets at the top of the page. That small detail matters. If someone has to call 911 under stress, they need to give dispatch the location fast and accurately.
Share the list in a few formats so it’s easy to use in the moment:
Assign the Safety Coordinator to own the list and update contacts right away when a lead changes. Use this same contact tree as the backbone for the event-day communication plan in Step 6.
Step 5 identifies the right contacts. This step is about how staff reach them on event day.
That matters even more with temporary staff. They need one clear path for communication, especially if they’re moving between zones. If people have to stop and think, things slow down fast.
Use one primary channel and one backup. For example:
Stick with the same channel order for every shift so no one has to guess.
The tools matter, but so do the check-ins. Set them at 1 hour before doors, 30 minutes before doors, at start, and then every 30–60 minutes for zone leads. Keep each one short and focused on the job. Confirm that staff are in place, flag any safety issues, and surface anything that needs a supervisor decision.
Last-minute changes happen. A weather delay, a venue layout shift, or a staffing gap can throw things off in minutes. When that happens, send one official update through the primary channel, confirm receipt from team leads, and make sure the message answers four points:
Use plain language. For example:
"North entrance line has reached the barrier; send two staff now."
The plan also needs to cover total contact loss, like a dead signal or app failure. If communication drops, staff should move to the nearest check-in point, use the backup channel, and stay at post if their role affects guest safety. Put this in the briefing ahead of time so nobody is left making it up in the moment.
Also, log missed check-ins and any communication failures for the post-event review.
The post-event review is where the safety plan gets tested against what actually happened on-site. If you do it well, the team walks away with clear fixes for the next event. That matters even more when you depend on temporary staff and shift-based crews.
Schedule the debrief within 24–48 hours. Use 72 hours only for wellbeing-focused debriefs.
Before the debrief starts, review the hazard log and communication notes from earlier steps. Then pull together the incident and near-miss reports, first-aid logs, attendance records, and crowding notes. Those records help you spot where things slipped, whether that was slow response times, messy handoffs, or thin coverage. They also make patterns easier to see by location, time, and role.
Use a fixed agenda so the meeting doesn’t drift. Recap the main safety outcomes, talk through what went well and what didn’t, and assign next steps with clear owners and deadlines. Keep the session to 20–30 minutes per team. Aim the discussion at systems, not individuals. A designated facilitator can help keep things calm, useful, and on track. Then roll those owners and deadlines into the next event file.
After that, document the outcome, update the safety plan, and revise the next briefing. If certain stations carried more risk, adjust staffing there and make sure temporary staff hear what changed and why. Put those updates where people will actually see them in future schedules. Tools like Quickstaff can help track roles and shifts, send follow-up messages, and surface updated safety notes for future shifts.
These tools turn the seven safety steps into practical materials your team can use on-site. Think of them as working documents, not just nice-to-have visuals. Put them on clipboards or tablets and use them before doors open, during the event, and after the close.
To keep things simple, group each visual by when staff will use it: before, during, and after the event.
| Visual | When to Use | What It Captures |
|---|---|---|
| Site Safety Review Checklist | Before doors open | Hazard, risk level, required action, responsible person, target completion time, status |
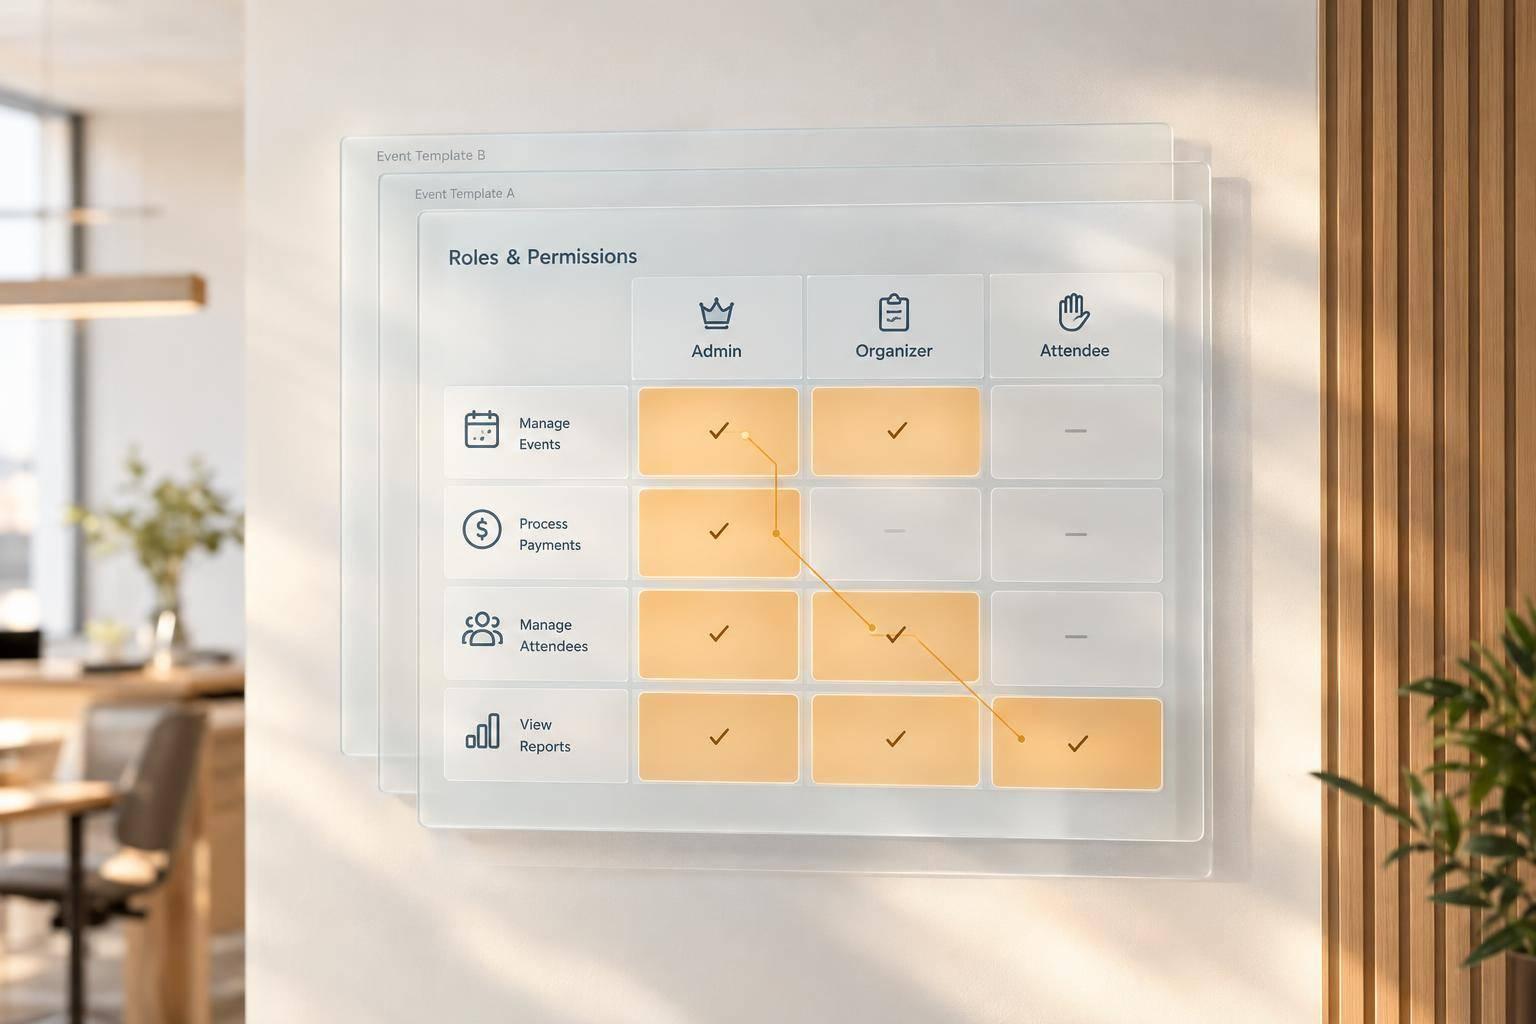
| Role-Mapping Table | Before and during the event | Staff title, safety duties, communication channels, decision-making authority |
| Risk Matrix | Before doors open | 5×5 grid with likelihood vs. impact, color-coded from green to red |
| Emergency Contacts Chart | During the event | Call order by incident type - medical, security, facility, severe weather - with primary and backup contacts |
| Communication Methods Comparison Table | Before and during the event | Radios, SMS, phone calls, event apps, and in-person briefings compared by speed, reliability, record-keeping, and suitability for temporary staff |
| Post-Event Action Log | After the close | Incident date, description, root cause, corrective action, responsible owner, due date, follow-up status |
A setup like this helps staff find the right tool at the right moment. Before the event, the focus is on spotting hazards, assigning duties, and checking risk. During the event, teams need fast access to contacts and clear ways to communicate. Afterward, the goal shifts to logging what happened and tracking follow-up actions, which is key to retaining the best event staff for future projects.
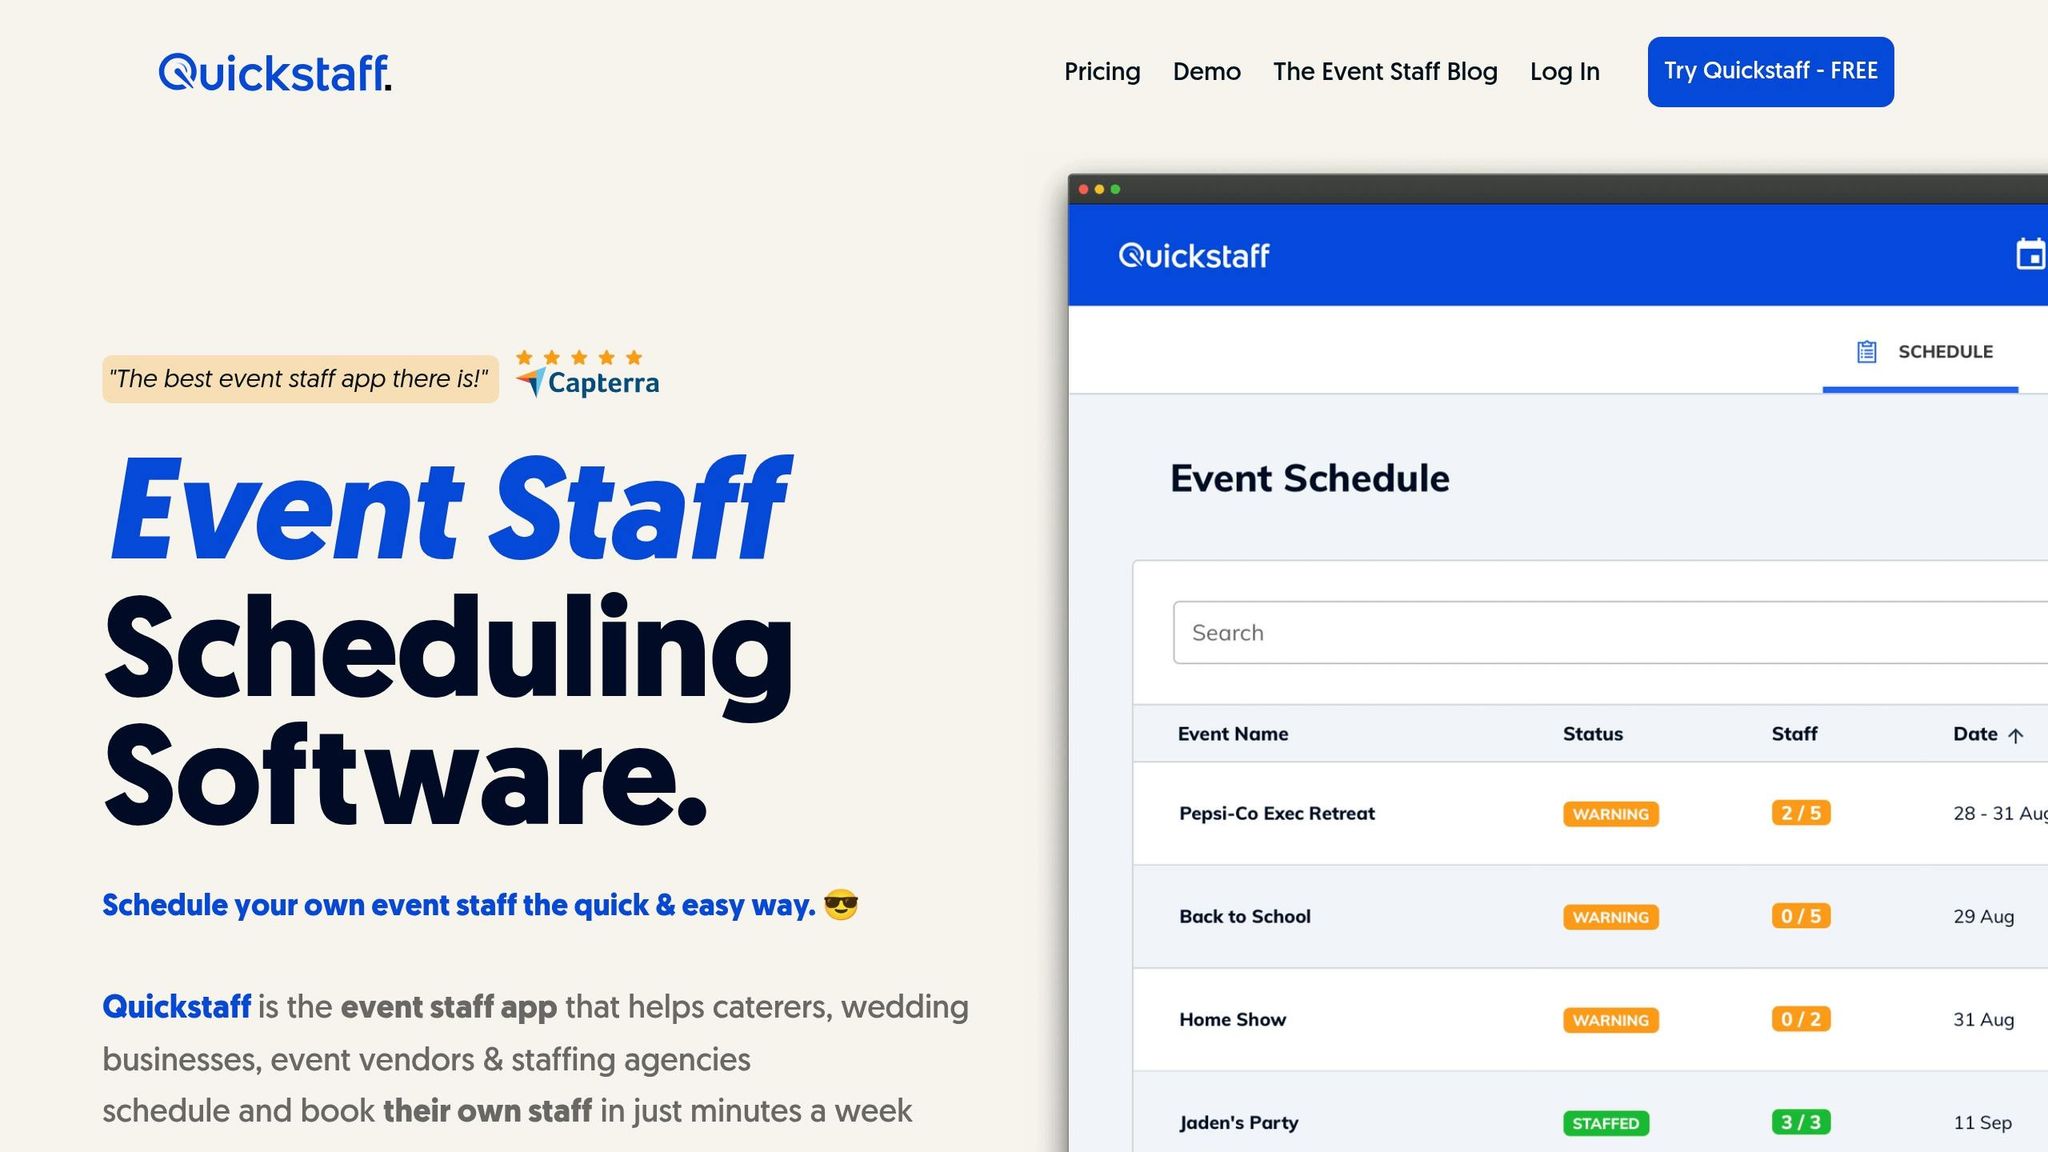
Quickstaff supports Steps 2 through 6 by keeping assignments, availability, safety notes, and event-day updates in one place.
Role assignment is logged in the event record. Organizers can assign jobs like emergency contact liaison, exit route monitor, fire marshal, crowd control, or first aid lead to specific staff members for each event. Safety notes also stay with the event record, so site instructions are there before anyone arrives.
Quickstaff shows available staff by date and role. If someone drops out of a safety-critical job, the waitlist feature helps fill that spot fast, so key coverage doesn't get left open.
After staffing is set, that same event record holds the safety details crews need on site. Organizers can attach safety notes, documents, or links for staff to review ahead of time. Mobile reminders and messaging make it easier to send live updates to the full team or to selected roles. When Quickstaff syncs with Google Calendar or Outlook, confirmed safety roles remain visible on personal schedules, which helps prevent missed safety coverage. These records also make post-event review easier.
Put together, these steps give you a safety routine you can use again and again. Event safety works best as a cycle: assess, assign, brief, communicate, and review.
That process doesn’t change much if you’re running a 50-person reception or a 500-person gala. What changes are the risks.
The simplest place to begin is with a basic event checklist. Create a one-page safety checklist this week, use it at your next event, and debrief afterward.
OSHA's crowd management guidance reinforces detailed staffing plans, trained crowd managers, and clear emergency protocols. That’s why it helps to keep the process consistent from one event to the next.
Safety is a system, not a single meeting. Teams that treat these seven steps as standard procedure protect staff, guests, and reputation.
Temp staff safety is a shared responsibility between the staffing agency and the event vendor. And yes, OSHA can hold both parties responsible for safety violations.
Here’s the usual split:
That’s the basic idea. But in practice, things can get messy fast if roles aren’t spelled out.
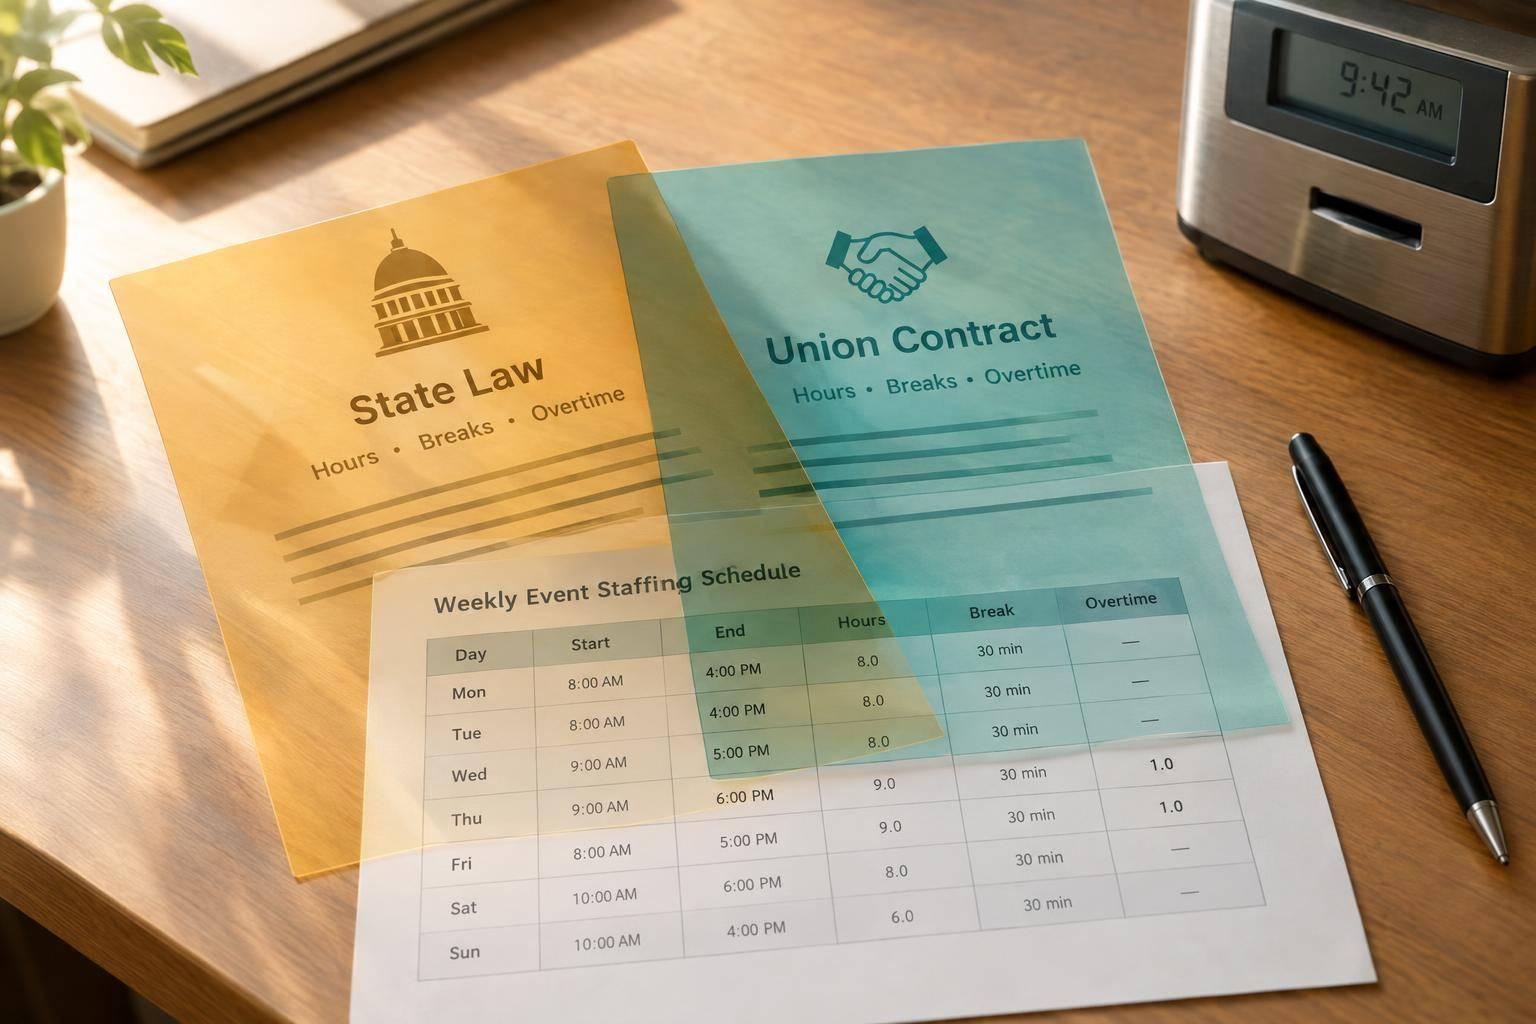
A clear written agreement helps both sides stay on the same page. It should define who handles training, who provides PPE, who reports hazards, and who takes care of day-to-day safety on site.
A pre-shift safety briefing should take place about 30 minutes before doors open so staff have time to get set.
It should cover emergency procedures, including evacuation routes, muster points, and who will call 911.
The briefing should also review:
Hold the main team debrief within 24 to 72 hours after the event. That window gives staff enough time to catch their breath without losing clear memories of timing, workload, and communication.
You can also run a short debrief before load-out to flag incidents or near misses while they’re still top of mind. But the full debrief should still take place within that 24–72-hour window.