Monday.com Template for Event Management
July 31, 2026

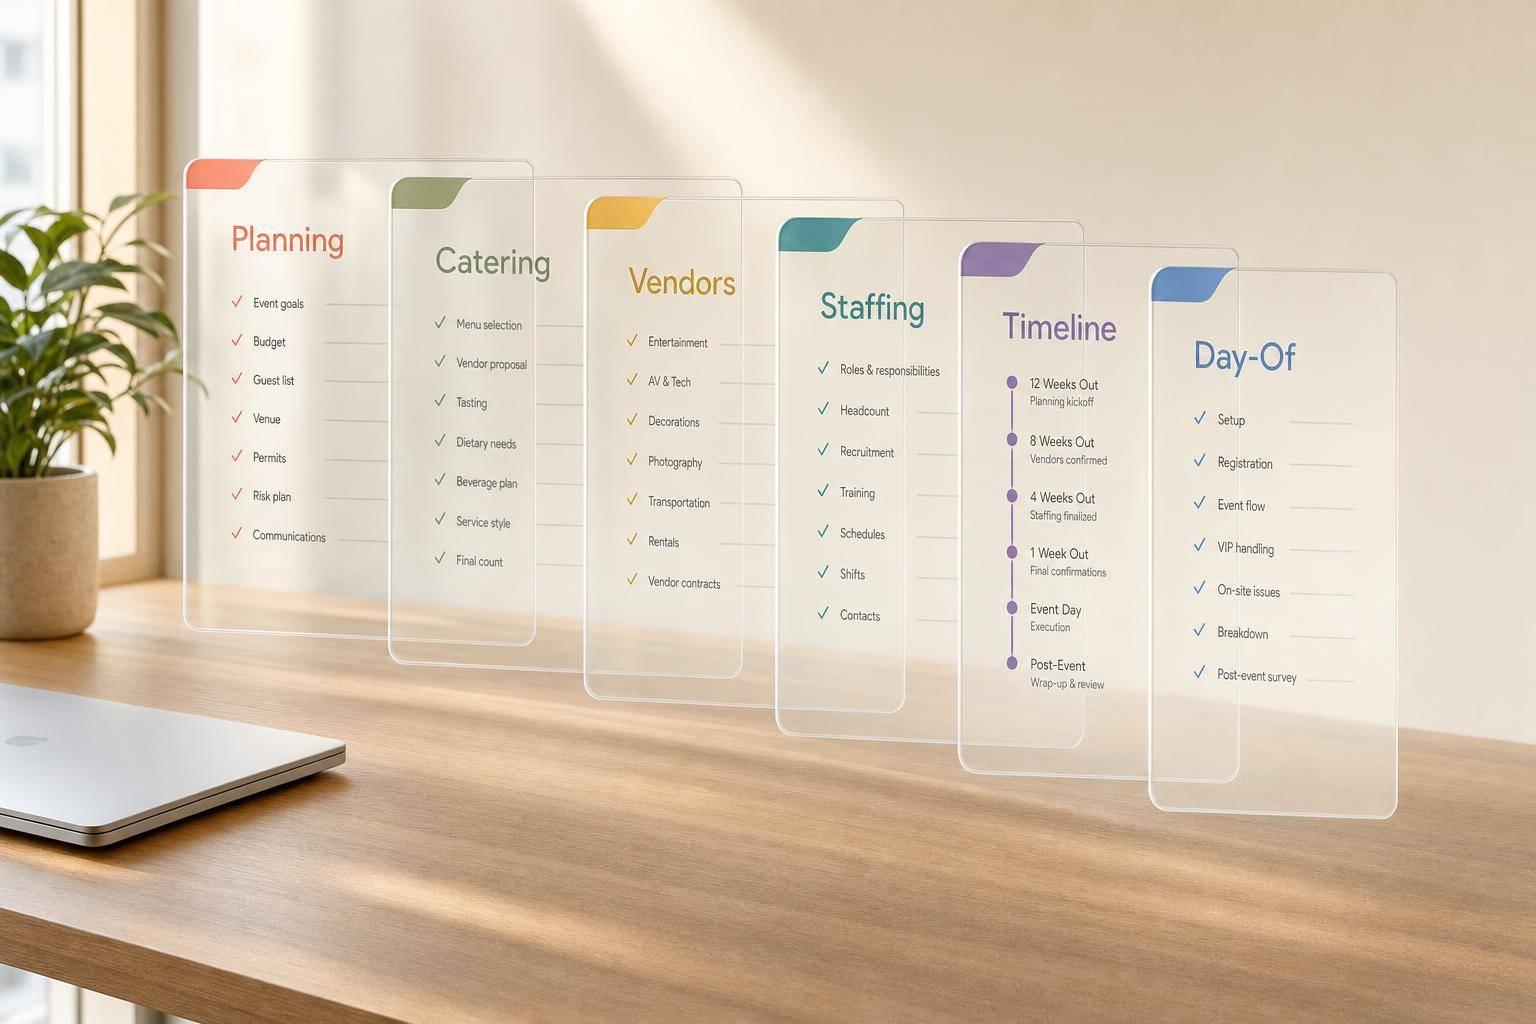
If you run events in monday.com, the best setup is not one giant board. It’s six focused boards tied together by event name and date.
I’d sum it up like this:
This setup works because each board does one job well. You can track budgeted vs. actual cost, flag common scheduling problems and staffing risk within 5 days of an event, lock shifts 2–4 weeks ahead, and plan 10%–15% backup coverage for no-shows. For staffing-heavy teams, monday.com handles planning, while Quickstaff handles shift scheduling, availability, waitlists, and reminders.

6 Monday.com Event Management Boards: At-a-Glance Comparison
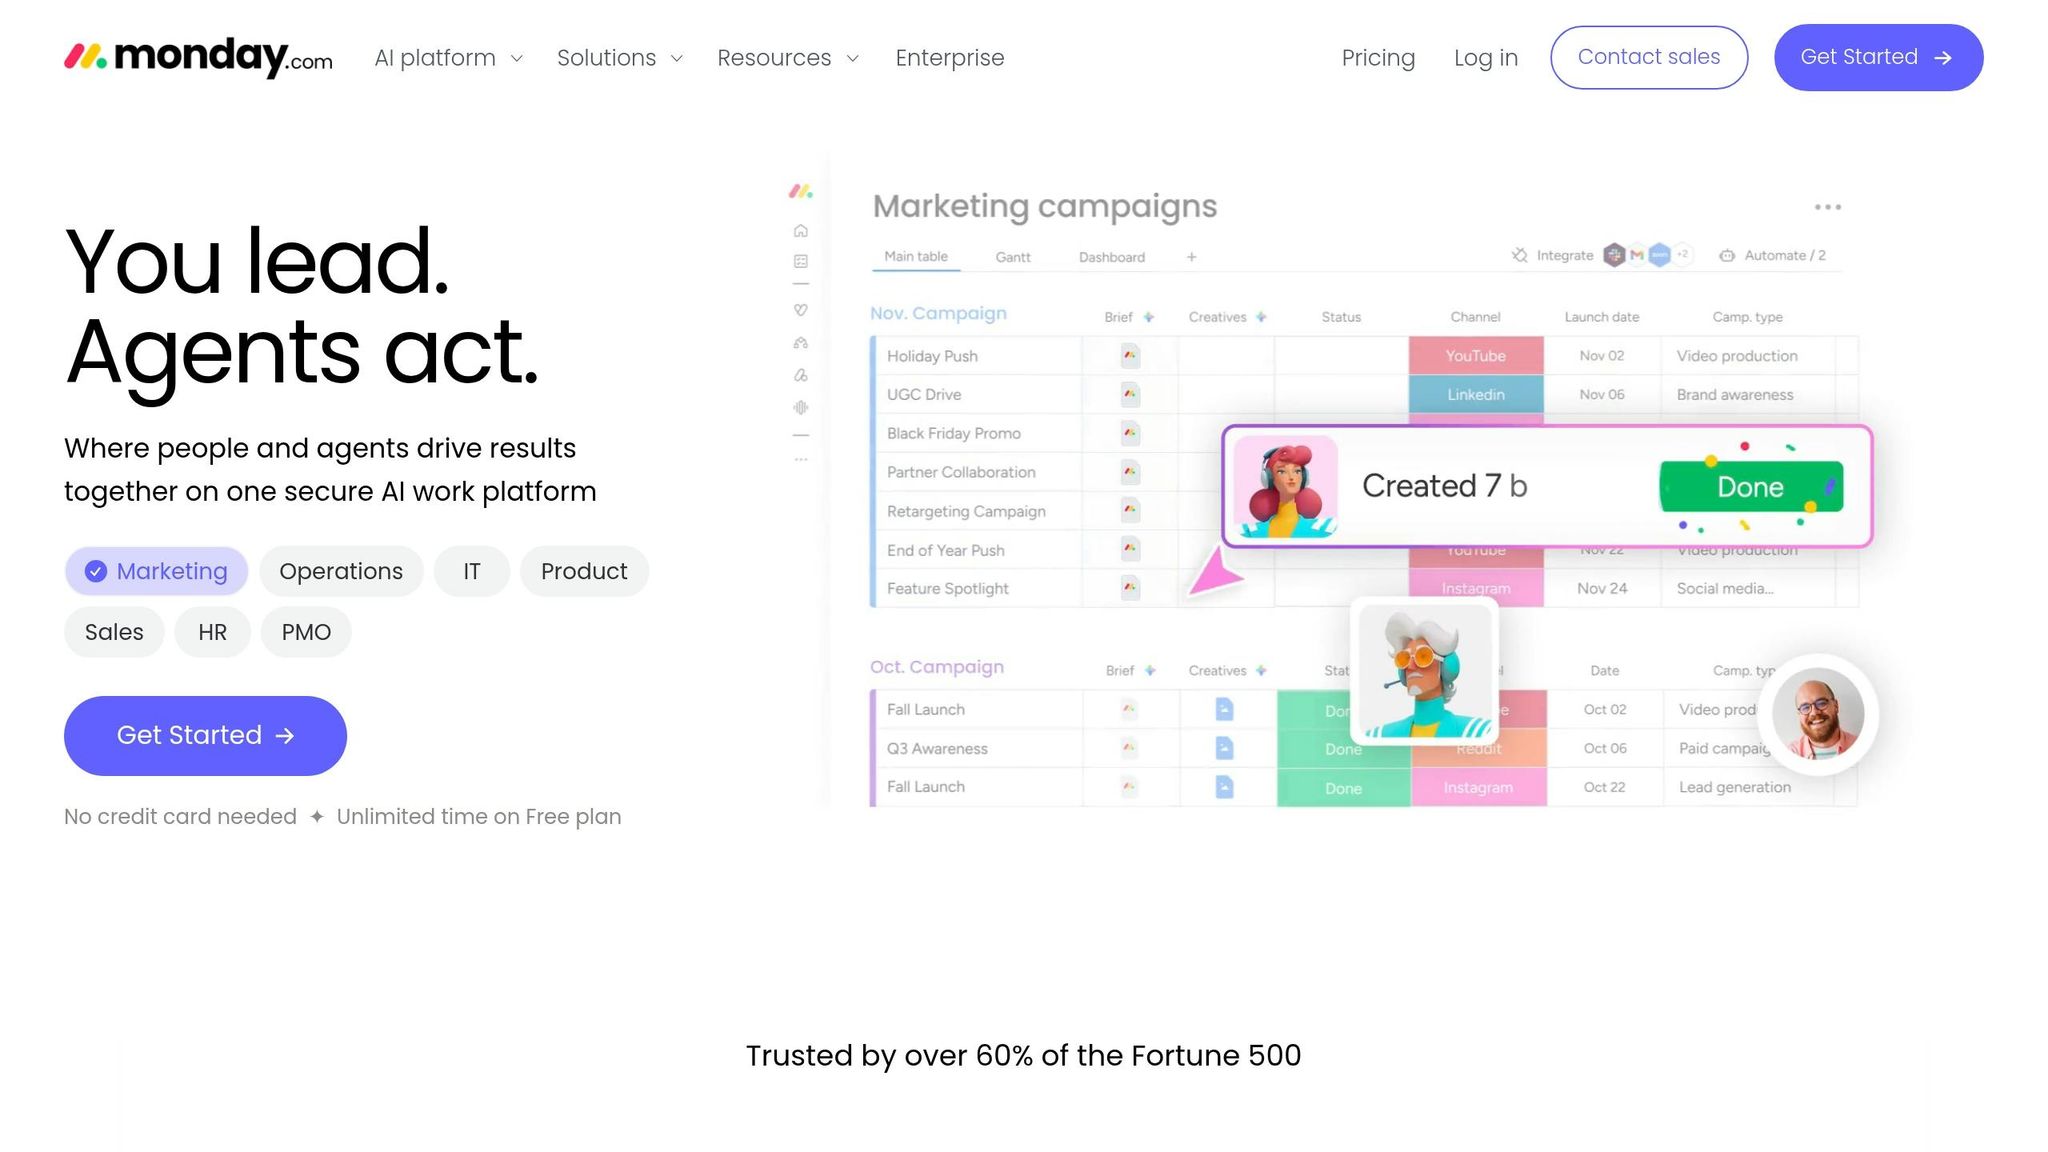
| Board | What I’d use it for | Main things to track |
|---|---|---|
| Event Planning Checklist | Main event hub | Tasks, owners, due dates, budget variance |
| Catering Jobs | Catering workflow | Guest count, menu, service times, labor, staffing status |
| Wedding Timeline | Run-of-show | Start/end times, location, owner, buffers, cues |
| Vendor Tracking | Supplier follow-up | Contacts, contract status, deposit, balance due, arrival time |
| Staffing Needs | Crew planning | Role, headcount, assigned staff, backup, confirmation |
| Day-of Task List | Live event-day control | Task time, owner, status, dependencies, notes |
If you want a simple rule: use one board for planning, one for vendors, one for staffing, and one for the live event day. Then add catering or wedding timeline boards when the event needs that extra detail.
A good event board keeps tasks, dates, owners, and costs in one spot. It should also include views and automations that keep the board up to date without a lot of manual work. The six templates below use the same core parts, but each one is built around a different way of working.
Every event board should begin with the same core columns: task name, owner, status, due date, timeline, budget ($), vendor contact, venue, and notes.
The Status column should match the way work actually moves. Generic labels don't tell you much. Labels like "Planning", "Awaiting Vendor", "Client Review", "Ready," and "Complete" make the board much easier to use.
Timeline is for date ranges, like setup from 8:00 AM to 11:00 AM. Due Date is for fixed deadlines, like a final payment due 07/01/2026. A Number column in $ tracks per-item costs and can roll those numbers into totals and dashboards. A Files column stores contracts, floor plans, and run-of-show documents, so key files don't disappear into email threads.
You'll see these columns in every template below, though each board puts more weight on certain fields depending on the workflow.
| View | Best Used For |
|---|---|
| Table | Day-to-day task management, data entry, budget reviews |
| Timeline | Setup windows, vendor arrival ranges, overlapping activities |
| Calendar | Fixed deadlines, event staff scheduling call times, permit submissions |
| Gantt | Task dependencies, critical path (e.g., floor plan approval before seating assignment) |
Using these views together works better than sticking with just one. It lets coordinators switch from big-picture scheduling to detailed task tracking without jumping to another board.
Automations handle the repetitive stuff. A rule like "When a due date passes and status is not Done, notify owner and change status to Overdue" flags missed deadlines on its own. Status-based automations can also move finished items into a "Done" group, which helps keep the board tidy during a busy event week.
Forms turn the board into a structured intake tool. Say you're bringing on vendors. A vendor intake form can collect service type, contact details, and proposed fee, then turn each submission into a new item with every field filled in. Dashboards pull the big numbers into view, including budget totals in $, task completion rates, and team workload across events.
With those basics set up, the next boards put them to work in specific event workflows.
Use this board as your main event hub for tasks, owners, deadlines, costs, and status. It should act as the master checklist before you break work into more focused boards.
Group items by phase so the board mirrors how the event moves from idea to wrap-up:
Add Budgeted Cost ($), Actual Cost ($), and a Variance formula column that calculates Actual minus Budgeted. That gives you a fast read on where spending is on track and where it’s drifting.
Include a Category dropdown with values such as Venue, Catering, AV, Décor, Staffing, and Transportation. This makes it easy to filter the board by function instead of hunting through every item one by one.
A Priority column with High, Medium, and Low helps keep time-sensitive items - like permits and final payments - from getting lost in the shuffle.
For U.S.-based events, format all costs with commas and two decimals, like $2,500.00, and use MM/DD/YYYY for dates.
Use a filtered live event-day view for day-of execution. Pair that with a Numbers widget to compare budgeted spend against actual spend at a glance.
Track phase completion and budget variance so you can catch delays and cost overruns early. The next templates split this master plan into focused boards for catering, timelines, vendors, staffing, and day-of execution.
Use the Catering Jobs Board to manage menu, service, staffing, and cost details in one place. Think of it as a digital BEO for kitchen managers, coordinators, and staffing leads. It keeps catering work separate from the main event board, which makes the timeline easier to manage without things slipping through the cracks.
Set the board up around the actual stages of a catering job: Inquiry & Proposal → Contract Signed → Prep & Production → Event Day → Post-Event Follow-Up.
Use a monday.com form to collect the basics right away:
From there, move each job from inquiry through follow-up. Add T-30, T-14, T-7, and T-2 reminders for menu sign-off, staffing, and rentals so the team isn't scrambling at the last minute.
Include the key planning fields: client name, event date in MM/DD/YYYY format, venue, guest count, service style, dietary restrictions, and a menu summary that links to the full document.
For money tracking, add estimated revenue, food cost %, labor cost, and invoice status in USD. For timing, use time columns for staff arrival, setup start, service start, and breakdown end.
Staffing should be just as clear. Track both required and confirmed counts for servers, bartenders, chefs, and captains. Add a Staffing Status column with values like Needed, In Progress, Fully Staffed, and At Risk.
If Quickstaff handles shift scheduling, store the Quickstaff event ID on the board item. That gives coordinators a direct path to shift details instead of forcing them to dig around.
With those fields in place, the board becomes much easier to use day to day.
Use Calendar to spot overlaps and busy dates fast. Use Kanban by status to separate tentative jobs from confirmed ones. Use Timeline for multi-day events and dependency tracking.
Those views help the team stay on the same page before service starts.
Use this board to avoid understaffed or under-planned event days. Set up an alert when staffing status changes to At Risk within five days of the event. Then use a dashboard to track confirmed revenue, food cost percentage, and profit margin.
A wedding day often runs 10 to 14 hours, from getting ready to the last part of the reception. That’s a long day with a lot of moving parts. And when one part slips, everything after it can start to drift too. That’s why a run-of-show board matters so much. It helps you line up the day, assign each task to a person, and spot timing issues before they turn into problems.
Use this board after the master event plan is done. The goal here is simple: turn the wedding into a timed run of show.
Start with the ceremony time. That’s the fixed point everything else revolves around. From there, build backward and forward to map the full day. Before the ceremony, include vendor arrivals, hair, makeup, florals, and photography. After the ceremony, map cocktail hour, dinner, toasts, first dance, cake cutting, and the send-off.
To keep the board easy to scan, group items by phase:
That structure makes a big difference when the event is live and people need answers fast.
Once the timeline is set, add the fields that make each time block clear and trackable. Every item should have a start time, end time, owner, location, and status. For status, use labels like Planned, Confirmed, In Progress, or Completed.
It also helps to add a vendor column linked to your Vendor Tracking Board. Then include a notes field for cues that are easy to miss in the rush, like the couple’s entrance song or front-row seating instructions.
One field people often leave out is buffer time. That’s a mistake. Add 15 to 30 minutes between transitions to absorb delays, especially for travel, photos, hair and makeup, and vendor setup. If a buffer gets used up, flag that item right away so the team can adjust on the fly instead of getting blindsided later.
Pick views based on how the coordinator needs to read the day.
Timeline View is useful for seeing multi-day events at a glance, like a Friday rehearsal dinner followed by a Saturday wedding. Gantt view makes dependencies easier to follow. For example, décor setup can’t begin until venue access starts, and the band’s soundcheck comes after AV setup. On the wedding day itself, a filtered Table view keeps coordination clean and focused.
Once the timeline is in place, this board becomes the live source of truth for the event day. With named owners, set time blocks, and built-in buffers, each vendor and staff member knows what they’re handling and when. That gives the coordinator room to run the day instead of spending it chasing updates.
After the event timeline, put every supplier in one board so contacts, contracts, and payment dates stay lined up with the schedule. This board follows each vendor from quote to final payment. In plain terms, a Vendor Tracking Board keeps contacts, contracts, and payment dates tied to each supplier.
Use this board as a repeatable vendor database. Give each vendor its own item, then move it through a clear status flow: Inquiry → Quote Sent → Booked → Contract Signed → Deposit Paid → Confirmed → Completed.
Make room for both the booking contact and the day-of contact. That detail matters more than people think. The person who signs the contract often isn't the one who shows up on event day, and when things get hectic, having both names and phone numbers in the same record can save you from a lot of last-minute chaos.
You can also use the arrival time and contact fields to feed the Wedding Timeline Board.
Use columns that cover money, contracts, and setup details:
| Column | Purpose |
|---|---|
| Vendor Name / Category | Identifies the supplier and service type |
| Booking Contact / Day-of Contact | Prevents confusion between planning and execution |
| Phone / Email | Enables fast communication on event day |
| Estimated Cost / Final Cost (USD) | Tracks budget and flags variances |
| Deposit Paid / Balance Due | Keeps payment milestones visible |
| Contract Status | Shows whether agreements are signed or still pending |
| Insurance Certificate On File | Flags compliance gaps before they become problems |
| Arrival Time / Load-In Notes | Coordinates setup sequencing |
| Performance Rating (1–5) | Helps you choose vendors faster next time |
Attach signed contracts, COIs, and proposals to each vendor record. Then use arrival time, load-in notes, and day-of contact fields to keep setup in sync with the event schedule.
Table view is the best default for daily updates. Save filters such as "Confirmed vendors only", "Proposals outstanding," or "Insurance missing" so problems show up fast.
Kanban view gives you a quick read on vendor status during sourcing. Calendar view lays out proposal due dates, contract signature dates, payment deadlines, and event-day arrival times in MM/DD/YYYY format. A Dashboard tied to this board can show total committed vendor spend against budget in USD.
Use this board to spot missing contracts, unpaid balances, and late arrivals before they turn into bigger issues. Tracking estimated vs. actual costs in USD across all vendors also makes post-event budget reconciliation much easier. Performance ratings and notes give you a repeatable vendor history, and those same fields can support staffing and day-of coordination. For more complex needs, you might also consider event staff availability tracking apps to manage your team's schedule.
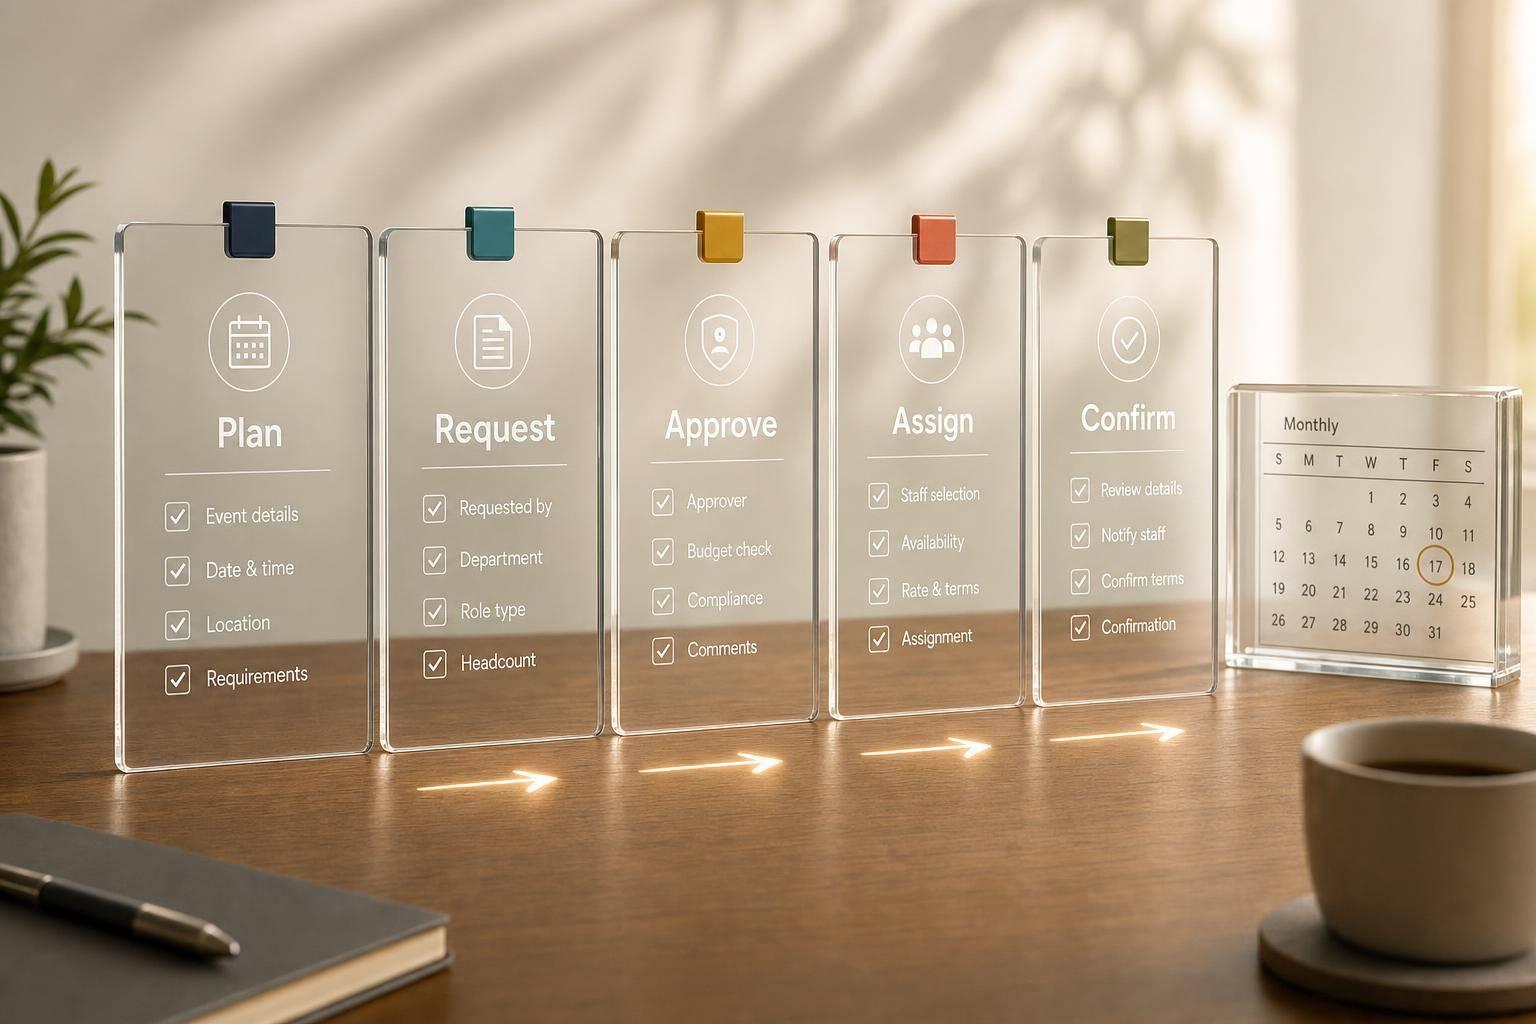
Once vendors are locked in, staffing is usually the last big scheduling hole to fix. A Staffing Needs Board shows who you need, for which event, and for which shift - plus whether each role is covered before event day.
Create one item for each event, then use subitems for roles like setup crew, servers, bartenders, greeters, and teardown staff. Move every role through a simple status path: Unfilled → Requested → Confirmed → Filled.
Lock shifts 2–4 weeks before the event so staff have time to confirm availability. It also helps to plan 10%–15% backup coverage for no-shows and add 15–30 minute overlaps between event phases so handoffs don’t get messy. Sort subitems by phase to spot coverage gaps faster.
| Column | Purpose |
|---|---|
| Event Name | Ties staffing back to the specific event |
| Date | Keeps the schedule aligned to the event day |
| Role | Identifies the position, such as server or bartender |
| Headcount Needed | Sets the target number of staff per role |
| Assigned Staff | Names the individuals scheduled |
| Shift Start / Shift End | Defines the exact working window |
| Availability / Confirmation Status | Tracks status using labels: Pending, Confirmed, Filled |
| Backup / Standby | Flags coverage in case of cancellations |
| Uniform / Dress Code | Cuts down on on-site confusion |
| Staff Check-In Time | Keeps check-in sequencing on track |
| Notes | Stores staffing-only details such as break timing, uniform exceptions, or check-in instructions |
Table view is the main view for day-to-day role management. Calendar view makes shift dates and timing easy to scan. Kanban view works well when you need to move roles from Unfilled to Confirmed as people reply.
For multi-day events or staggered shifts, Timeline or Gantt view helps you see overlapping coverage at a glance. Workload view is useful for spotting anyone booked across too many events at once.
A Staffing Needs Board makes sure every shift is covered and every staff member knows their call time. After staffing is locked, move those assignments into the day-of task list for live execution.
Once staffing and vendor details are locked in, the Day-of Task List Board becomes the live run-of-show for the event.
Move confirmed staff assignments and vendor arrival times into this board so the whole day runs from one live schedule. Set up groups for Setup, Doors Open, Program, and Breakdown. Then add the tasks that sit under each one.
Each task should have a specific time, like 10:30 AM for load-in, plus a named owner. For major milestones, add escalation notes right in the Notes column. For example, if load-in is 15 minutes late, the note can tell the team to alert the lead. That way, the board works like a live run-of-show people can check from their phones.
Use only the fields the team needs to act in the moment.
| Column | Purpose |
|---|---|
| Task Name | Describes the specific action (e.g., DJ soundcheck, Doors open, Cake cutting) |
| Time | Start time in 12-hour format (e.g., 4:30 PM) |
| Owner | Person or team responsible for completing the task |
| Location | Where it happens (e.g., Ballroom A, Loading Dock, Bridal Suite) |
| Status | Live tracking: Not Started, In Progress, Done, Blocked |
| Dependencies | Tasks that must finish before others start, such as tables being set before centerpieces go out |
| Notes / Cues | Escalation triggers, AV cues, dietary flags, or contingency steps |
Add Dependencies to show which tasks need to be done before others can start, such as tables being set before centerpieces go out. This keeps bottlenecks visible.
Use Kanban for live status updates, Calendar for multi-room timing, and a filtered Table view for Today and High Priority tasks.
This board helps keep major moments on schedule and flags blockers fast. When every task has a named owner, a set time, and a clear status, the team can avoid those last-minute calls and scramble by keeping an event day checklist handy.
Each board has its own job. The best setup is to use focused boards tied together by event name and date so your team can move from planning to event day without digging through one giant workspace.
Use the table below to line up each board with its role in the workflow.
| Board | Purpose | Best Use Case | Recommended Views | Primary Columns |
|---|---|---|---|---|
| Event Planning Checklist | Master milestones from kickoff to wrap-up | Overall event coordination and deadline tracking | Table, Calendar, Kanban | Status, Owner, Due Date, Priority, Notes |
| Catering Jobs | Catering prep, service, and staffing | Caterers and venue service crews | Kanban, Timeline, Table | Task, Shift, Owner, Time, Status, Location |
| Wedding Timeline | Run-of-show sequencing | Weddings and other run-of-show events | Timeline, Calendar, Gantt | Event time, Vendor, Owner, Dependencies, Notes |
| Vendor Tracking | Contracts, payments, and delivery oversight | Contract, payment, and delivery oversight | Table, Calendar, Files | Vendor, Contact, Contract status, Payment status, Arrival time |
| Staffing Needs | Roles, headcount, and availability | Crew planning and backup coverage | Table, Workload, Calendar | Role, Headcount, Confirmed, Backup, Availability |
| Day-of Task List | Live event execution | On-site coordination and quick status checks | Kanban, Table | Task, Owner, Status, Due time, Blockers |
A simple rule of thumb helps here:
For staffing-heavy events, the next section shows where Quickstaff fits.
Use the Staffing Needs Board for headcount and role assignments. Then move shift-level scheduling and availability tracking into Quickstaff. That makes Quickstaff the next step for shift scheduling.
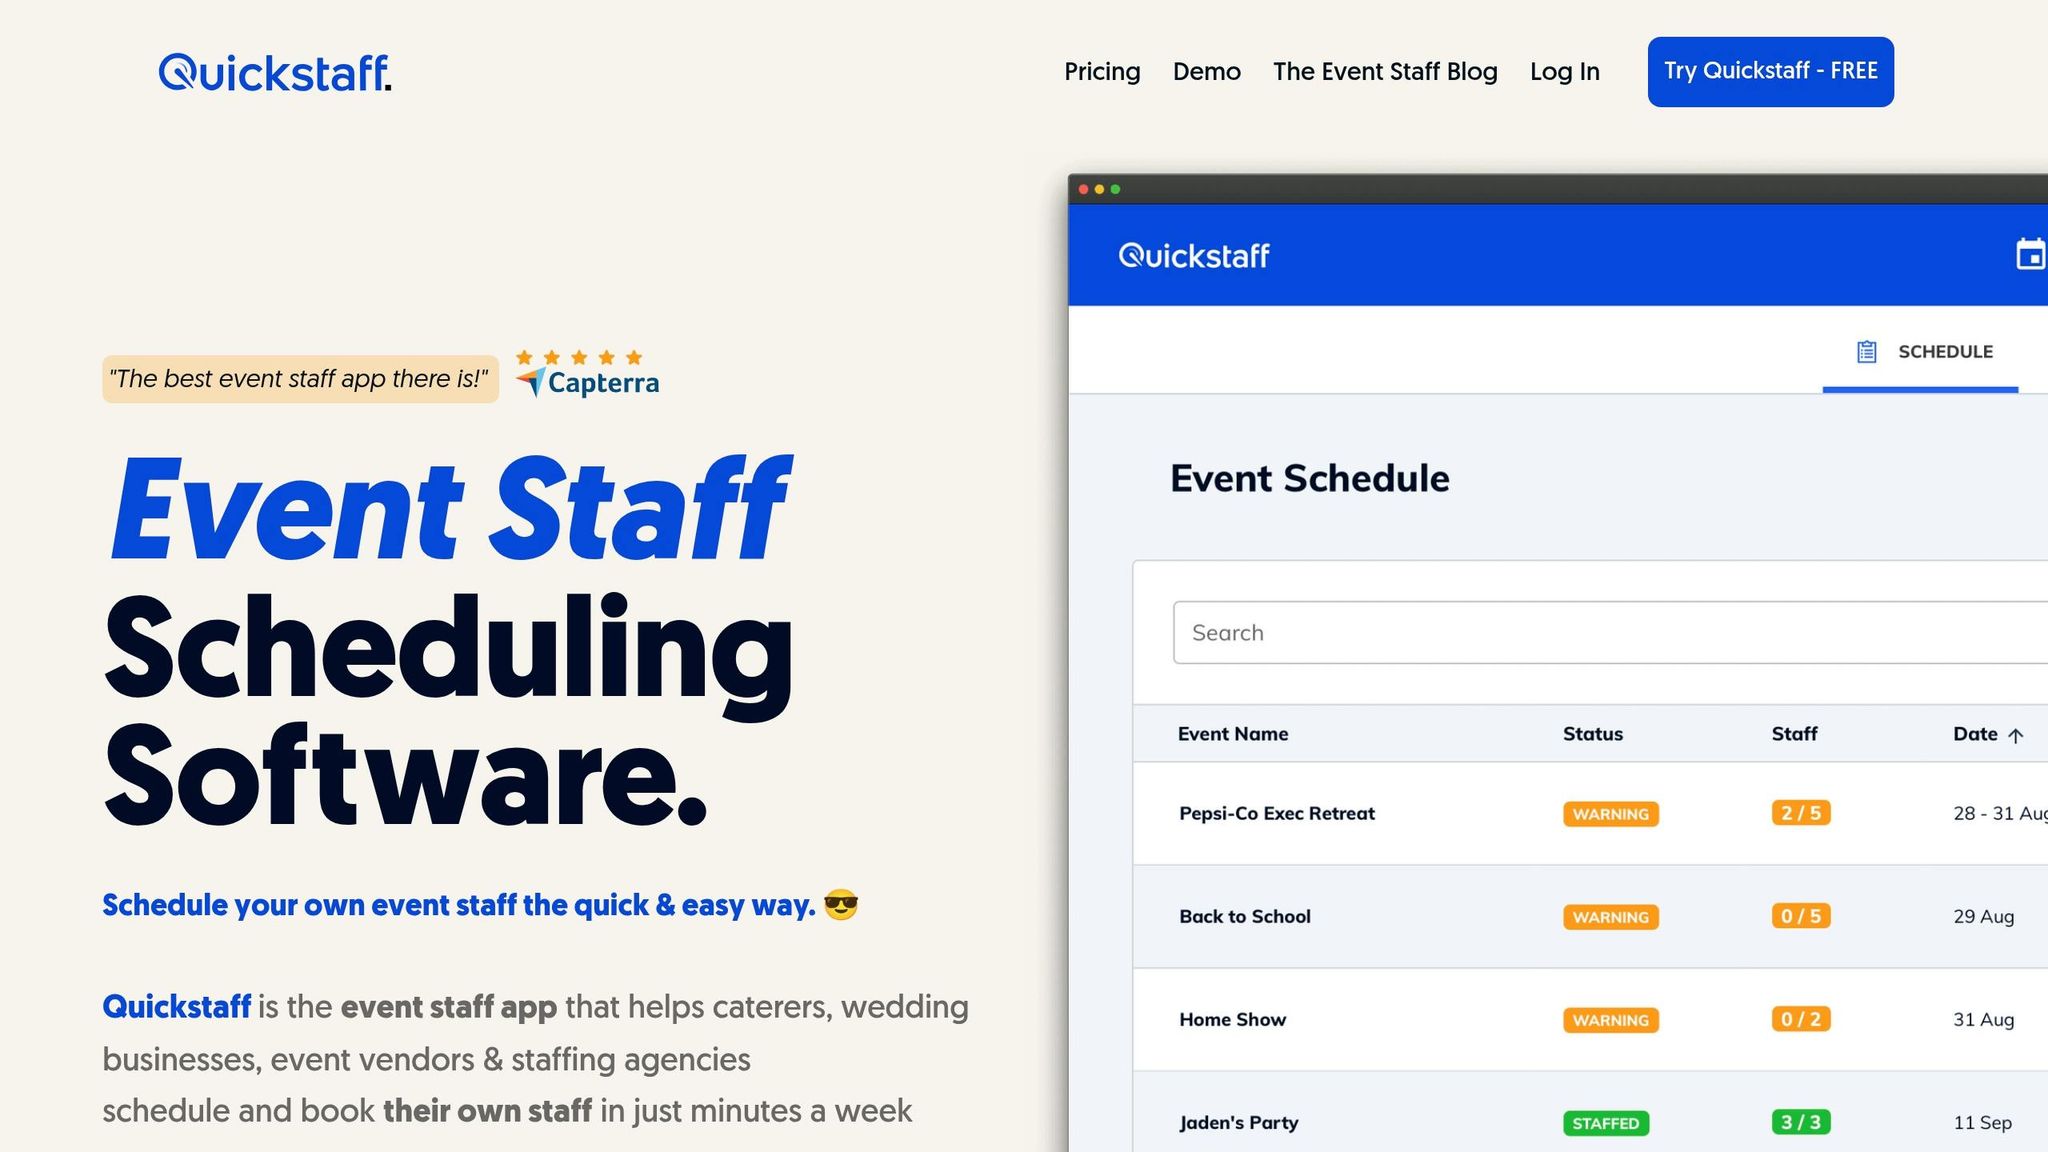
Building on the Staffing Needs Board, once monday.com sets headcount, roles, and backup coverage, Quickstaff takes over the shift schedule: who works, when, and where.
Think of monday.com as your planning view and Quickstaff as the shift scheduling layer. In monday.com, you map out what you need: role types, headcount targets, and whether coverage is confirmed. In Quickstaff, you put that plan to work with event creation, staff scheduling, availability tracking, waitlists, mobile messaging, and reminders.
Quickstaff’s role-based shift assignment helps managers sort staff by position - servers, bartenders, captains, setup crew - so filling a gap takes seconds instead of kicking off another round of texts. If someone cancels at the last minute, Quickstaff can flag the open shift and pull from a waitlist. That keeps staffing changes moving without the usual scramble.
This setup works well for caterers, wedding teams, and staffing agencies running recurring events. It also fits teams where staffing needs change from one event to the next, especially when shifts, venues, and call times change often.
These six templates cover planning, catering, timelines, vendors, staffing, and day-of execution. The win comes from linking them into one system.
Use mirror columns and automations to connect the boards, then pull budget, staffing, and status into a single dashboard. That gives your team one place to see what’s on track, what needs attention, and where the work is piling up.
You don’t need to build everything at once. Start with the two or three boards that fit your current workflow, then add more as your process gets tighter. Once your core boards are in place, review them after each event cycle and make small fixes while the details are still fresh.
After each season, clean things up. Remove fields no one uses, and simplify any steps that slow people down or cause mix-ups.
For staffing-heavy workflows, Quickstaff adds temporary staff scheduling and booking, availability tracking, waitlists, reminders, and mobile communication.
Use the Connect Boards column to link items from one board to another. This lets you create clear relationships across your event management boards, like connecting vendor tracking to your master event timeline or tying staffing needs to specific catering jobs.
Then use the Mirror column to show data from the connected board, so details like payment status or staff confirmation stay in sync across your views.
Start with a master template board so every new booking request follows the same path.
Your first setup should include a board for intake and task tracking. That gives each request a clear route, from the first inquiry to confirmed status.
After that, add a board or view for staff assignment tracking so each role has clear ownership. Use these boards to manage staffing tasks before you finalize your roster in Quickstaff.
Use Quickstaff with monday.com once your event planning moves past static docs and into daily staff coordination. monday.com is a solid fit for planning, timelines, and record-keeping. But when it comes to staffing, things can get messy if you try to run it there on its own.
That’s where Quickstaff comes in.
Bring in Quickstaff when staffing happens again and again, and you need tools built for the job, like:
In short, monday.com helps you plan the work. Quickstaff helps you run the people side of it day by day.