Setting Up Email Notifications for Staff Schedules
June 18, 2026

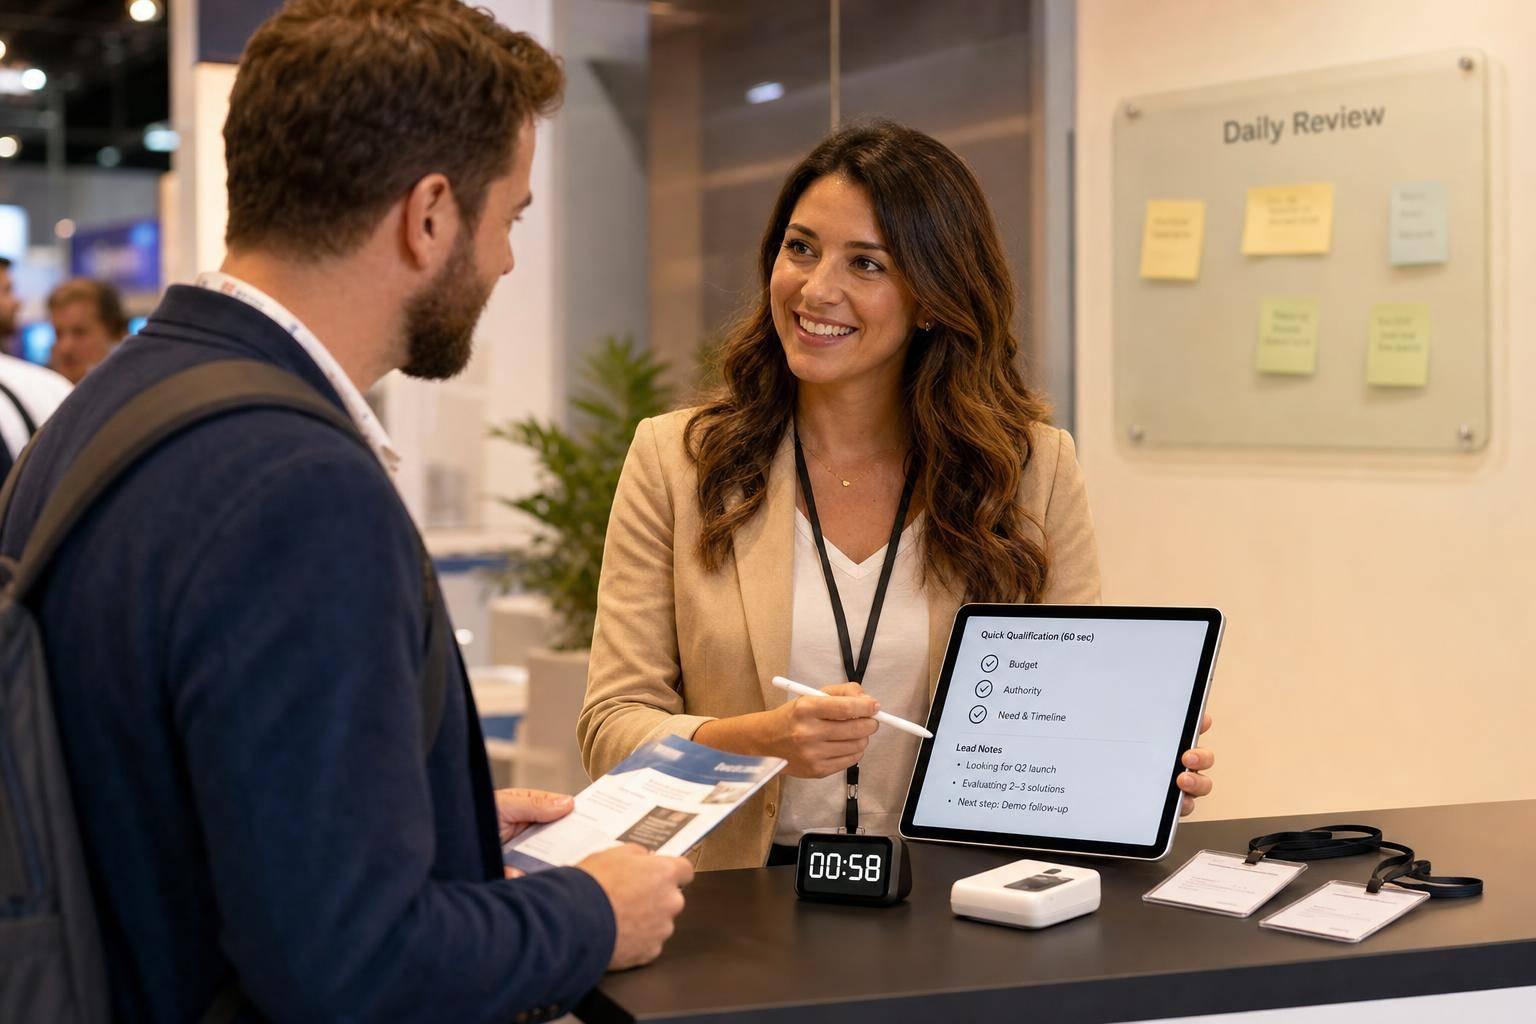
If staff miss one email, they can miss a shift. I’d set up five email types first: new assignments, shift updates, cancellations, reminders, and leave status changes.
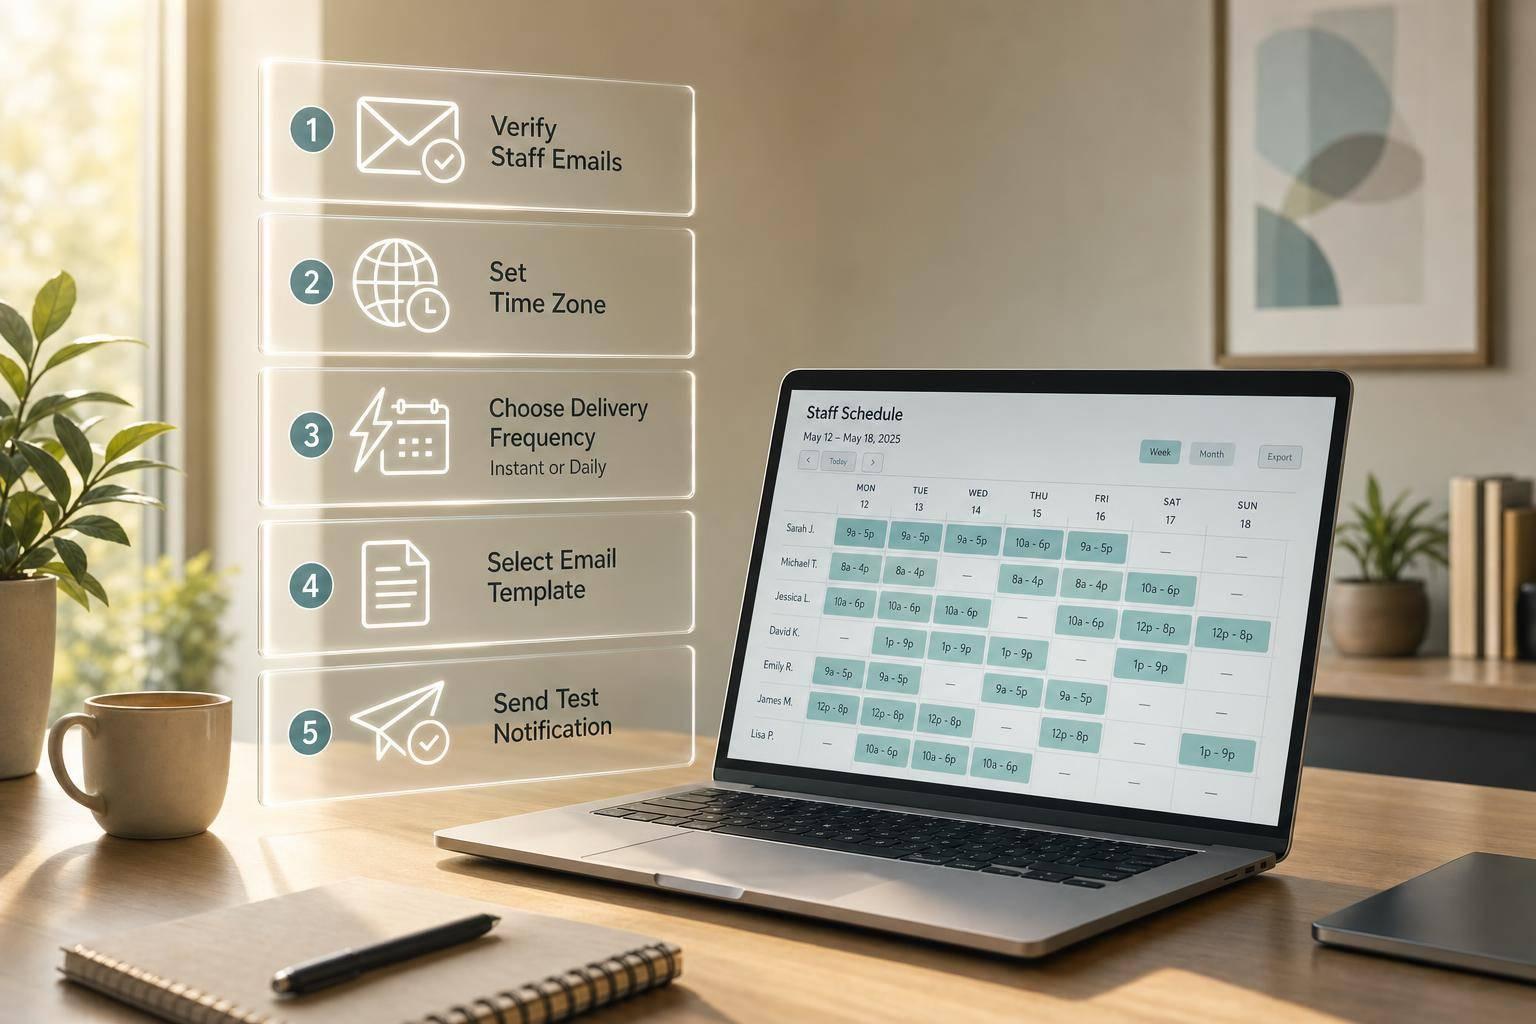
Before I turn anything on, I check three things: staff email addresses, notification permissions, and the organization time zone. After that, I set which changes send emails, choose between instant alerts and daily reports, write short subject lines, and test the full flow from assignment to cancellation.
Here’s the short version:
While there are many benefits of using event staff scheduling software, a few small setup errors can cause most problems. For example, a wrong time zone can send a 2:30 PM shift notice at the wrong time, and skipped update prompts can stop staff from seeing schedule changes at all. I’d also watch for duplicate emails caused by overlapping global and location rules.

Email Notification Setup for Staff Schedules: Step-by-Step Guide
| Area | What I’d do | Why it matters |
|---|---|---|
| Notification types | Turn on 5 core email types | Staff get the main schedule changes |
| Access and profiles | Check admin rights and staff email fields | Emails cannot send to missing or blocked profiles |
| Time settings | Confirm the org time zone | Shift times stay correct |
| Delivery timing | Use instant for urgent items, daily for summaries | Cuts confusion and inbox overload |
| Templates | Write short subject lines and mobile-friendly copy | Staff can read details fast |
| Testing | Run assignment, update, and cancellation tests | Finds issues before a live event |
If I want email notifications to work, I don’t start with templates. I start with setup, rules, and testing.
Before you switch notifications on, take a minute to check the settings behind them. That small step helps you avoid missed emails, late alerts, and a lot of cleanup later.
First, make sure the setup user has Collaboration > Admin access. Then confirm that every staff profile includes a valid email address, which is essential for event staff apps to deliver notifications.
Time settings matter too. If the organization time zone is off, a 2:30 PM shift can trigger at the wrong time. It sounds minor, but it can throw off the whole schedule.
Quickstaff uses three notification levels: Global, Location, and User. These levels decide who gets which email, so it helps to set them with care.
| Profile Level | Scope | Best Use Case |
|---|---|---|
| Global Profile | All locations | Standardizing notifications across the organization |
| Location Profile | One location | Customizing alerts for staff who only work at one site |
| User Profile | Individual staff member | Letting staff override defaults |
If you want one setup across the team, use Mass Update to apply a single Global Profile.
Once those basics are in place, you can move on to the global email rules. This structured approach is a key part of building a scalable event scheduling system.
Now it’s time to decide which schedule changes trigger emails and who gets them. The global and location profiles from the last section decide which rule set applies here. Start with the schedule changes that have the biggest effect on staff attendance.
Enable email alerts for the changes that matter most: new assignments, time or location updates, cancellations, and pickup postings.
Quickstaff uses selective notification rules, which means managers can choose which changes should trigger an email. If an event changes in a meaningful way, like the notes, location, or shift details, Quickstaff shows a prompt on the event so staff can be notified. That gives managers control over when messages go out and helps keep inboxes from getting flooded.
Use instant alerts for urgent changes and daily reports for updates that can wait a bit. Instant alerts make sense for time-sensitive changes, like shifts happening within the next 7 days, reassignments, and cancellations. Daily reports work better for calendar events, schedules, and swap board activity. For late clock-in alerts, a delayed send about 10 minutes after the shift starts is usually the better fit.
Use the table below to line up each event type with the best delivery behavior and the right recipients.
| Event Type | Recommended Behavior | Recipients |
|---|---|---|
| New Schedule Published | Immediate | All Assigned Staff |
| New Shift Assignment | Immediate | Assigned Staff |
| Shift Update (Time/Location) | Immediate | Affected Staff |
| Shift Cancellation | Immediate | Affected Staff |
| Shift Available for Pickup | Immediate | Eligible Staff & Managers |
| Swap/Trade Request | Immediate | Managers & Involved Staff |
| Daily Schedule Overview | Batched (Daily Report) | Managers & Coordinators |
| Late Clock-in | Delayed Reminder | Managers & Coordinators |
| Leave Request Status Change | Immediate | Requesting Staff |
| Pickup Request Submitted | Immediate | Managers & Coordinators |
Turn on the global settings first. Some alerts won’t fire until account-wide notifications are active. After that, tailor the subject lines and email templates so each message is clear at a glance.
Once global rules are on, the next step is the message itself, which is a key part of making event staff scheduling quick and easy. What you send matters just as much as when you send it.
Subject lines should tell staff the event and date right away. Keep each one to a single line of text. Placeholders that insert line breaks or control characters can break delivery.
The best subject lines get straight to the point, like "New Shift: Harbor View Wedding on June 19, 2026" or "UPDATED: Gala Dinner – June 21, 2026."
Email copy should also be easy to scan, especially on a phone. Pull in the details people look for first:
Use [SCHEDULE_NOTES] to insert shift notes automatically. If you include pay, make it easy to read, like $25.00/hour.
Each email type does a different job, so each one should have its own template.
A new assignment email should cover the basics: date, call time, venue address, role, dress code, and pay rate.
An update notice should focus on what changed. If event notes, locations, or shift details change, use the update template to alert the affected staff.
A cancellation notice should stay short. Include the event name, the original date and time, and a clear note that the person was removed from the shift.
A pre-event reminder should include the call time, venue address, parking notes, the on-site contact person, and any shift-specific tasks.
| Email Type | Subject Line Format | Key Fields to Include |
|---|---|---|
| New Assignment | New Schedule: [Event Name] - [Date] | Staff Name, Role, Start/End Time, Venue/Location, Pay Rate, Dress Code, Entry Point |
| Schedule Update | UPDATED: [Event Name] - [Date] | Specific change (e.g., new start time or location), Revised Notes, Original Details |
| Cancellation | CANCELED: [Event Name] on [Date] | Event Name, Original Shift Time, Reason for Cancellation (optional), Confirmation of removal from roster |
| Reminder | Reminder: Your Shift at [Venue] Tomorrow | Start Time, Call Time, Venue Address, Parking Instructions, On-site Contact Person |
Staff can also change their default notification settings in their profile. They can switch between instant alerts and daily reports. That helps cut inbox clutter without making urgent updates harder to spot.
Next, test each template to make sure the right fields appear at the right time.
After your templates are built, run a full live test from assignment to cancellation. Before your first live event, create a test staff profile with a monitored email address, assign that profile to a shift, and publish the test schedule. Then check that the new assignment email shows the correct date, time, location, and role.
This matters because you want to test the exact flow staff will get in production, not just assume it works.
Next, edit the event by changing the start time or location and verify that the update notification sends. After that, cancel the shift and confirm the cancellation email arrives. Test assignment, update, and cancellation emails one by one before going live.
If a message fails, check your settings before you touch the templates. In most cases, the problem comes from profile settings, not the email copy itself.
A missing email usually points to one of a few issues:
When you edit event notes, location, or shift details, you also need to click Send Updates. If you skip that step, the change will not go out.
Late emails often mean the staff member is set to Daily Reports instead of Instant Alerts. For time-sensitive changes, switch to Instant Alerts.
If staff get duplicate emails, look for overlapping Global and Location profiles. When both are active, duplicate sends can happen.
| Symptom | Likely Causes | Action Steps |
|---|---|---|
| No email | Invalid email address or trigger not enabled | Verify the email address in the staff's User Profile and confirm the notification trigger is enabled |
| Staff missed a schedule change | Send Updates button not clicked | After editing event details in Quickstaff, look for and click the orange Send Updates button |
| Delayed or batched email | Set to Daily Reports instead of Instant | Switch the notification profile to Instant Alerts for time-sensitive changes |
| Duplicate emails | Overlapping Global and Location profiles | Review and remove redundant profiles in the admin or collaboration settings |
| Staff opted out | Personal profile override | Ask staff to check their User Profile and re-enable email notifications |
A steady notification setup comes down to a few simple habits: keep staff contact details current, turn on the right triggers for each event type, use clear subject lines, and test every notification path before a live event depends on it.
First, make sure the notifications were sent after your updates. In Quickstaff, if you change event details like notes, location, or timing, you need to click the orange button in the dashboard to send those changes to your team.
Also check that staff marked their availability the right way, since scheduling conflicts can affect invitations. If email still isn’t dependable for some team members, use SMS or push notifications instead.
Use instant alerts for urgent, time-sensitive updates. That includes last-minute schedule changes, emergency instructions, shift reassignments, or immediate edits to event notes, location, or timing.
Use daily reports for non-urgent, recurring, or summarized information that doesn’t call for an immediate response. This split helps staff stay focused while still getting critical updates right away.
Encourage your team to turn on calendar sync in Quickstaff. When they do, their shifts are added to their personal calendars like Google Calendar, iCal, Outlook, or Yahoo. That makes it much easier to avoid scheduling conflicts and double bookings.
It also helps to have staff mark dates they’re unavailable in the system. That way, they won’t get assigned to shifts when they’re not free.