Vendor Staff Scheduling: Guide for Event Managers
September 16, 2026

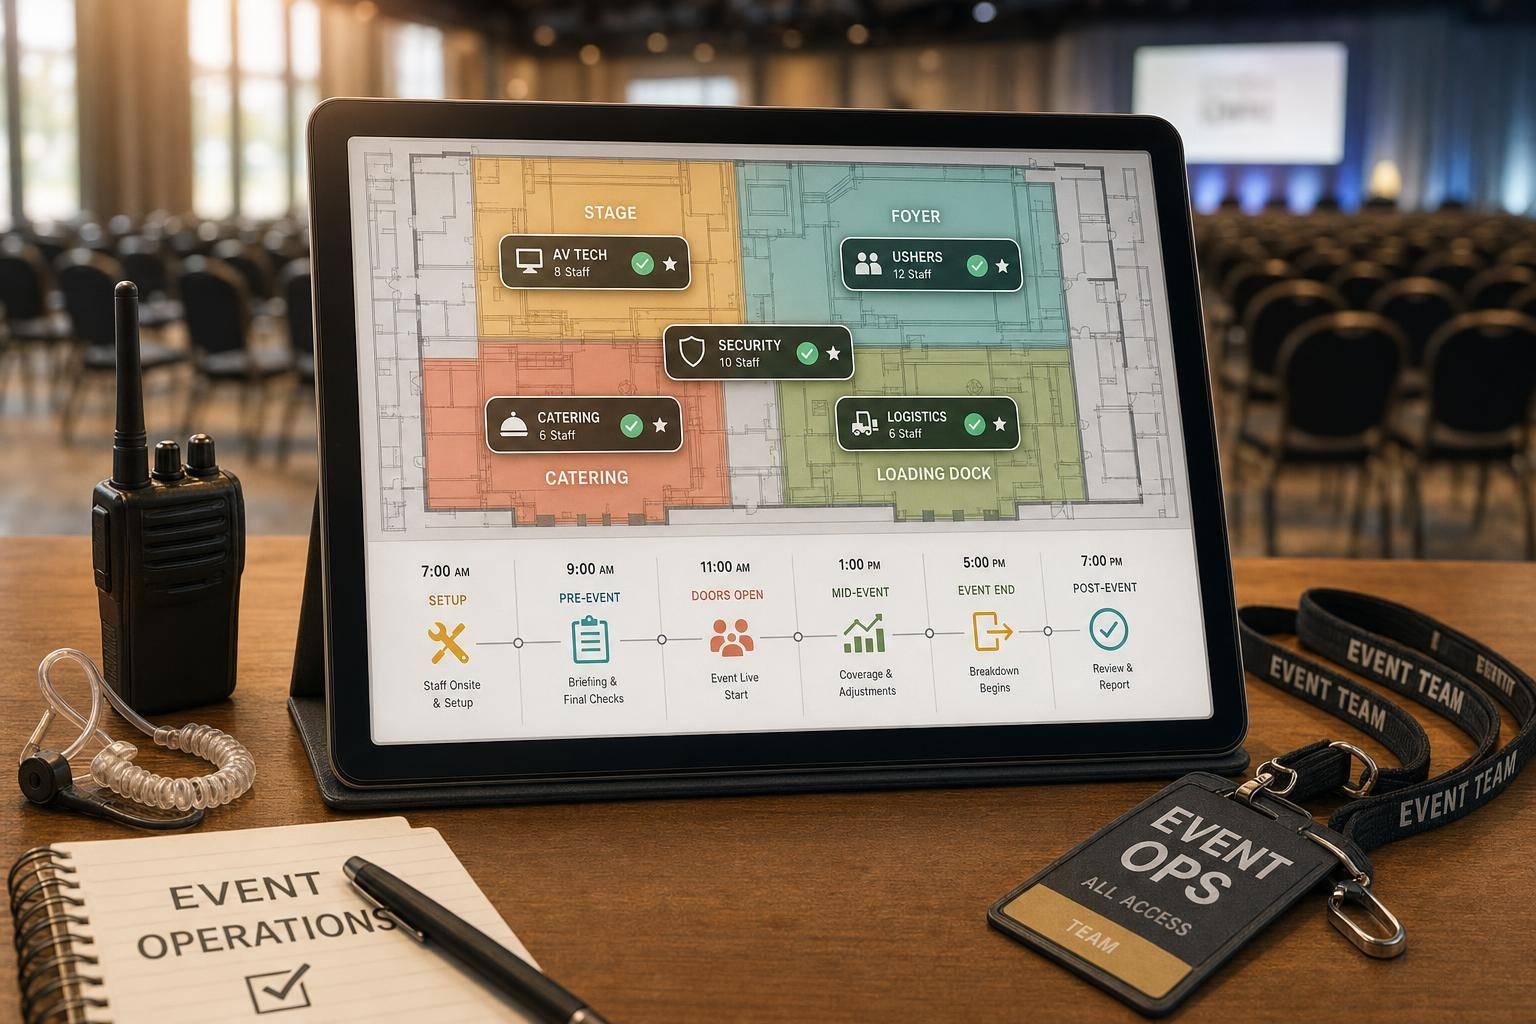
Bad event staffing gets expensive fast. If a W-2 worker goes past 40 hours in a workweek, overtime can jump to 1.5× pay. And a single no-show can force you into a last-minute fill that cuts into margin.
If I had to sum up the article in one line, it would be this: I make vendor staffing more reliable when I plan from the event brief, assign by role and zone, confirm early, keep backups ready, and review results right after the event.
Here’s the short version:
A few numbers stand out:
What I like about this approach is that it stays simple: plan first, staff second, confirm early, and fix the process after every event. The rest of the article walks through that workflow in plain steps.
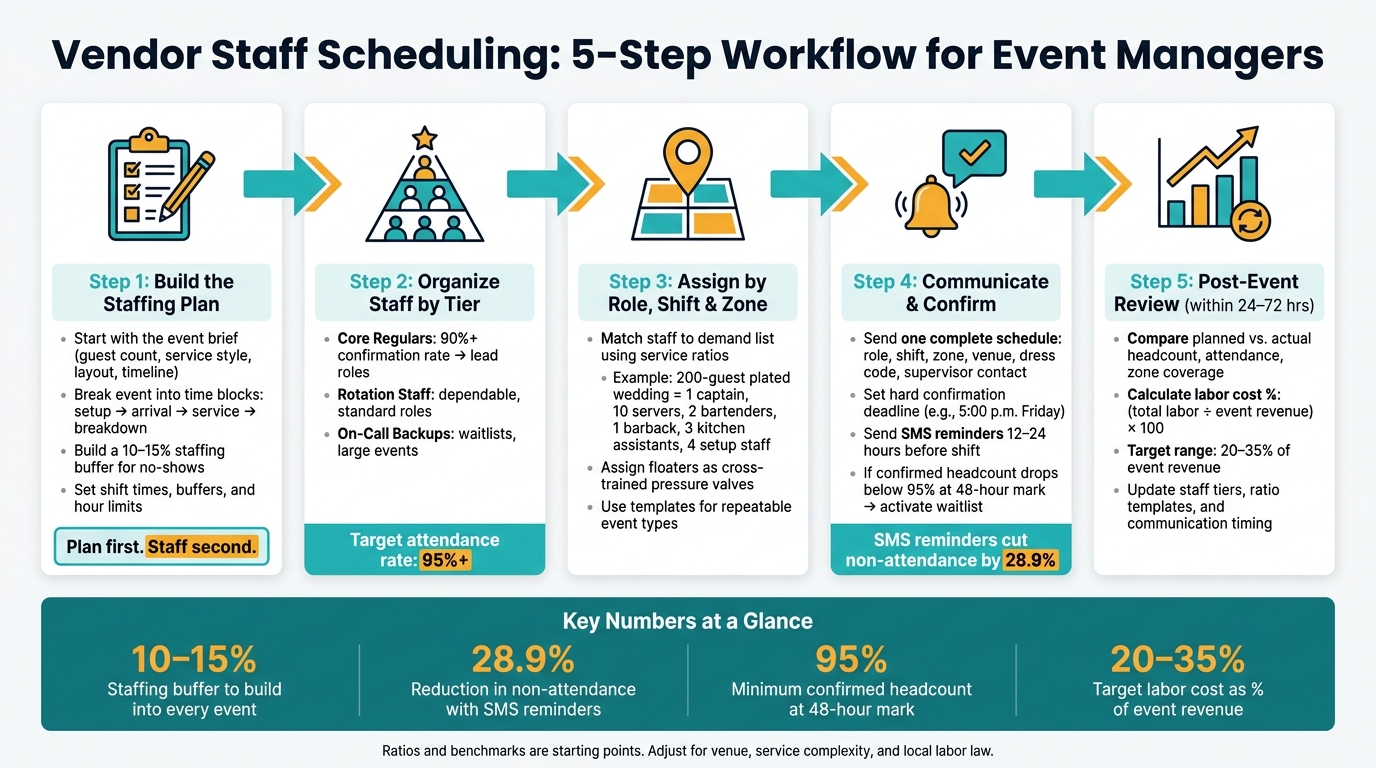
Vendor Staff Scheduling Workflow for Event Managers
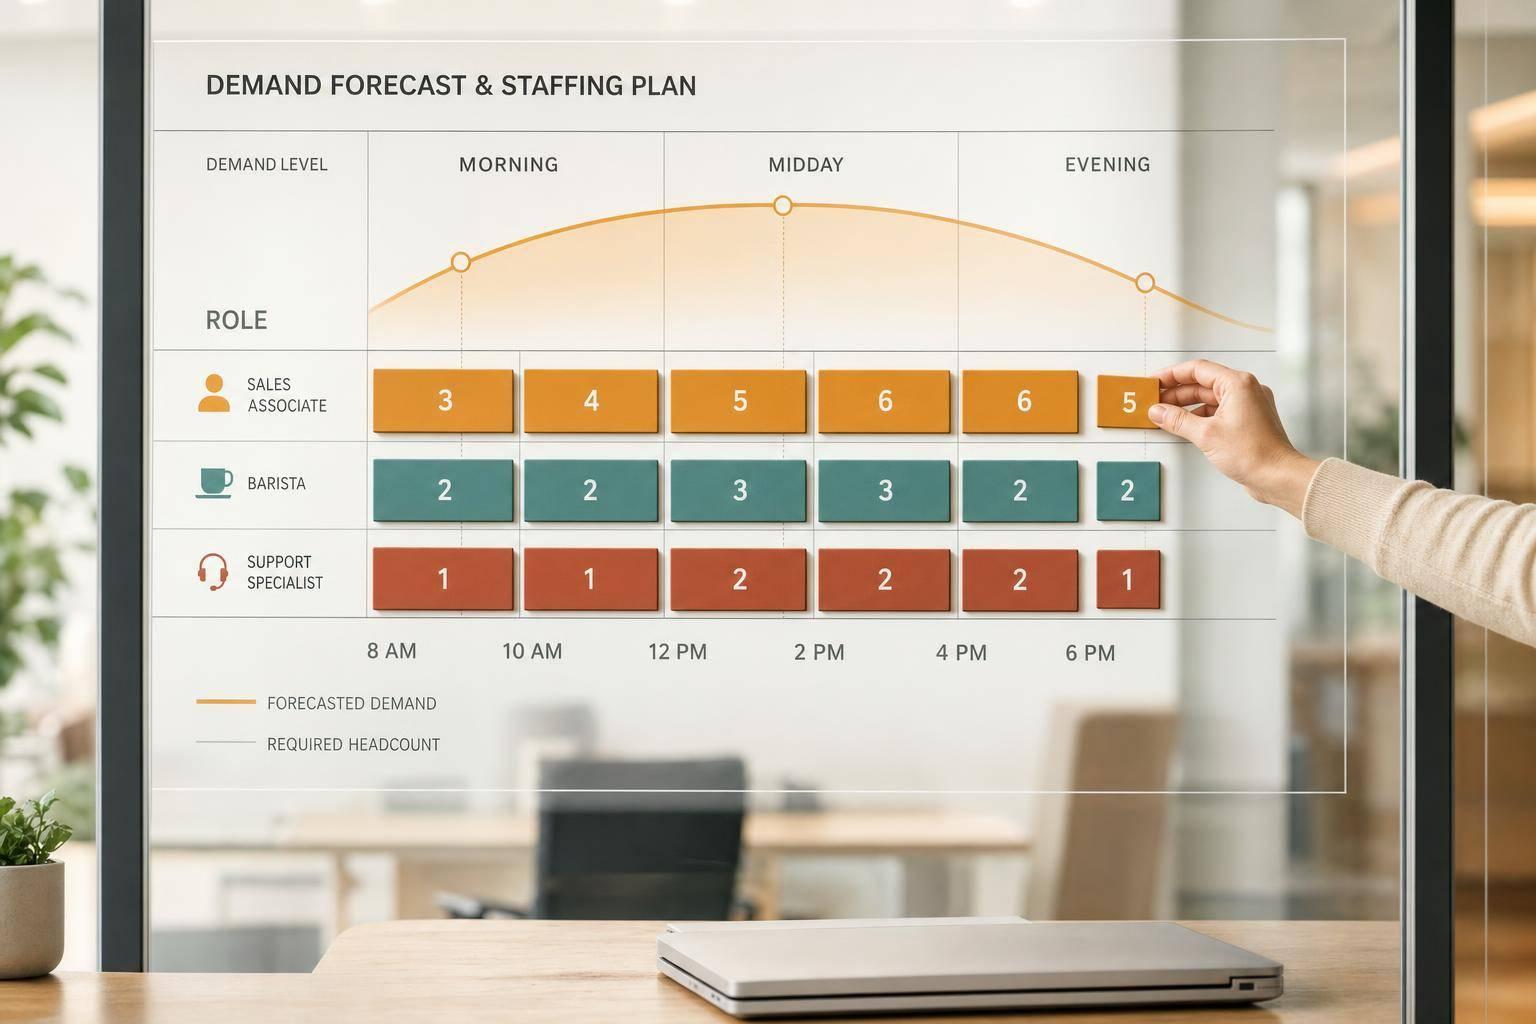
The staffing plan turns the event brief into actual shift needs. Do that work first. If you start assigning people before you know the demand, you're guessing.
Start with the details that change headcount: confirmed guest count, service style, venue layout, bar program complexity, and the full run-of-show from load-in to breakdown. Every one of these affects staffing math.
Service style is the biggest driver. Venue layout matters too. A multi-level space, or a room where the kitchen sits far from the dining area, needs more coverage than a tight single-room setup. Outdoor areas with separate bar stations also need dedicated staff. You can't assume the main-room team can cover both.
Next, break the event into time blocks: setup, guest arrival, main service, and breakdown. Then assign headcount by role to each block. For a 150-guest plated wedding, that could mean setup staff, servers, bartenders, a barback, captains, and breakdown staff spread across different blocks. That becomes your staffing demand list - the clear picture of what the event needs before you check who's free.
Work backward from the run-of-show to set arrival times, break windows, and end times. Stagger arrivals when it helps. Bringing in the whole crew at once can drive up labor cost and clog the back of house. Breakdown-only staff can start near the end of the event, which keeps their hours shorter and tied to the work that needs to get done. These time blocks then become the template for role assignment in the next step.
Build a 10–15% staffing buffer into every event to cover no-shows and late guest-count changes. For events with more than 100 guests, it can make sense to keep on-call staff confirmed but unassigned until closer to the event date.
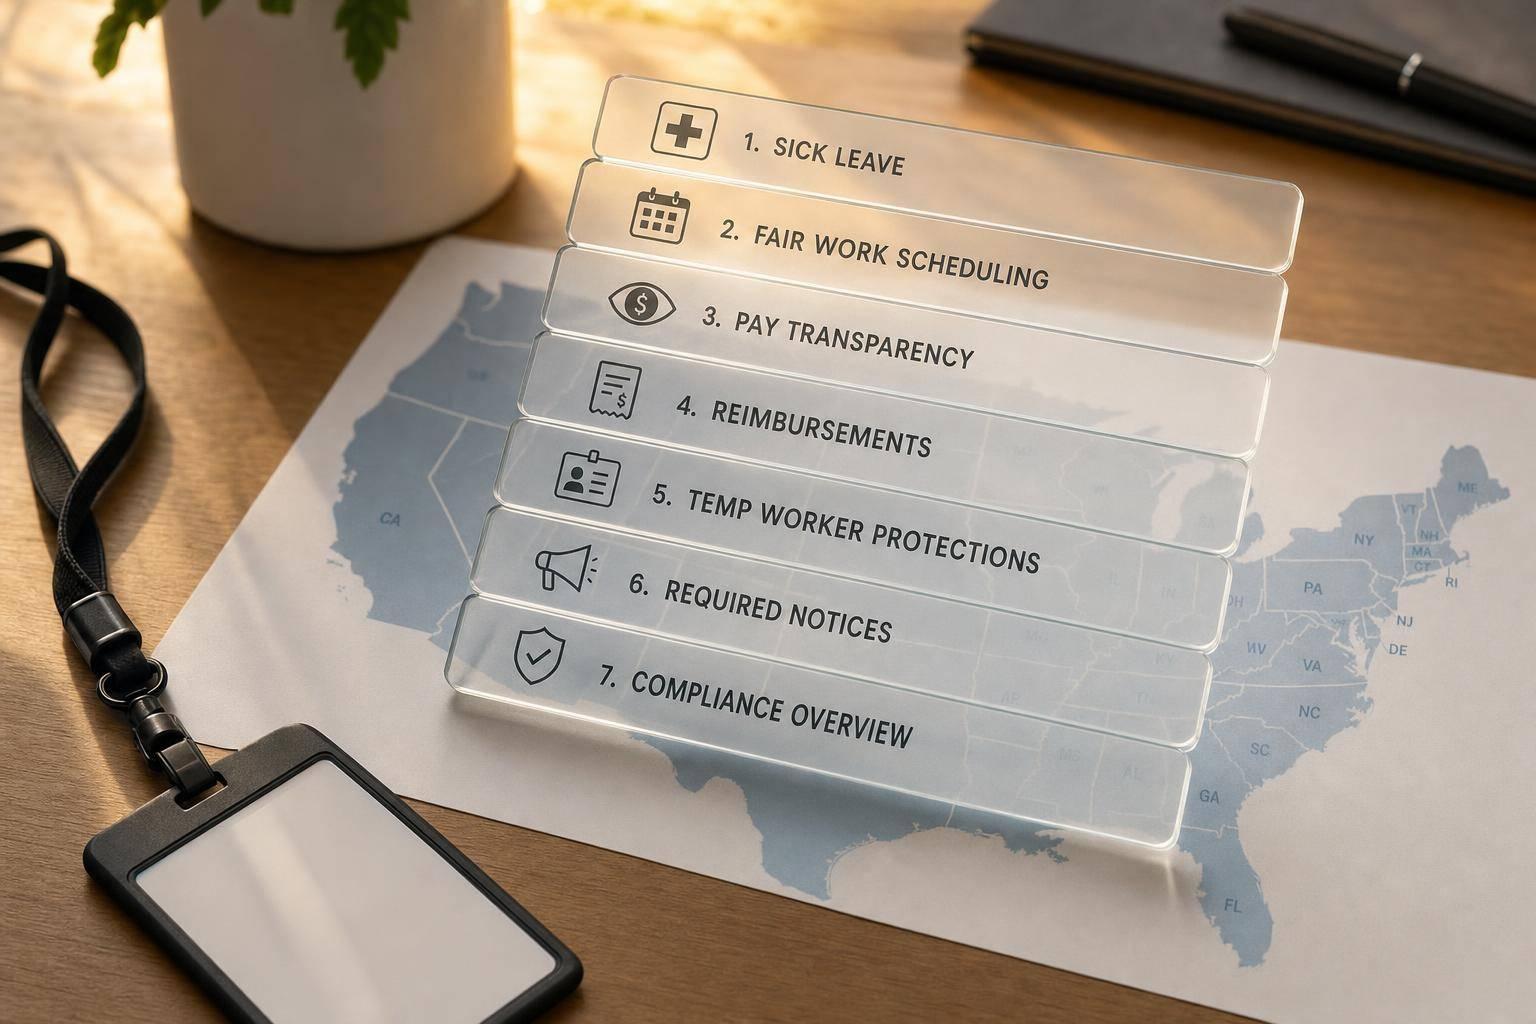
Under the FLSA, non-exempt employees must receive overtime pay at 1.5× their regular rate for hours worked over 40 in a workweek. Short rest breaks of 5–20 minutes must be paid, while meal periods of 30 minutes or more can be unpaid only if the employee is fully relieved of duty. Check state meal-break rules before you lock in shift lengths.
Use these tables as starting points, then adjust for venue setup and service complexity.
Staff-to-Guest Ratios by Service Style
| Service Style | Server Ratio | Bartender Ratio | Notes |
|---|---|---|---|
| Formal plated dinner | 1 per 10–12 guests | 1 per 35–50 guests | Synchronized courses require more coordination |
| Buffet (staffed/replenished) | 1 per 20–25 guests | 1 per 50–75 guests | Add bussers or runners as needed |
| Food stations | 1 per 20–25 guests | 1 per 50–75 guests | Station attendants are needed per station |
| Cocktail reception (passed) | 1 per 15–18 guests | 1 per 35–50 guests | Continuous circulation increases demand |
| Beer and wine only | Varies by service model | 1 per 50–75 guests | Simpler bar programs reduce bartender need |
| Mixed format (dinner + reception) | Blend ratios by phase | Blend ratios by phase | Build separate headcounts per time block |
Shift Model Comparison
| Shift Model | Typical Use | Strengths | Risks | U.S. Compliance Notes |
|---|---|---|---|---|
| Single long shift | Small events, simple setups | Consistent crew, easier briefing | Fatigue risk, higher overtime exposure | Track hours toward the 40-hour weekly threshold. |
| Split shift | Events with long idle gaps between setup and service | Pays for active work only | Staff dissatisfaction with unpaid gaps | Some states require split-shift premium pay. |
| Staggered crew | Large or complex events | Efficient coverage, reduces back of house congestion | Coordination complexity if arrival times aren't communicated clearly | Ensure accurate timekeeping and fair distribution of peak hours. |
| On-call buffer | Uncertain guest counts or timing | Flexibility, risk mitigation | Potential cost of unused staff; lower staff satisfaction if policy isn't clear | On-call pay rules vary by state; some standby arrangements require compensation. |
Once the shift model is set, you can match each block to named staff and role assignments.
Once your shift blocks are in place, the next step is simple: put the right people in them. That takes two things - a clean staff pool and a clear way to turn staffing targets into actual names on the schedule.
Keep a record for each worker that covers the basics and the stuff that saves you headaches later: name, primary and secondary roles, certifications, service area, travel radius, availability by day and time, response time, confirmation, punctuality, incident history, and pay range.
One piece of data gets missed all the time: reliability history.
After each event, log three simple points for every staff member:
Over time, that gives you a confirmation rate, a punctuality rate, and an incident rate for each person. Industry benchmarks suggest agencies should aim for attendance rates above 95%, while tracking punctuality alongside unplanned absences and no-shows. Those numbers help you decide who should get the high-stakes roles and who should stay in backup spots.
It also helps to group your pool into three tiers:
Now turn your staffing plan into named assignments. Start with your demand list, then fill roles one by one using the ratios from the previous section as your starting point.
A 200-guest plated wedding may use this map:
| Role | Count | Call Time | Zone |
|---|---|---|---|
| Captain | 1 | 3:00 p.m. | Ballroom / general oversight |
| Server | 10 | 3:00 p.m. | Ballroom, divided into sections |
| Bartender | 2 | 3:30 p.m. | Main bar + satellite bar |
| Barback | 1 | 3:30 p.m. | Bar support |
| Kitchen assistant | 3 | 1:00 p.m. | Back-of-house |
| Setup/loader | 4 | 10:00 a.m. | Loading dock + ballroom setup |
Once the zone map is done, assign a specific person to each slot. For example: "Jordan – Server – 3:00–11:00 p.m. – Ballroom, Tables 6–10." That kind of detail cuts down on confusion and makes day-of coordination much smoother.
It also helps to set aside a small group of cross-trained floaters. They can move between zones when one area gets slammed and another has slack. Think of them as your pressure valve. That setup also makes repeatable templates much easier to keep in shape.
Building every staffing plan from scratch eats up time and leads to uneven results. Using a catering staff scheduling checklist and templates solve that.
A wedding template, a corporate buffet lunch template, and a gala template can each hold your default role mix, headcounts, shift times, and zone assignments for that event type. When a new booking comes in, start with the closest match, then tweak it for guest count and any venue-specific details.
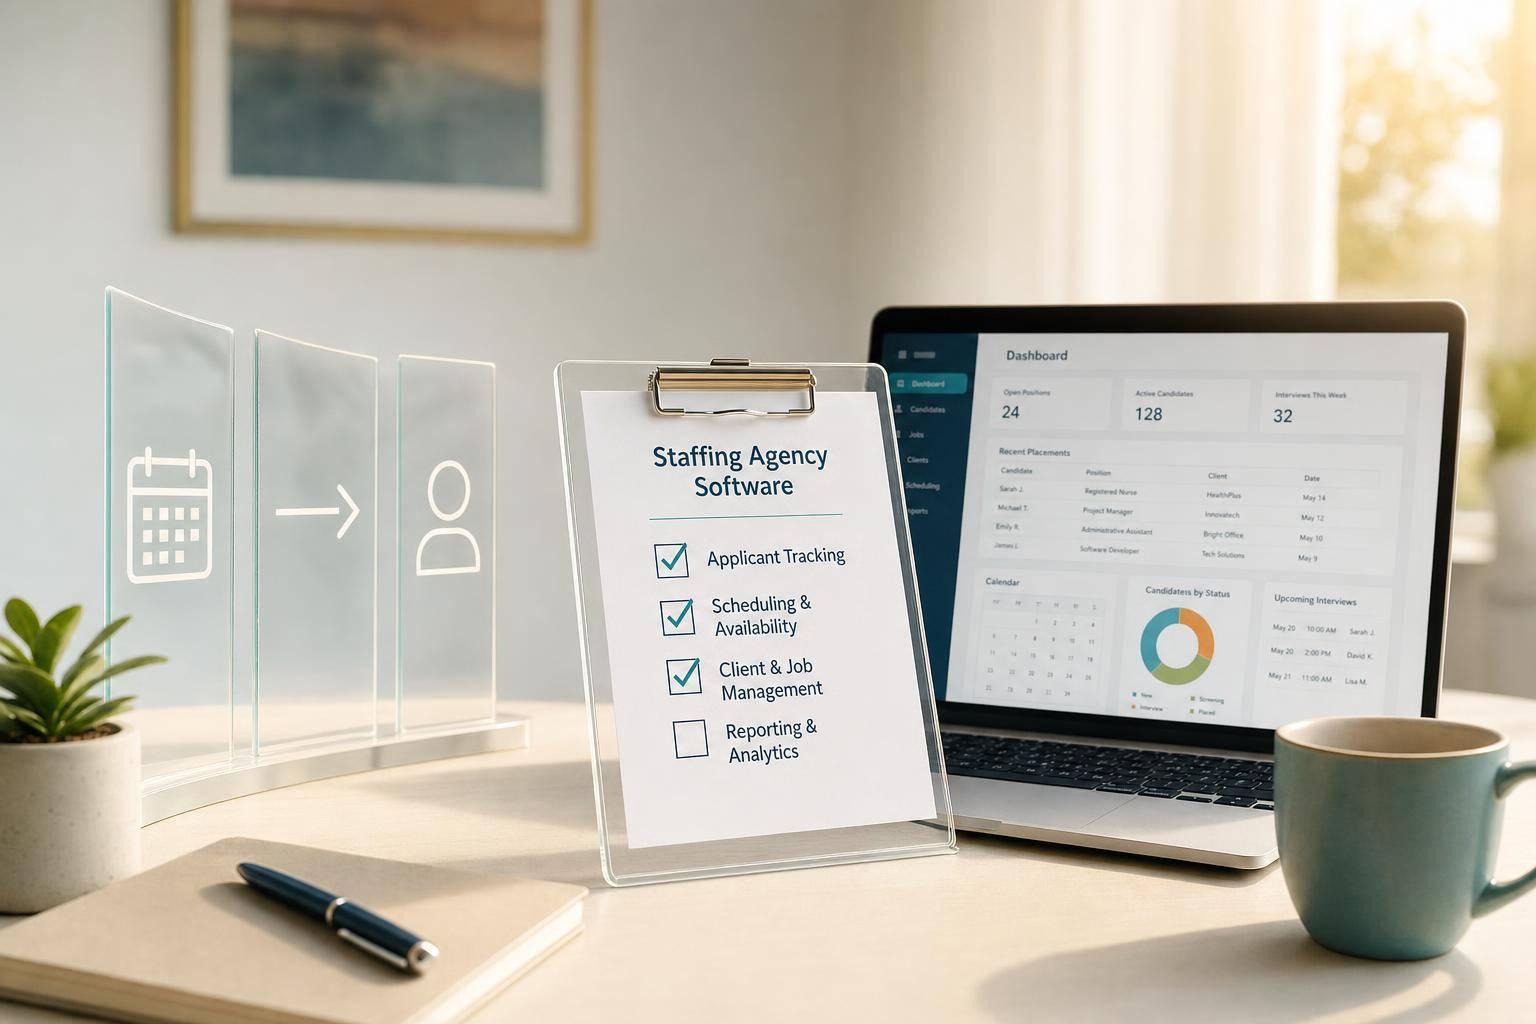
A central scheduling system like Quickstaff keeps templates, availability, assignments, waitlists, and reminders in one place. When everything lives in one system, it’s much easier to keep staffing plans aligned from one event to the next.
Once assignments are locked, the schedule only stays right if your communication process is just as tight. Send details late, scatter them across email, text, and chat, and day-of confusion shows up fast, even if the staffing plan looked good on paper.
Start with each staff member’s role, shift, and zone. Then send one complete message that includes the event date, call time, venue address, entrance instructions, parking, dress code, supervisor contact, check-in point, and event rules such as no-phone zones or alcohol-service limits.
The goal is simple: every staff member gets one message with everything they need so they can show up ready.
Use event staff scheduling software to store assignments and send updates or reminders. Keep one live schedule in one system and push every change there. Once the full schedule goes out, move straight to confirmation.
Set a hard confirmation deadline, such as "Please confirm by 5:00 p.m. on Friday, September 11, 2026", and make the action crystal clear: tap Confirm in the app or reply YES to the text. If a shift is still unconfirmed after the cutoff, reopen it.
For critical roles like captains or banquet leads, add a third confirmation touchpoint and name the backup ahead of time. If a confirmed staff member cancels more than 24 hours before the event, pull from your regular pool. If the cancellation happens within 24 hours, activate pre-identified on-call or waitlisted staff at once.
Log every change with a timestamp, reason, and approver. That keeps payroll right and gives you a clean record for post-event review.
SMS reminders sent 12–24 hours before a shift cut non-attendance by a weighted mean of 28.9%. That’s a strong return for a workflow that takes little manual work once it’s set up. Treat reminder timing as a trigger for backup activation, not just a date on the calendar.
| Event Size | Initial Schedule Send | Confirmation Deadline | 48–72 Hr Reminder | Day-Before Check | Backup Activation Point |
|---|---|---|---|---|---|
| Small | 3–5 days before | Within the 24–72 hour confirmation window | Optional, for unconfirmed staff | For key roles | Same day, if a no-show occurs |
| Medium | 7–10 days before | Within the 24–72 hour confirmation window | Yes, for unconfirmed staff | For critical roles | 24–48 hours before, if confirmations are low |
| Large | At least 2 weeks before | Toward the longer end of the 24–72 hour confirmation window | Yes, all staff | For critical roles | 48 hours before, if confirmed headcount falls below threshold |
For large events, if confirmed headcount drops below 95% of your required total at the 48-hour mark, pull in waitlisted staff right away. Then use the confirmation logs later to compare planned coverage against actual attendance.
Use your attendance logs, confirmation records, and event notes to close the loop. Within 24–72 hours, compare the original staffing plan with what happened on-site: headcount, attendance, check-in times, zone coverage, and service gaps by time block. Include late arrivals, early departures, no-shows, and any on-call staff you had to activate.
Then line those service gaps up against your staffing grid. Did the role mix hold up? Check the balance between supervisors and line staff, bartenders and guests, and support staff and service demand. If something felt off during the event, this is where you prove it with data and turn it into a direct change for the next schedule.
Next, calculate labor cost percentage with this formula: (total labor cost ÷ event revenue) × 100. Many U.S. event businesses aim for labor costs in the 20%–35% range of event revenue, depending on service style. Drop-off catering often lands around 20%–28%, corporate or buffet catering around 25%–32%, and full-service plated events around 30%–35% or more. Compare your result to your target, then pinpoint which roles or time blocks caused the gap.
Numbers tell you what happened. Event notes tell you why.
Ask captains and leads to mark the exact 15-minute windows where the team felt stretched too thin or where people ended up standing around with little to do. Also log venue-specific slowdowns, like a long walk between the kitchen and ballroom, a freight elevator that moves at a snail’s pace, or noise limits that squeezed your timeline.
Those details help you spot which staffing ratios worked and which ones broke down. That way, when a similar event or venue comes up again, you’re not starting from scratch.
Use those notes to update three things:
Promote dependable people into lead roles. Move repeat late arrivals or no-shows into backup status or backup-only roles. Adjust guest-to-staff ratios and shift overlap windows based on what took place, not what you hoped would happen. If confirmations kept coming in late, send invites earlier or add a reminder in the middle of the confirmation window.
Platforms like Quickstaff can store performance notes, preferred lists, and event templates in one place, which makes it easier to carry those changes into the next schedule.
Track backup activations across similar events too. If the same kind of event keeps forcing you to call in backup staff, bump up your default backup level.
Post-event review is what closes the loop. It gives you a cleaner process for the next event instead of letting the same problems show up again.
The system comes down to five repeatable steps: turn the event brief into a structured staffing demand list, keep a clean staff pool with role data and performance notes, assign people by role and zone with proven templates, keep communication and confirmations in one system, and review each event with data before the next booking.
That’s how the workflow gets better event by event: tighter ratios, better timing, and a staff pool you can count on.
Start with the event basics: date, time, venue, service style, and guest count. Use standard staffing ratios as a baseline, then adjust for menu complexity, venue layout, and timeline. For example, a plated dinner may need 1 server for every 8 to 12 guests, while a buffet may need 1 for every 20 to 25 guests.
Then split the event into service zones and phases. After that, compare your estimate with staff availability so you can spot gaps early, not at the last minute.
Activate backup staff as soon as a gap shows up, whether it comes from an unexpected absence, a last-minute cancellation, or a surprise jump in guest count.
Check your waitlist at 7 days, 72 hours, and 24 hours before the event. If a key role still has no backup, or your waitlist looks too short, widen who can take the shift or send an urgent backup request. Quickstaff can automate alerts to the next available person.
Review staff hours against the original schedule and note any differences, such as early arrivals, late departures, or missed breaks, to support accurate payroll.
Also document last-minute role changes or incidents, review coverage, overtime, and schedule changes for repeat issues, and gather team feedback within 48 hours.