Event Power Needs: Vendor Checklist
July 14, 2026

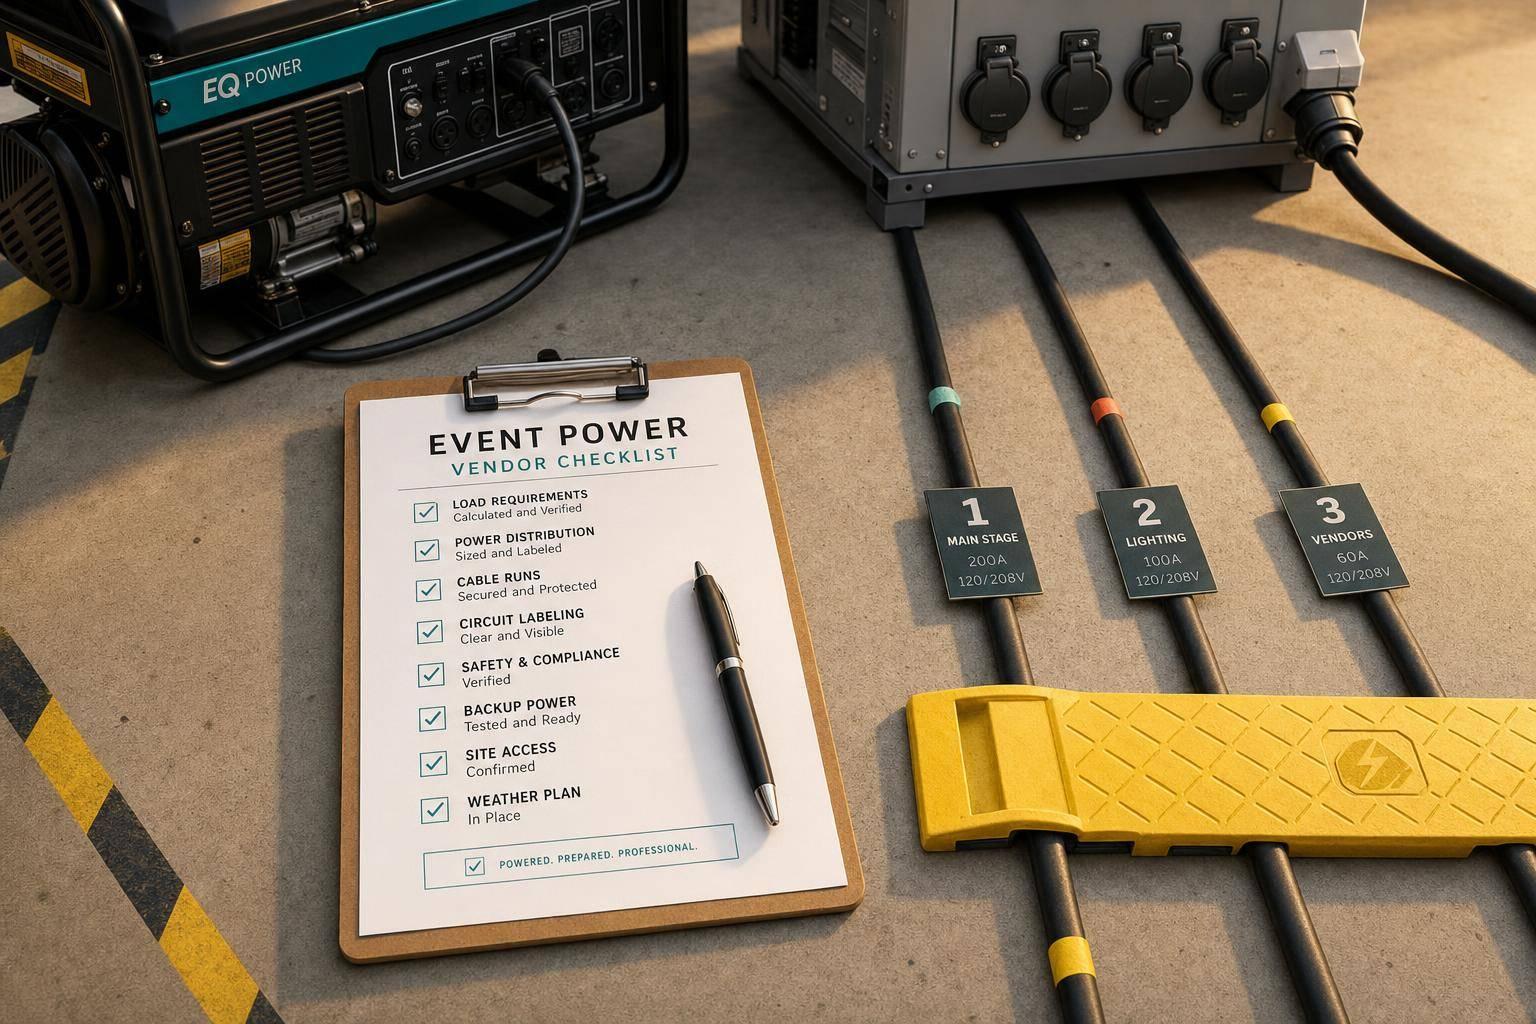
One bad power plan can shut down food service, knock out POS, or trip a whole event zone. If I want to avoid that, I need to do three things early: list every powered item, match each load to the right circuit or generator, and confirm who is bringing what before load-in.
Here’s the short version:
If I had to boil the whole checklist down to one line, it would be this: know the load, know the source, and get every power detail in writing before event day.
A few numbers matter most:
This checklist is built for hotel events, ballrooms, weddings, trade shows, tents, and festivals in the U.S., where most event power runs on 120V, 15A, and 20A circuits.
Use it to spot overload risk, missing cords, outlet mismatches, weak backup plans, and handoff gaps before they turn into delays.
Event Power Planning: Key Numbers & Safety Thresholds at a Glance
Start by listing every item that uses power before you map circuits or size a generator. This inventory is as critical as your scalable event scheduling for ensuring smooth operations.
Break the list out by vendor type: catering, bar, AV, decor, and exhibitor gear. Don’t skip the small stuff. Chargers, tablets, card readers, and accent lights can pile onto one circuit faster than people expect.
Write down the nameplate data for each item. You’ll usually find it on the back, underside, or near the cord. Most U.S. event gear shows something like 120V, 12A or 120V, 1,500W.
If a label shows only amps, convert amps to watts with W = V × A. So a coffee urn rated at 120V and 12A draws about 1,440W.
For motors and compressors, note both the running load and the startup surge. If surge data isn’t listed, use an estimated 2× running amps and mark it as an estimate. Keep every 240V item on its own line. Those units won’t run on a standard 120V outlet, and they need dedicated circuit planning well before load-in.
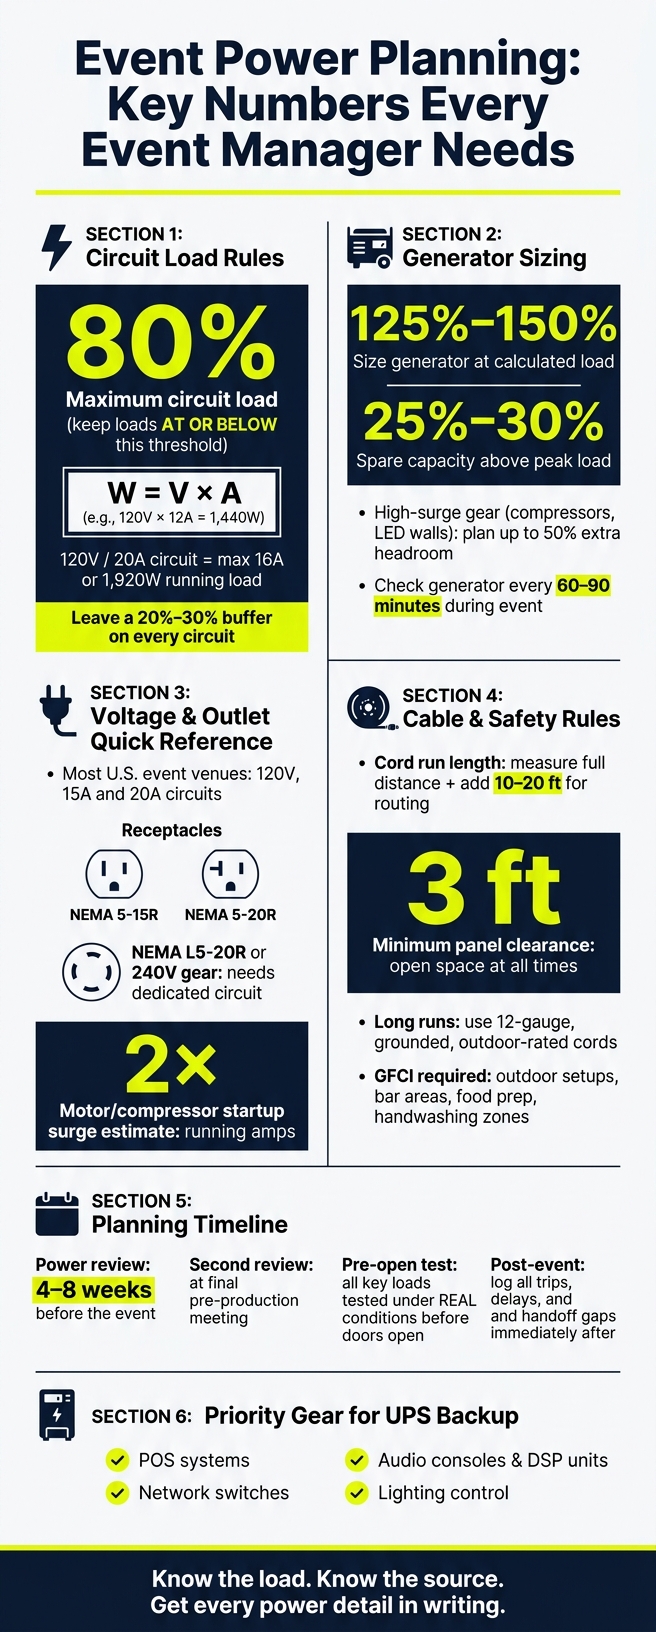
Leave a 20%–30% buffer on each circuit. On a 20A, 120V circuit, that means planning for no more than about 16A (1,920W) of running load.
A booth with refrigeration, hot holding, coffee service, and POS may need more than one 20A circuit.
After you total each booth, group nearby vendors by the panel or generator output they’ll share, such as a West Tent Kitchen Zone or Main Exhibit Hall Aisle 100–200. Then add up the booth loads inside each zone and compare that number with the circuit capacity you have.
A floor map helps here. Mark which booths share each circuit or panel so the layout is clear at a glance.
Then match each booth and zone total to the actual power source. Use those numbers to confirm outlet types, circuit counts, and generator needs.
Once booth and zone loads are set, the next job is simple: make sure the venue or generator can actually support them, and make sure every outlet, cord, and handoff lines up with the plan. This is where estimated demand turns into confirmed power access, cable runs, and clear ownership.
After you total each booth and zone, check the power source behind those numbers. Start with a full electrical inventory from the venue. You want to know how many 120V/20A circuits are available in each room or zone, where the panels sit, and whether there are any dedicated drops for high-draw gear.
If the event is outdoors, under a tent, or in a remote area like a parking lot or satellite bar zone, you’ll often need a generator. Size it at 125% to 150% of your calculated load. Also confirm whether venue power or generator service will stay on during setup and overnight, not just during event hours. That detail matters more than people think.
The most common receptacles in U.S. event venues are NEMA 5-15R and NEMA 5-20R. Higher-capacity setups may also use locking receptacles like NEMA L5-20R or NEMA L6-20R for 208/240V equipment.
Confirm plug types ahead of time. Then make sure any adapters or power strips are UL-listed and rated for the circuit. And don’t daisy-chain power strips. That’s asking for trouble.
For cord runs, measure the full distance, then add 10–20 ft for routing. For longer runs, use 12-gauge, grounded, outdoor-rated cords.
Use the matrix below to avoid the usual gaps between venue power, vendor cords, and electrical tie-ins. Assign each item before load-in so no one is stuck saying, “I thought someone else had that.”
| Component | Typically Responsible Party |
|---|---|
| Building power, existing outlets | Venue |
| Generator, main distro panel, primary cabling | Planner or production company |
| Panel tie-ins, load balancing, grounding verification | Licensed electrician |
| UL-listed power strips, extension cords, device adapters | Individual vendors |
| Cable covers, ramps, distribution boxes (spider boxes) | Planner, electrician, or rental provider (confirm in contract) |
Before load-in, attach the power map and each vendor’s assigned circuit, max wattage, and cord spec to the event record. That gives your team one place to check instead of hunting through emails at the last minute.
With source ownership assigned, the next step is safe routing and cable protection.
Once power sources are confirmed and ownership is clear, the next job is simple: make sure every cord, cable, and circuit is safe before anyone plugs in. That means checking for fire risk, trip hazards, and weather trouble before they turn into a day-of mess.
Use grounded cords and power strips that match both the load and the location. Don’t use anything with frayed outer jackets, missing ground pins, adapter plugs that bypass grounding, or daisy-chained power strips. Check each cord from one end to the other before use.
GFCI protection matters anywhere water, moisture, or conductive surfaces might come into contact with electrical gear. That includes outdoor setups, bar service with ice or meltwater, food prep areas with sinks or dish stations, and temporary handwashing or restroom zones. To confirm protection, find the GFCI outlet or breaker, press TEST to make sure it trips, then press RESET to bring power back. During setup, test every GFCI device and log the result in your event power record. If you can’t confirm a circuit is protected, treat it as unprotected and add a plug-in GFCI adapter at the point of use.
For food and outdoor vendors, keep cords away from heat, grease, sinks, and meltwater.
Then route those cords so they stay out of the way of guests, carts, and wet spots.
Run cables along walls, under tables, and through back-of-house paths whenever you can. If a cable has to cross a guest walkway, use a floor cover, ramp, or overhead run. Tape alone isn’t enough in those spots.
| Route Method | Guest-Area Trip Risk | When to Use |
|---|---|---|
| Floor cable covers (ramps) | Low; ADA-friendly options available | Guest walkways, high-traffic areas, anywhere wheels or strollers are present |
| Overhead cable runs | Very low; no floor cords | Rigged venues, long spans, areas where floor routing is impractical |
| Taped floor routes | Medium to high; tape can lift | Staff-only areas with light traffic and no guest or wheel access |
If taping makes sense, use gaffer's tape, not duct tape. Lay cables flat and side by side, then press the tape down across the full run instead of placing short strips every few feet. Check again before doors open, and do one more check midway through the event. Tape lifts. Covers shift. High-traffic areas are where small problems turn into trips fast.
Once routes are set, label every circuit so staff can track a trip without wasting time.
At the panel, label each breaker by zone and load, such as "Zone B – Catering West" or "Stage – Audio Right." Mark each distribution box or outlet with the same code so staff can trace a tripped breaker fast. Keep the panel label map up to date.
Panels need to stay physically clear at all times, with at least 3 feet of open space in front. Don’t let decor, catering racks, or storage block access. Access should be limited to the venue engineer, licensed electrician, or the event power lead assigned to the job. A locked panel cover, with keys held by shift leads, is a simple way to control access without slowing down proper troubleshooting.
Have one staff lead manage the event schedule and track breaker labels, GFCI test results, and response actions in the master power log.
Carry the labels, GFCI test results, and cable notes into the day-of power log.
With cables in place, circuits labeled, and GFCI checks logged, this is where the plan has to hold up in the real world. Before guests walk in, every key system should be tested under actual load, every staff role should be owned by a specific person, and every must-stay-on circuit should have a fallback.
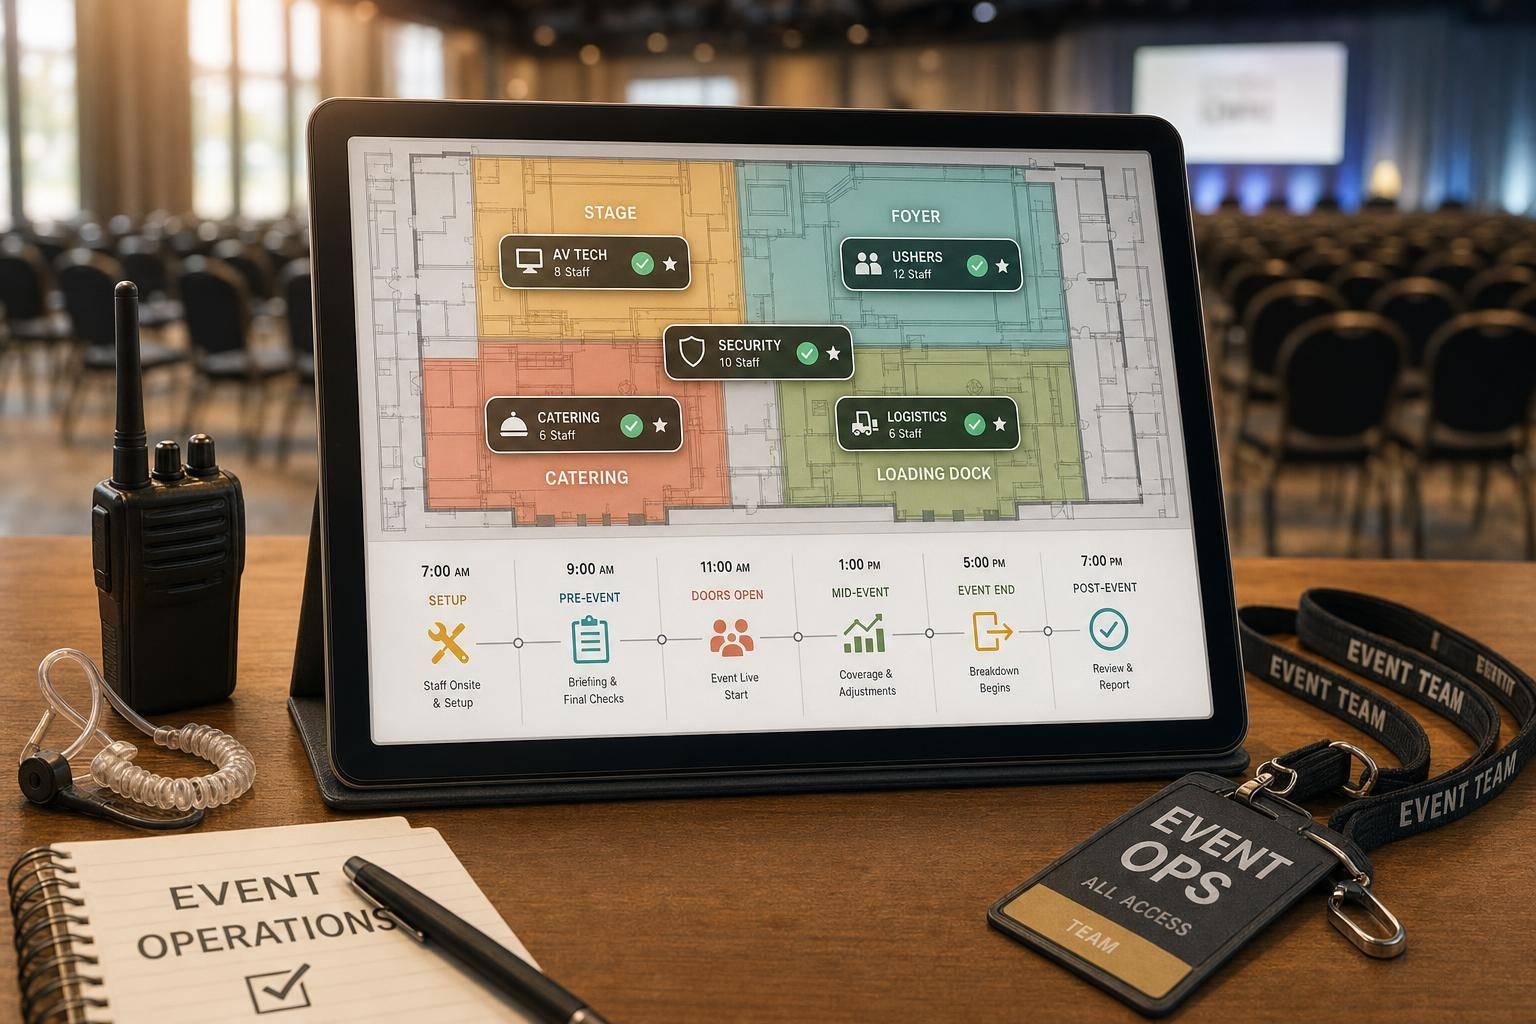
Start with the circuit labels, GFCI results, and cable notes from setup. Turn that into one master log that lives in both print and digital form. Include a global circuit tab plus quick-reference pages by zone, like the catering kitchen, bar area, or main stage, so staff can spot problems fast when things get hectic.
Your log should track booth or vendor name, zone or location, circuit ID or breaker number, power source, expected load, priority, test status, contact, and issues. Use color coding for top-priority loads like refrigeration, PA, and POS. Generator-fed loads should stand out right away.
Then build a test schedule by working backward from the doors-open time. Give refrigeration, POS, AV, and other key loads their own test windows. These tests need to reflect actual use, not a half-check. That means refrigeration loaded with product, hot equipment brought up to service temperature, POS tied into the live network and merchant account, and AV running at full audio levels. If you see voltage drops, tripped breakers, or odd generator behavior, log it and fix it before guests arrive. Then verify each circuit under real load before doors open.
Once the log is done, assign clear ownership for each circuit and zone. This avoids one of the most common event-day problems: everyone thinks someone else is watching the power.
At a minimum, set these roles:
If your team is small, double up where it makes sense. The bar lead can also act as the utility runner for the bar zone. But the escalation rule should be written down, not left to memory. If refrigeration has a problem, it goes straight to the power coordinator and venue electrician. No detours. A short escalation guide with contact details for each technical partner cuts out hesitation when something trips during peak service.
Use Quickstaff to assign power roles, set shifts, track availability, and send reminders.
Keep continuous loads below 80% of each circuit's rated capacity. For generators, plan for 25–30% spare capacity above your calculated peak load. If the event includes high-surge gear, like large compressors or LED walls, plan for up to 50%. Mark critical circuits with reserved headroom in the master log, and set a hard rule: no extra equipment gets added on event day without sign-off from the power coordinator.
Put consoles, DSP units, network switches, and POS hardware on UPS so they can ride through short sags without rebooting. Assign one staff member to log fuel, load, and alarms every 60–90 minutes. Schedule refueling during low-demand windows, never during peak service. Write the procedure out ahead of time, with steps for safe shutdown, proper fuel containers, and fire-safe spill prevention.
Once you've done the load math, checked the source, and mapped the cable runs, make one last pass before load-in. This is where you catch the small stuff that turns into big headaches: missing loads, loose links, and power jobs that nobody owns.
Before doors open, check three things:
Then check the setup on site. Look at rated cords, grounding, and GFCI protection, and assign one person to watch the power setup and handle trips if they happen.
After the event, record any circuit trips, setup delays, and unclear handoffs. Do it right away while the details are still fresh, so the next checklist starts with a cleaner power plan.
If a label doesn’t show startup surge, plan for peak load based on what the equipment does and how your event’s power setup is arranged.
If you still can’t verify it, make sure your backup systems and distribution cables can handle possible power spikes. It also helps to check the manufacturer’s technical specs or talk with an electrician. Having a dedicated troubleshooter on-site can save time if something acts up.
Use a generator if the venue’s power supply can’t support your equipment load, if you’re working outdoors or in a remote spot with little to no utility access, or if the venue can’t promise steady power for sensitive gear.
To figure out whether you need extra power, check your equipment’s electrical specs and compare them with the venue’s capacity limits during your site assessment.
Put mission-critical equipment on a UPS first. That means anything that would seriously disrupt event operations, communication, or safety if it went down.
Start with communication systems, main AV controls, and digital check-in or event management software. Then make sure those power priorities line up with your overall venue logistics and setup plan.