Ultimate Guide to Event Equipment Storage
May 15, 2026


Proper storage of event equipment saves time, protects your investment, and reduces replacement costs. Whether you’re managing a small inventory or a large warehouse, here’s how to keep your gear safe, organized, and ready to use:
Taking care of your event equipment is about more than just storing it - it's about protecting your investment and making sure it's always ready to go. Here’s how to keep your gear safe, organized, and accessible.
Some of the most common storage mistakes are also the easiest to fix. Always stack heavy items on the bottom and lighter ones on top. Avoid placing anything directly on bare concrete floors, as moisture can seep through and damage items like linens, electronics, or wooden components. Using wooden or plastic pallets can create a simple but effective barrier.
Electronics require extra attention. Monitors, laptops, and flat-screen displays should be stored vertically to avoid screen damage from pressure. Instead of standard packing materials, wrap these items in anti-static bubble wrap or foam to prevent static discharge from harming circuit boards. As David Thompson from Stuf Storage explains:
"If your equipment has a circuit board, a screen, or moving parts sensitive to moisture, yes, you need climate-controlled storage."
Climate-controlled units are particularly important, maintaining temperatures between 55°F and 80°F. This matters because standard storage units can heat up to 30°F higher than the outside air during summer months.
Once your gear is protected, organizing it by how often you use it can save time and headaches. Use zones within your storage space. High-use items like folding tables, basic linens, or standard AV cables should be kept near the entrance at waist-to-eye level for easy access. Seasonal or specialty items, such as holiday decorations or unique props, can be stored further back or on higher shelves.
Another smart move is creating event-ready kits. These are pre-packed containers tailored for specific event types, like a "Wedding Kit" or "Corporate AV Kit", which include all the necessary cables, connectors, and accessories. This way, you’re less likely to show up at an event missing something critical.
Color-coded labels can also make a big difference. For example, tagging bins with labels like "Summer Festival" or "Winter Gala" makes it easier to rotate items during the off-season and simplifies storage.
Different types of gear require different storage strategies. Here’s a quick guide to help you handle your equipment properly:
| Equipment Type | Recommended Method | Key Protection Step |
|---|---|---|
| AV / Electronics | Padded or rigid cases | Store vertically; remove batteries for long-term storage |
| Tables & Chairs | Furniture carts or dollies | Disassemble and stack chairs up to 10 units high |
| Banners & Vinyl | Rolled around cardboard tubes | Never fold - folding causes permanent stress lines |
| Linens & Fabrics | Sealed bins on shelving | Wash, air-dry completely, and keep off concrete |
| Inflatables | Rolled on a tarp, on pallets | Air-dry while inflated for 30–60 minutes before packing |
| Tents & Canopies | Separate boxes for poles and fabric | Clean and dry thoroughly to prevent mildew |
For AV cables, use the "over-under" coiling technique to avoid internal strain and extend their lifespan.
Using the right storage methods for each type of equipment not only protects your gear but also makes event setups faster and more efficient. This efficiency is further enhanced by using an automated event staffing system to ensure the right team is on-site to handle the gear. As Itefy points out, "A single investment in protective gear is more cost-effective than repeatedly replacing damaged equipment."
Before committing to a storage unit or reorganizing your back room, start by measuring your largest items - think staging platforms, tent poles, or furniture carts. Once you’ve got those dimensions, factor in extra space for walkways, shelving, or pallet rows. One common misstep? Focusing only on floor space. Don’t forget that vertical height can make a huge difference in how efficiently you use the space.
Here’s a quick guide to typical storage unit sizes and what they’re best suited for:
| Unit Size | Best For |
|---|---|
| 5' x 5' to 5' x 10' | Linens, signage, foldable tables, portable lighting |
| 10' x 10' | Furniture sets, staging components, full decor collections |
| 10' x 15' to 10' x 20' | Full event kits, large props, combined AV and furniture |
If you’re unsure, many self-storage facilities offer online tools to help you visualize how your items will fit into different unit sizes. Once you’ve calculated your space needs, you can design a layout that makes the most of every square inch.
A well-thought-out layout and budget-friendly staff scheduling tools can save you precious time on hectic event days. Start by grouping items into categories - AV gear, linens, furniture, etc. - and then organize them by how often you use them. High-use items should be stored near the entrance, while seasonal or rarely used gear can go toward the back or on higher shelves. Always leave clear aisles to ensure easy access and smooth movement.
Furniture carts and dollies are game-changers, not just for transport but also as mobile storage within your unit.
Khamari Alexander, Operations Facility Assistant Manager at Charlotte Convention Center, highlights their impact:
"The carts fit both 6-foot and 8-foot-long tables, and they have cut the time we take for breakdowns or setups. ... The carts allow us to get around the building much quicker."
Once you’ve nailed down your space needs and layout, the next step is selecting a storage location that works for your operations. You’ll typically choose between on-site, off-site, or mobile storage options, each with its own pros and cons.
When choosing a storage facility, consider whether it can adapt to your business’s needs during busier seasons. Look for options that allow you to adjust your unit size without locking you into a long-term contract.
With these steps, you’ll be set to build an efficient storage system - a foundation for streamlined inventory management and labeling, which we’ll dive into next.
A well-organized layout is key to efficient equipment tracking. Without a proper system, items can easily go missing - a costly issue for event vendors. A dependable inventory system not only cuts down on losses but also speeds up event setup and scheduling.
Start by sorting, cleaning, and grouping your equipment. Discard broken items, thoroughly dry everything to avoid mold or corrosion, and group similar items together - lighting with lighting, catering with catering, and so on. Once organized, decide on a tracking method.
For smaller operations, a detailed spreadsheet might do the trick. But as your inventory expands, digital inventory software becomes a smarter choice. These tools allow real-time tracking across devices, helping you keep tabs on what you have, where it is, and its condition. Pre-assembled event kits can also save time during setups.
Once your inventory is digitized, labeling becomes the next step to ensure every item has its rightful place.
Labels aren’t just for identification - they’re a roadmap for your team. A strong labeling system often combines multiple methods based on the type of item:
| Labeling Method | Best For | Key Benefit |
|---|---|---|
| Color-Coding | Linens, decor, themed props | Quick visual identification in large storage spaces |
| Barcodes/QR Codes | AV gear, electronics, high-value items | Accurate tracking and maintenance records with fewer manual errors |
| Text-Based Labels | Event kits, seasonal items | Adds specific details like "Winter Wedding 2026" or "Fragile" |
| Photo Records | Complex decor, centerpieces | Lets staff see crate contents without opening them |
Don’t stop at individual items - label storage zones too. Clearly mark shelves, bins, and floor areas to ensure everything is returned to its proper "home". For event kits, attach laminated checklists to containers so staff can quickly confirm contents.
"Organization speeds up prep and breakdown. When everything has a clear 'home,' you spend less time searching and more time creating memorable events." - Circle Storage
Use durable, weather-resistant labels that can withstand frequent handling and various conditions. A solid labeling system also pairs well with smooth check-in and check-out processes.
Maintain detailed logs for every piece of equipment checked out and returned. This process doesn’t just track item locations - it helps identify damage early and keeps everyone accountable.
For checkouts, record the item ID, quantity, condition, destination, and the staff responsible. Upon return, note the date, quantity, any damage or wear, and whether the item has been cleaned. Barcode or RFID scanning can streamline this process and reduce manual entry errors.
After each event, reconcile the logs with returned items and perform cycle counts to ensure your digital records match your physical inventory. This ensures your system remains reliable, even during the busiest event seasons.

Event Equipment Storage Methods by Type: Quick Reference Guide
Once your inventory is well-organized, it’s time to fine-tune your storage methods to suit each type of equipment. Different items have unique requirements - what works for folding chairs isn’t going to cut it for tents, lighting rigs, or fragile glassware.
Moisture is the number one enemy of tents and canopies. Repairs or replacements can run anywhere from $500 to $5,000, so proper care is essential. Clean these items with mild dish soap and a soft-bristle brush - avoid bleach or ammonia, as they can weaken vinyl coatings and seams. After cleaning, let everything air-dry completely for 30–60 minutes, paying extra attention to seams and stitching before packing.
To prevent creases that lead to cracking or leaks, roll vinyl tops instead of folding them. Place a clean tarp underneath during this process to avoid abrasion. For larger tents (30x30 ft or larger), a rolling machine can make the task more manageable and compact. Poles should be stored horizontally on industrial racks instead of leaning against walls, which can cause warping. Keep metal components off concrete floors to avoid corrosion, and maintain a storage temperature between 50–80°F.
Tables and chairs need thoughtful storage to avoid damage and save space. Use specialized carts for banquet tables to maximize vertical storage. Round tables can roll into rows beneath 96-inch-wide shelving units, while farm tables should be stored face-to-face on pallets with packing blankets between them to prevent scratches. Organizing items based on how often they’re used can also make setting up and breaking down events much smoother.
Stack standard banquet chairs 6–10 high, but upholstered chairs should go on racks to prevent fabric and cushion wear.
"When you stack heavy chairs on top of each other, they start to sink in. And if you don't have each one completely protected, you're going to cause damage to them." - Joe DiBlasio, Executive Vice President of Operations, AFR Furniture Rental
For linens, always wash and fully dry them before folding. Never store fabric directly on concrete floors, as moisture can seep through even in dry environments. Climate-controlled storage is the safest option for preserving fabric inventory.
Cleanliness is key for catering equipment. Make sure all items are thoroughly cleaned and dried to prevent corrosion and mold. Keeping detailed logs for fragile items can help minimize risks during busy event seasons. For glassware, use dedicated glass racks with color-coded bottoms to separate types - for instance, red for wine glasses, blue for water glasses, and yellow for champagne flutes. This system speeds up event prep and reduces breakage from rummaging through mixed crates.
Store plates in bundles of 5 or 10 using milk crates, which stack neatly and protect the rims from chipping. Fragile servingware should be wrapped individually and stored away from heavier items that might shift during transport.
Audio-visual and power equipment is both expensive and delicate, so proper storage directly impacts its lifespan. Coil cables loosely using the over-under method to avoid damaging the internal wires - tight coils can stress the conductors and shorten their life. Hang coiled cables or store them in labeled bins instead of piling them up.
Bulbs, lenses, and speaker drivers should be stored in their original or padded hard cases for extra protection. Keep all power equipment elevated and away from moisture. For AV gear, even small temperature changes can accelerate wear, so climate-controlled storage is highly recommended.
Decor items tend to be fragile and time-consuming to replace, making careful storage crucial. Wrap delicate pieces individually - glass vases, ceramic accents, and centerpiece components should all be cushioned with bubble wrap or foam before being placed in crates. Avoid overpacking to reduce the risk of breakage.
Flat signage should be stored vertically to prevent warping, not stacked horizontally. Use photo records (as discussed in the labeling section) to help staff identify crate contents without having to open each one. Seasonal or themed decor should be grouped together in clearly labeled bins, making it easy to grab the right items for specific events.
When it comes to protecting your equipment, long-term storage is just as important as daily maintenance. Without proper precautions, storage conditions can lead to damage that compromises your investment.
Maintaining a stable environment is critical for long-term preservation. Aim to keep temperatures between 50°F and 80°F and humidity levels below 50%. Deviating from these ranges can cause wood to warp, metal to rust, vinyl to crack, and fabrics to develop mold. Non-climate-controlled units can be especially risky - these spaces can heat up to 30°F above the outdoor temperature. For example, on a 90°F summer day, your storage unit could reach a scorching 120°F.
"Climate control is an investment, and one that will cost 20%–50% more than traditional units - but it's well worth the price to not have to replace your valuables down the line." - Dave Collins, General Manager, SpareFoot
On average, a climate-controlled 10'x10' unit costs about $190 per month, compared to $180 for a standard unit. That slight price difference can save you from costly repairs or replacements. However, steer clear of facilities that rely on evaporative (swamp) cooling, as this method adds moisture to the air, increasing humidity levels. Always verify the facility's climate-control system before committing to a lease.
Proper packaging is essential to safeguard your equipment during long-term storage. While specifics vary depending on the item, a few general rules apply:
Here’s a quick reference guide for packaging different types of equipment:
| Equipment Category | Recommended Packaging | Primary Goal |
|---|---|---|
| AV / Electronics | Padded hard cases, bubble wrap | Protect against impact, dust, and moisture |
| Linens & Fabrics | Canvas or mesh bags, stored on pallets | Prevent moisture buildup and allow airflow |
| Tents & Inflatables | Breathable bags with desiccant packs | Avoid mold and mildew |
| Furniture | Furniture covers, disassembled flat | Guard against dust, scratches, and warping |
| Banners & Signage | Rolled with tissue paper between layers | Prevent creases and ink transfer |
Before placing anything in storage, make sure it’s completely dry. Mold and mildew can form within 24 to 48 hours if items are packed while damp. Allow at least 30–60 minutes of air-drying after cleaning, using fans or blowers for larger items.
Other key steps include:
Good storage practices only work if everyone on your team is on the same page. Without clear guidelines, even the most organized storage system can quickly fall apart, especially after a few hectic event weekends. The key to maintaining equipment integrity lies in establishing clear cleaning and packing protocols.
Cleaning every piece of equipment before storing it is non-negotiable. Dirt, oils, and residue can weaken materials like vinyl and fabric, while moisture can lead to mold growth in as little as 24 to 48 hours. Stick to mild soap and soft-bristle brushes for cleaning, steering clear of bleach or harsh chemicals that can strip protective coatings or damage seams.
Packing is just as important as cleaning. Follow standardized protocols for rolling, folding, and disassembling equipment. To ensure consistency, post a laminated checklist in the storage area. This can serve as a quick reference for steps like removing batteries or disinfecting surfaces, reducing the chance of skipped tasks.
Once these standards are in place, regular inspections become essential for catching potential issues early.
Routine inspections are your best defense against costly repairs. During slower periods, schedule inspections every 4–6 weeks to look for signs of moisture buildup, pest activity, or compression damage on heavier items. Preventive maintenance like this can cut repair costs by up to 40%, while emergency fixes often cost 25–30% more due to expedited parts and higher labor rates.
Structured inspection checklists ensure consistency across the team, regardless of experience level.
"A time-based PM must be accomplished in ten percent of the time frequency or it is out of compliance." - Doug Stangier and Ricky Smith, Preventive Maintenance Made Simple
An organized storage layout is only half the battle - rotating seasonal inventory helps minimize wear and tear. Arrange your space so frequently used items are stored near the front, while seasonal gear is placed at the back. This reduces unnecessary handling and lowers the risk of accidental damage during retrieval.
For heavier items like furniture stacks or rolled tents, rotate their positions every 2–3 months to prevent compression marks or flat spots. Pre-packaging inventory into event-specific kits - like a "Wedding Kit" or "Corporate Event Kit" - can save time and keep your team from rummaging through unrelated gear before an event.
Once you've nailed down robust storage protocols, the next step is making sure your staffing aligns perfectly. Efficient storage management doesn't just depend on systems - it needs a well-coordinated team. From setup crews to teardown teams and inventory handlers, everyone needs clear instructions. But managing all of this manually? That can eat up precious time.
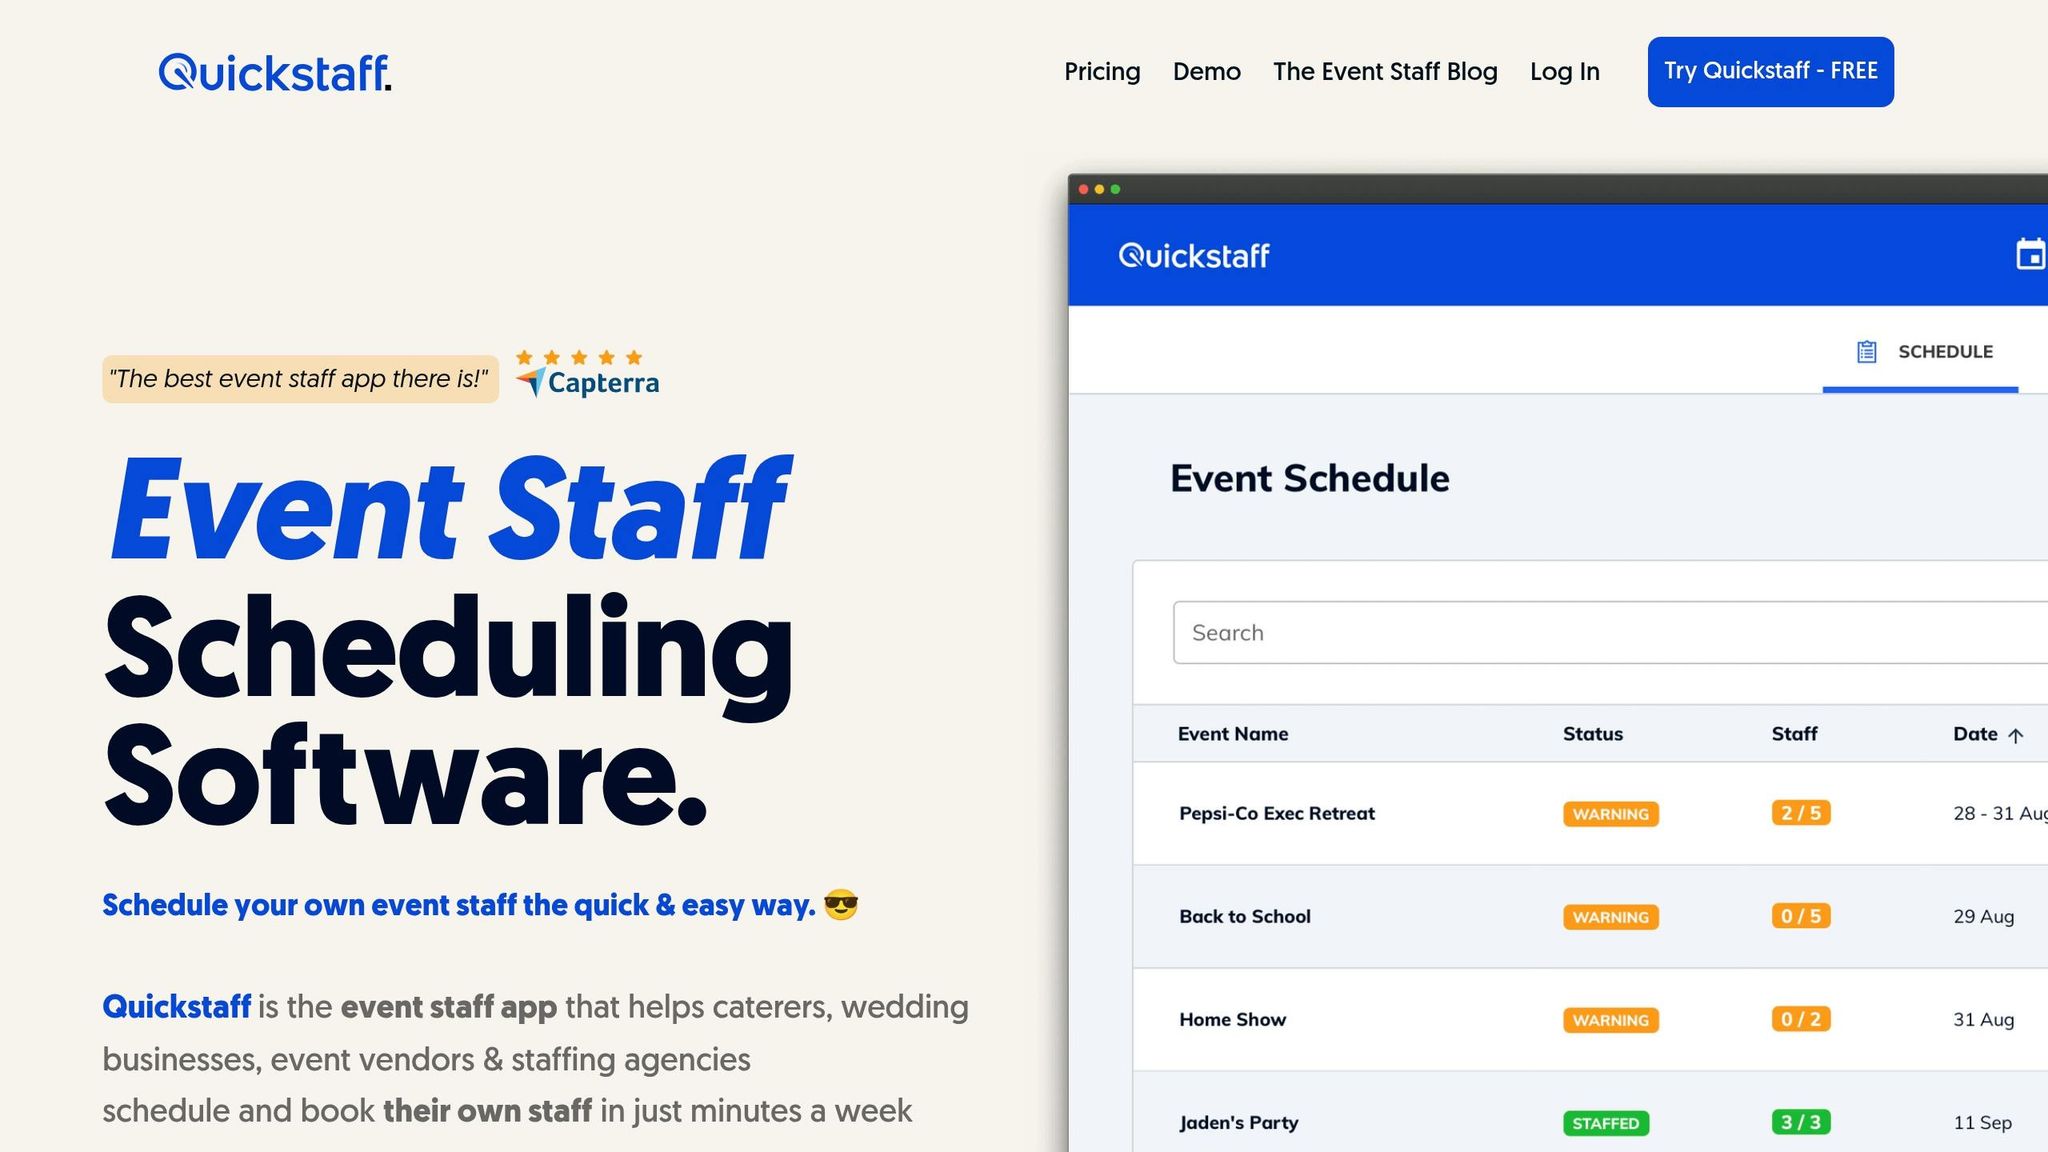
Quickstaff was designed specifically for event vendors like caterers, wedding planners, and staffing agencies who manage their own teams. It simplifies role-based scheduling, assigning staff to specific tasks like loading, assembly, or inventory management. This ensures that guest-facing staff remain focused on hospitality while production crews handle the heavy lifting. It’s a staffing solution that works hand-in-hand with your storage management system.
One standout feature is the ability for staff to attach critical files - such as storage layouts, checklists, or handling instructions - to each event. This means every crew member shows up prepared, knowing exactly what to do and where to go. Say goodbye to last-minute confusion and frantic phone calls.
"Prior to Quickstaff, I was using Excel spreadsheets to track my employees and their shift availability. My life changed the day I started using Quickstaff!" - Jaime S, VP, Lisa's Catering
Quickstaff also keeps tabs on real-time staff availability, helping you avoid double-booking or scheduling someone for an early-morning inventory task after a late-night teardown. Its Automagic Waitlist feature is a lifesaver, letting you invite more staff than needed upfront to ensure shifts remain covered even if someone cancels. For recurring tasks like seasonal inventory checks or monthly audits, you can easily duplicate past schedules and tweak the details in minutes.
And here’s the best part: Quickstaff offers a 14-day free trial with no credit card required. It’s an easy way to see if it’s the right fit for your operations. Stick around for more tools and strategies to help you optimize your event management even further.
Event equipment is no small expense - ranging from $1,500 to over $5,000 per unit - and improper storage, like putting away damp gear or ignoring climate control, can significantly cut its lifespan. The upside? Most of this damage can be avoided with the right practices.
Key steps are straightforward but crucial: always store equipment clean and completely dry, maintain a temperature range of 50°F to 80°F, avoid placing items directly on bare concrete, and use a digital inventory system to track what you have and where it’s stored. These measures can add 3–5 years to the life of items like commercial inflatables.
Beyond protecting your gear, these habits streamline your event operations. They lead to quicker setups, fewer forgotten pieces, and smoother teardowns. Start small - label a few bins, create a simple check-in/check-out system, or invest in climate-controlled storage for your AV equipment. These small, steady changes can turn disorganized storage into a dependable, efficient system.
Absolutely. Climate-controlled storage is an excellent choice for protecting high-value or sensitive equipment. It minimizes risks from moisture, dust, pests, and temperature swings - factors that can seriously harm your gear over time. By maintaining stable conditions, this type of storage ensures your equipment stays in great condition, ready to perform whenever you need it. Investing in proper storage now can save you from costly repairs or replacements down the road.
The simplest way to keep track of your gear is by setting up a clear and organized inventory system. Begin with pre-packing: group similar items together, use clear labels (like tags or color codes), and keep an updated inventory list handy. To make the most of your storage space, consider using shelving, stackable bins, or carts. Finally, rely on an inventory checklist to monitor items as they come and go - this helps ensure everything stays accounted for and avoids losing track of your gear.
Picking the right storage unit size starts with understanding what you need to store. If you're dealing with smaller items like holiday decorations or seasonal gear, a compact 5'x5' unit is a good fit. However, for bulkier belongings like furniture, tables, or home decor, you might need to step up to a 10'x10' or even a 10'x20' unit.
To avoid wasting space - or cramming items in too tightly - take the time to measure your belongings or jot down their dimensions. This simple step ensures you'll have enough room for everything without overpaying for unused space.