Event Staff Self-Scheduling: Setup Guide for Managers
July 22, 2026


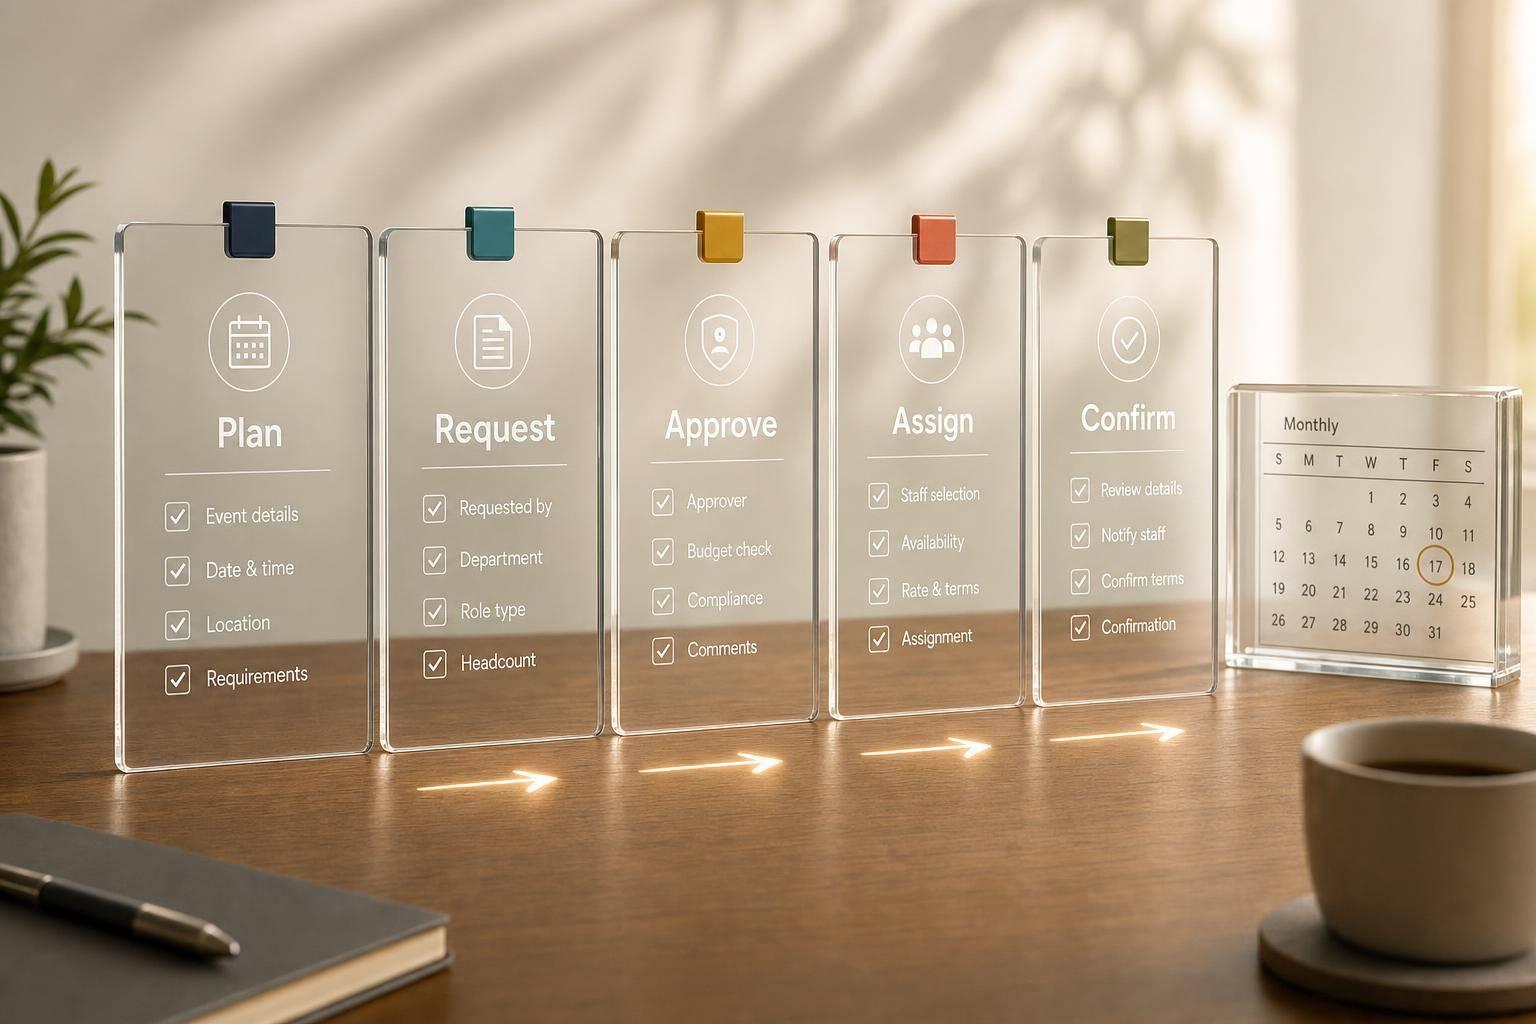
If you run events with hourly staff, self-scheduling works best when you set the rules before shifts go live. I’d focus on six things first: roles, shift templates, eligibility, claim windows, approval rules, and backup coverage.
Here’s the short version: I post shifts with clear times, pay, and job notes; limit who can claim each role; open claims on a set schedule; add drop cutoffs and approvals for riskier jobs; then use waitlists and reminders to cover gaps. A small pilot over 4–6 weeks, plus targets like 95% filled by 48 hours before start time, helps me spot problems early.
What matters most:
This setup gives me a simple flow: post, claim, review, confirm, and backfill.
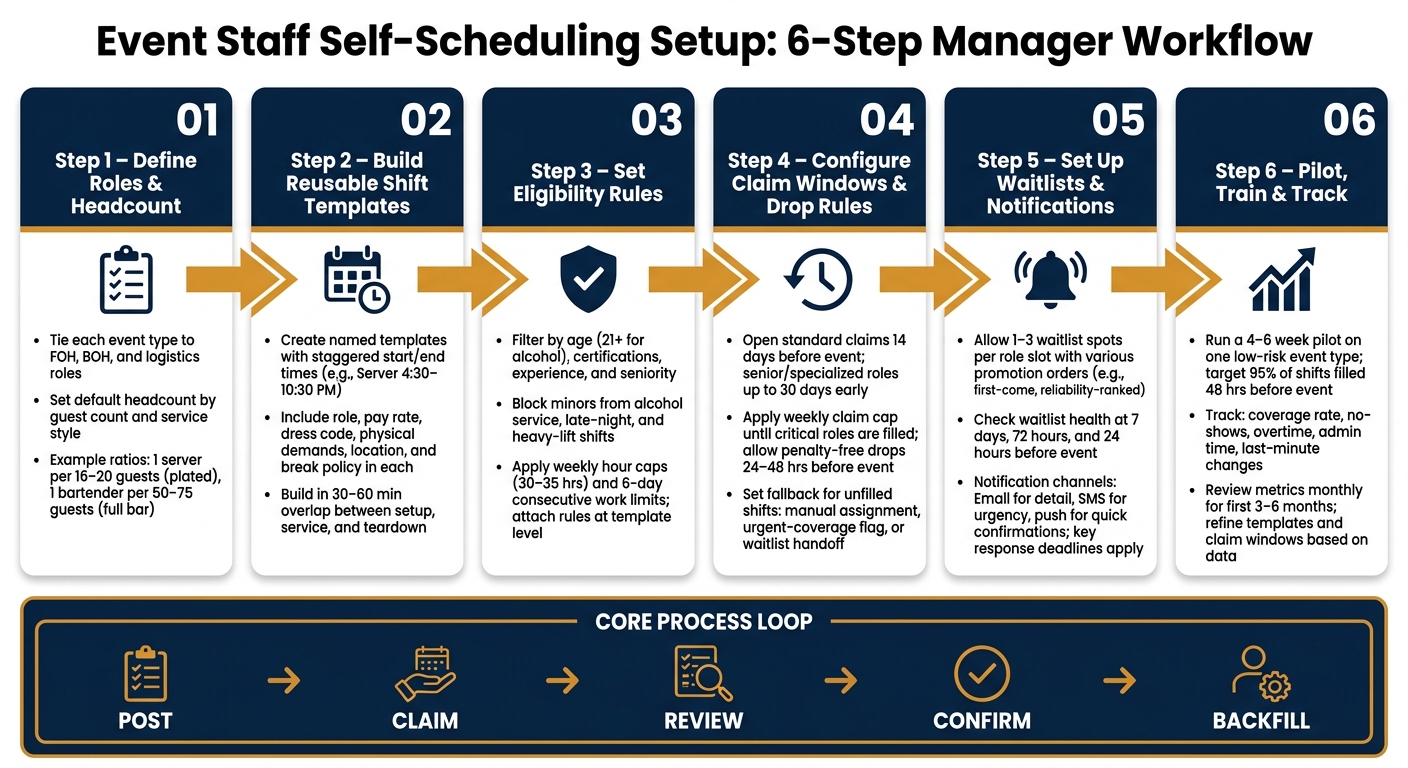
Event Staff Self-Scheduling Setup: 6-Step Manager Workflow
With the workflow mapped out, the next move is to set the rules for who can take each shift. Self-scheduling falls apart when teams try to build every job from scratch for every event. It works far better when roles, headcounts, and shift templates are locked in before claims open.
Start by tying each event type to standard front-of-house, back-of-house, and logistics roles. Then set a default headcount based on guest count, service style, and room layout. Staffing ratios give you a solid starting point, but they shouldn't be treated like gospel. If the menu is more complex, the event has multiple service zones, or guests tend to arrive all at once, you'll likely need more hands on deck.
| Role | Service Style | Ratio |
|---|---|---|
| Server | Plated dinner | 1 per 16–20 guests |
| Server | Buffet | 1 per 25–30 guests |
| Server | Cocktail/passed apps | 1 per 25–35 guests |
| Bartender | Full bar | 1 per 50–75 guests |
| Bartender | Beer & wine only | 1 per 60–80 guests |
| Setup crew | Standard venue | 1 per 20–25 guests |
Captains and floor leads should sit in their own category. They're supervisory roles, not just extra servers or bartenders. Keeping them separate makes headcount planning much cleaner.
After roles are set, turn your usual event timeline into named templates you can reuse. For a standard evening wedding, that might look like Setup Crew – 2:00 PM–6:00 PM, Wedding Server – 4:30 PM–10:30 PM, Bartender – 4:30 PM–11:00 PM, and Teardown Crew – 9:30 PM–12:00 AM.
The goal is simple: bring people in when their work starts, not just when the event starts. Staggered start times help cut dead time and keep payroll tighter. It also helps to build in a 30–60 minute overlap between setup, service, and teardown so the baton pass doesn't get messy. And for teardown, give yourself some breathing room at the end. Events run late. They just do.
Each template should spell out the basics up front:
That way, staff know what they're signing up for before they claim the shift.
Eligibility rules stop the wrong person from grabbing the wrong shift. The best place to set them is at the template level, so every event that uses that template follows the same standards automatically.
For example, alcohol shifts should be limited to staff who are 21+, certified, and approved for that role. Lead shifts should go to people with enough experience to handle them. Minor staff should be blocked from alcohol service, late-night work, and heavy-lift shifts that go against labor rules.
You can also add guardrails around hours and workload. A 30–35 hour weekly cap can help part-time staff avoid overbooking. A six-day consecutive limit can help cut down on fatigue. Overtime flags add one more checkpoint before schedules get out of hand. In Quickstaff, managers can keep these rules attached to each role template so staff only see shifts they're allowed to claim.
Once those rules are in place, you can decide when staff are allowed to claim shifts and whether approvals are needed. After that, the next piece is setting availability windows, drop rules, and approval flows.
With roles and templates ready, the next step is deciding who sees each shift, when they see it, and whether they need approval to take it.
It helps to keep two things separate. Staff availability is the standing record of when someone can usually work. Shift claiming windows are the set time periods when open shifts show up and can be claimed.
For standard events, open claims about 14 days before the event. That usually gives staff enough notice without giving away too much control. For specialized or high-demand roles, you may want a 30-day early-access window for senior staff or people with the right certifications, then open the shift to the rest of the eligible pool after that. A fixed weekly release time also makes life easier because staff learn when to check for new shifts.
Once claims go live, you need guardrails. If you skip them, the fastest people grab everything, and everyone else is stuck picking through what's left.
A simple fix is a weekly claim cap, such as three shifts per person, until the most important roles are filled. After that, you can remove the cap.
Drop rules matter just as much. Let staff drop a shift up to 24 to 48 hours before the event start time without a penalty. Inside that window, require manager approval for any cancellation. That gives your team some breathing room to refill the spot before the day-of rush hits.
When the claiming window closes, unfilled shifts need a clear backup plan. Don't let them just sit there. Set a fallback path based on the event, such as:
The best option depends on the shift. A VIP dinner usually calls for direct manager assignment. A lower-stakes shift can move to manual assignment or an urgent-coverage flag.
Not every shift needs the same level of oversight. Match the approval flow to the event type.
| Approval Type | Best For | Key Tradeoff |
|---|---|---|
| Instant auto-approval | Routine, low-risk shifts with eligible staff | Fastest to fill, but less control |
| Manager review | VIP events, alcohol-service, safety-sensitive roles | More oversight, slightly slower |
| Priority release window | Senior staff or specialized certifications | Improves critical role coverage, adds a layer of complexity |
For high-visibility client events, or any shift that involves alcohol service, require manager review before the assignment is confirmed. Auto-approval is usually fine for standard setup crew or general server shifts when the staff member is already eligible and trained.
Log every claim, approval, denial, and drop in Quickstaff with a timestamp and reason. Next, configure waitlists and reminders so unfilled shifts and late changes are covered.
After your claim rules are in place, the next job is simple: fill gaps fast when someone drops. That’s where waitlists and timed messages come in. They help you backfill cancellations without scrambling at the last minute.
When a role is full, don’t send eligible staff to a dead end. Put them on a waitlist instead. That gives you a backup pool you can tap the moment a cancellation happens.
Start by setting a limit for how many waitlist spots each role can have. For large weddings or corporate galas, 1–3 people per slot is a practical range.
Promotion order matters too. It shapes who gets the next open spot and, in turn, how strong your coverage stays. Pick one rule and stick with it across the event:
Tag staff by reliability or seniority, then note the rule in the event record so managers follow the same process every time.
You’ll also want to check the health of the waitlist at a few key points: 7 days, 72 hours, and 24 hours before the event. If a critical role still has no backup, widen eligibility or send a backup request. If a waitlist grows past 3–5 people per slot, add more slots or shift people around to keep things usable.
Once your backup pool is set, reminders and response deadlines help move people into open shifts without delay.
Each notification should do one job well. That means giving it a clear purpose, the right channel, and a send time tied to the event’s local U.S. time zone.
| Notification Type | Primary Channel | Timing |
|---|---|---|
| New shift published | Email + push | Immediately on publish |
| Claim/approval confirmed | SMS + push | Immediately after action |
| Waitlist promotion | SMS + push | Immediately; include response deadline |
| 48-hour reminder | Email + push | 48 hours before shift start |
| Same-day reminder | SMS + push | 3–4 hours before shift start |
| Emergency update | SMS + push + email | Immediately; all channels |
A good rule of thumb: use email for detail, SMS for urgency, and push for quick confirmations.
Keep date and time formatting in line with U.S. expectations. Show dates in MM/DD/YYYY format and times with AM/PM. If staff may be working across state lines, put the time zone inside the message itself - for example, 5:00 PM Central Time on 09/14/2026. Quickstaff lets you assign a time zone at the event level, which helps reminders and cutoff windows calculate correctly no matter where managers or staff are located.
The last piece is making the action deadline just as clear as the alert itself.
Fast backfilling depends on firm response deadlines. Without written standards, one person replies in five minutes, another checks messages the next morning, and by then the opening may already be filled.
Write those response windows into your self-scheduling policy, then repeat them in your automated templates. A workable baseline is:
If someone doesn’t respond to a waitlist promotion within that window, the system should automatically pass the slot to the next person in line. Spell that out in both the policy and the message so there’s no gray area. Quickstaff templates can back this up by reminding staff to confirm a schedule change within the stated window.
Once your rules, templates, and approvals are in place, start with a small pilot. Turn on self-scheduling for one low-risk event type for 4–6 weeks, and keep manual scheduling for everything else.
Set targets before the pilot begins. For example, you might aim to have 95% of shifts filled at least 48 hours before an event starts or cut manual schedule drafting time by 25%. It also helps to keep a small group of on-call staff scheduled manually as a backup, so any gap during the pilot doesn't affect client coverage.
After 2–3 weeks, check in with staff, talk with supervisors, and clean up anything that isn't working. That could mean tightening templates, changing cutoff rules, or fixing naming and approval steps. Then use what you learn from the pilot before you roll it out more broadly.
Keep training short and tied to real tasks. Focus on five things: updating availability, claiming shifts, checking approval status, handling waitlists, and reading notifications. Staff should also know when shifts open up, when approval is needed, and how waitlists move.
Create a simple one- to two-page internal guide with screenshots from the actual system. Group it by task so people can find answers fast, like:
Run a mock event so staff can practice claiming shifts, dropping them, and joining waitlists. Supervisors should practice approvals and messages at the same time.
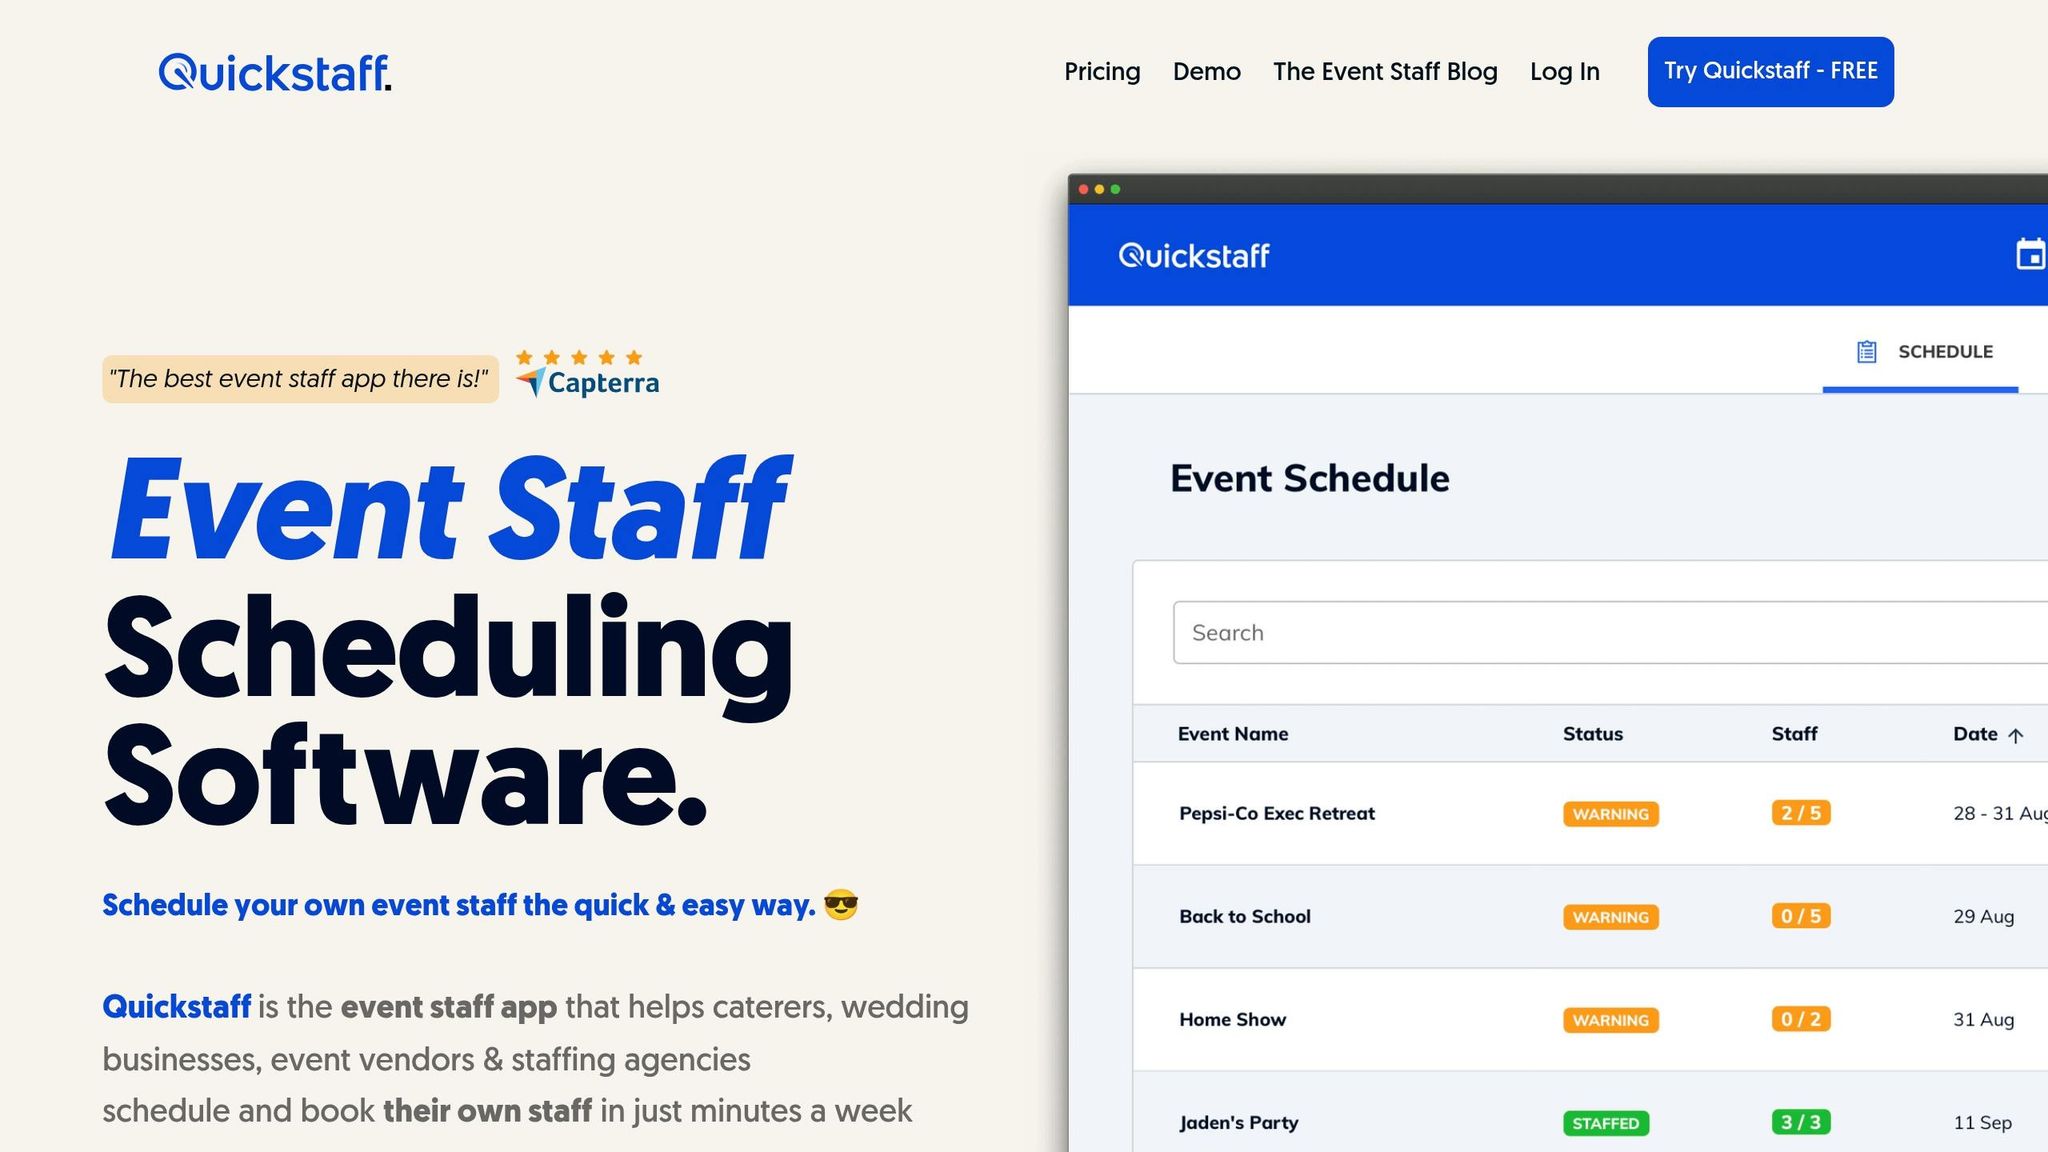
Once the process is live, track a small set of metrics to see where things are slipping.
| Metric | What It Reveals |
|---|---|
| Coverage rate | Percentage of positions filled by your cutoff; a target of 95% or higher is a useful benchmark |
| No-shows | Gaps in waitlist handling or notification clarity |
| Overtime | Whether hours are distributing evenly across staff |
| Admin time | Efficiency gains vs. your pre-launch baseline |
| Last-minute changes | Shifts adjusted within 24 hours of event start |
Review these each month for the first 3–6 months, and do a short check after any major event or seasonal peak.
Quickstaff puts event records, messaging, and reporting in one place, which makes it easier for managers to watch fill rates, overtime, and last-minute changes without jumping between tools. Use that data to tighten templates, adjust claim windows, and cut down on last-minute schedule changes.
Choose the claim window based on how urgent the shift is. For same-day openings, a shorter window of 15 to 30 minutes creates urgency and helps fill the spot fast.
For standard scheduling, give employees enough time to check their availability while still letting your team confirm coverage without delay. The window should match your staffing policies so the process stays fair and qualified staff get the first chance to claim shifts.
Require approval for shifts that need oversight, while still leaving room for flexibility. This works well for overtime, changes to sensitive roles, or situations tied to specific business policies.
In Quickstaff, approval workflows help document shift changes, keep scheduling on track, and confirm that qualified staff are assigned to critical roles.
If waitlists don’t fill open shifts, use Quickstaff messaging to reach specific staff groups, like servers or bartenders, and fill gaps fast. You can also use Check Availability to see which team members are free and send direct shift requests.
It also helps to invite more staff than you need at the start and keep a solid waitlist ready for last-minute cancellations or declines.