Event Staff Onboarding Guide for Growing Teams
August 28, 2026

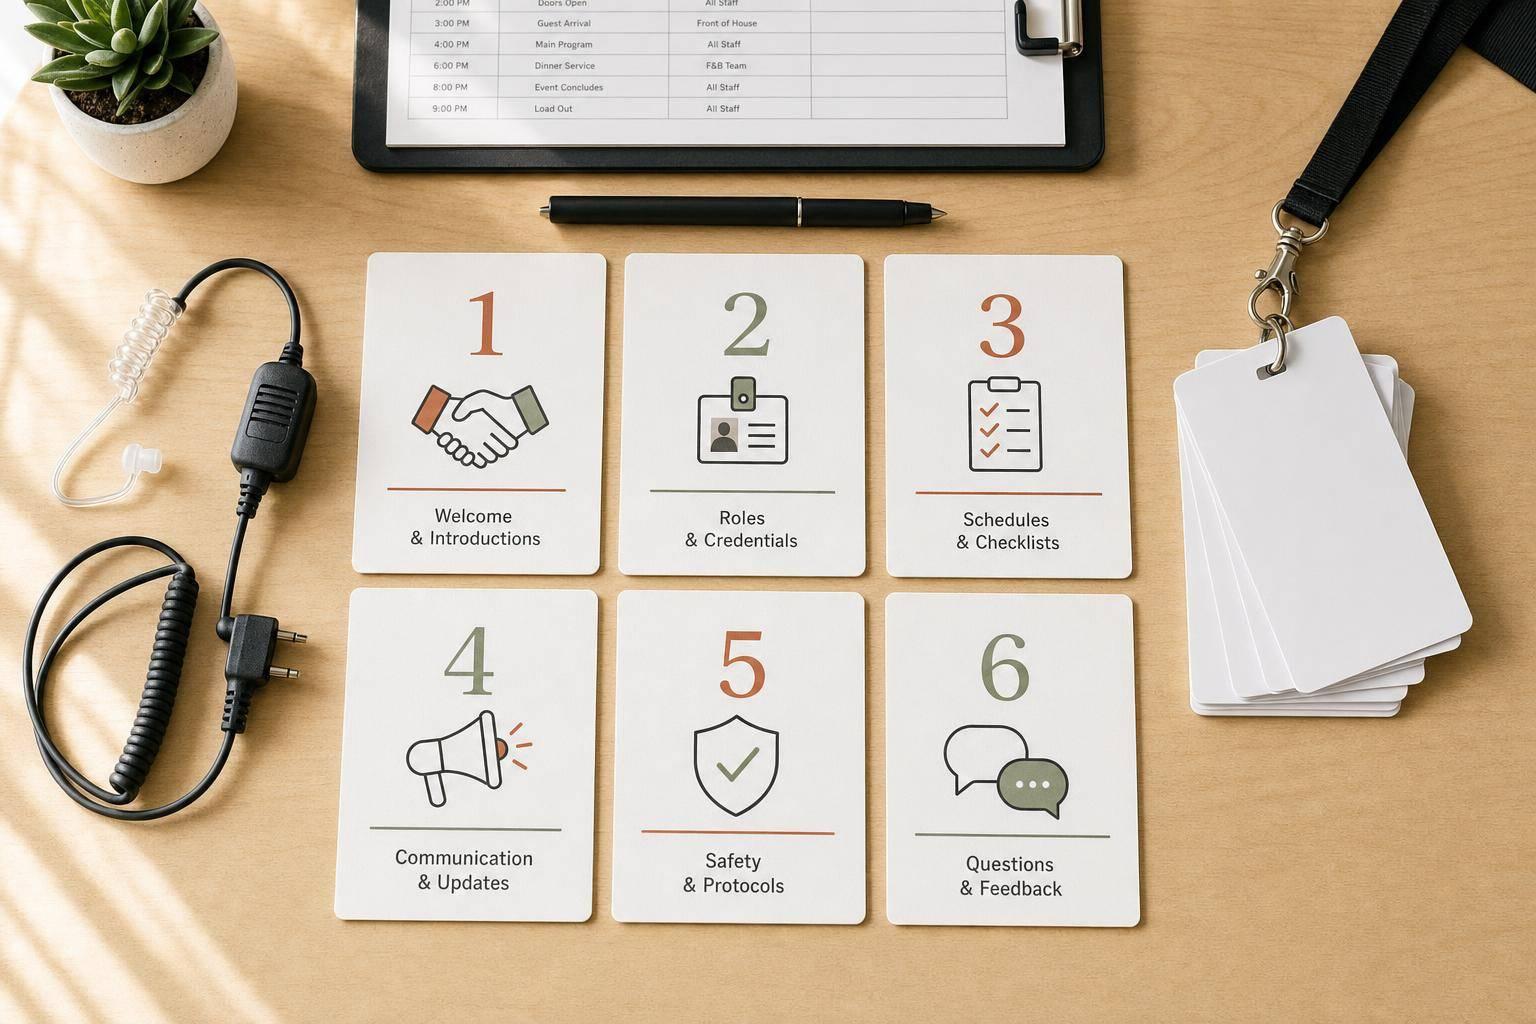
If your event onboarding is different every time, mistakes pile up fast. I’d keep it simple: use one hiring handoff, set role-based steps, send timed shift messages, store staff records in one place, run a short pre-shift briefing, and collect feedback after each event.
For U.S. event teams, the basics are clear:
This kind of process matters because event teams often deal with tight timelines, high turnover, and role changes from one shift to the next. A short, repeatable system helps cut missed paperwork, payroll errors, no-shows, and day-of confusion.
Here’s the full picture in plain terms:
In short: I’d treat onboarding as a system, not a scramble. When each new hire goes through the same steps, teams can grow without rebuilding the process every week.
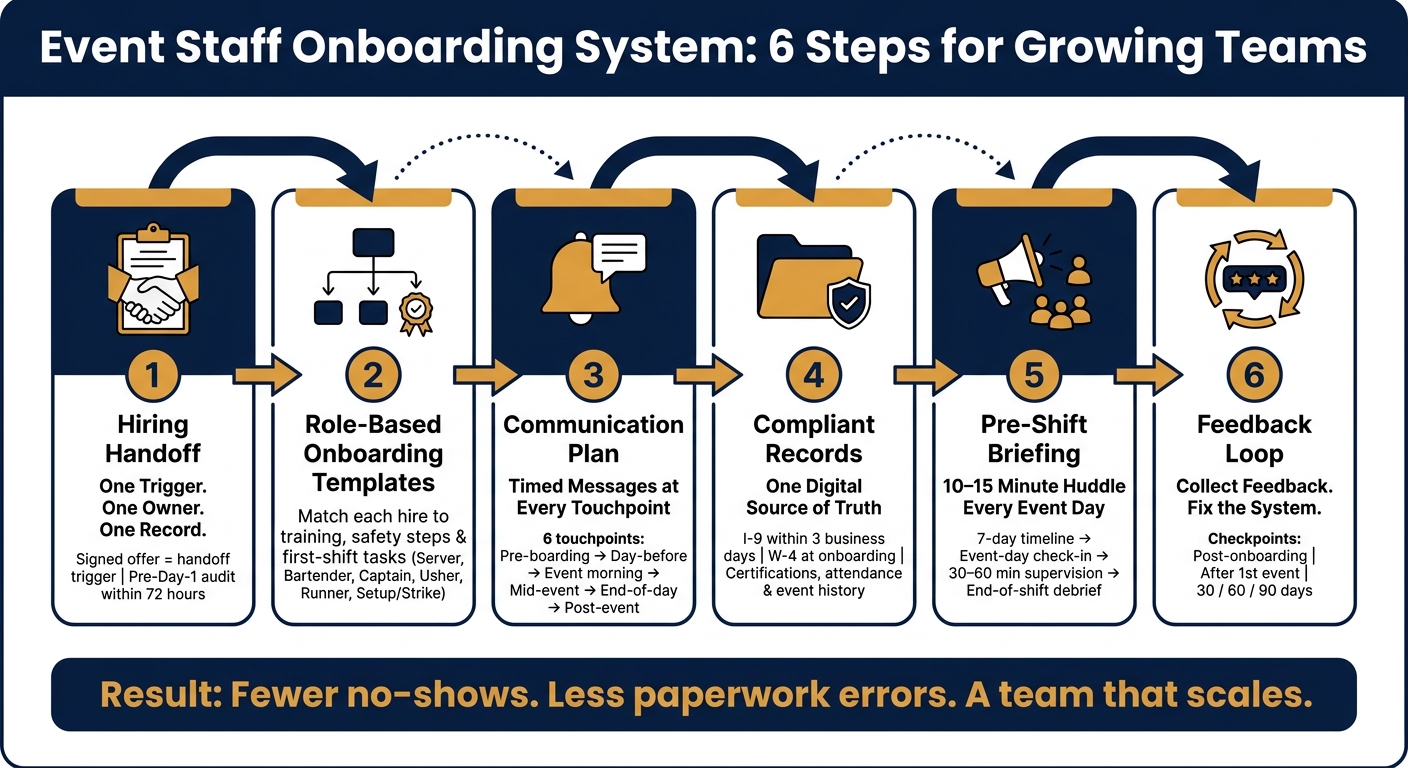
Event Staff Onboarding System: 6-Step Repeatable Process
Use one trigger, one owner, and one system for every new hire.
If the process changes from hire to hire, things slip fast: missed start dates, payroll mistakes, and double-bookings. On top of that, the same handoff data should power role setup, staff communication, and recordkeeping.
Pick a single trigger: signed offer acceptance or written confirmation of the first shift date.
As soon as that trigger happens, ownership should move right away to one named owner. That person handles document collection, data checks, and confirms the new hire is tied to their first event before anyone puts them on the schedule.
A simple rule works well here: no one gets added to an event roster until the onboarding owner marks them ready.
Before the first shift, every new hire record should include the same core fields:
These fields support scalable event scheduling, payroll, and event-day communication. Run a pre-Day-1 audit within 72 hours of the trigger so you can catch missing or wrong details before the first shift.
When staff data is split across spreadsheets, email, and messaging apps, problems pile up. You’re more likely to end up with duplicate records, mismatched pay rates, missed updates, and scheduling conflicts.
Keep profiles, availability, assignments, and reminders in one system so the handoff stays consistent as hiring volume grows. When the profile lives in one place, every manager can see the same details before the first shift.
Once the handoff is done, standardize role setup, communication, and records.
Once the handoff is set, lock in the role, message flow, and record process for every hire. Use the handoff details to assign the right template, message sequence, and record checklist from the start.
Not every role needs the same training, oversight, or safety prep. A bartender needs alcohol service checks and POS training before a first shift. A setup/strike crew member needs clear guidance on ladder safety and equipment handling.
A role matrix makes this simple. It lists the training, safety steps, supervision level, and first-shift tasks tied to each position. Then the handoff data points each new hire to the right template right away.
| Role | Required Training | Safety Requirement | Supervision Level | First-Shift Task |
|---|---|---|---|---|
| Server | Table service, POS basics | Food handler certification | Moderate | Water service, clearing plates |
| Bartender | Mixology, inventory | Alcohol server permit (TIPS/LEAD) | High | Bar setup, drink service |
| Captain | Leadership, floor plan management | First Aid/CPR | Low (self-managed) | Staff briefing, client liaison |
| Registration | Software training, guest experience | Data privacy basics | Moderate | Badge printing, check-in |
| Usher | Venue layout, crowd control | Emergency exit protocols | Moderate | Seating guests, directional aid |
| Runner | Menu knowledge | Heavy lifting safety | High | Food transport, clearing |
| Setup/Strike | Equipment handling | Ladder & lifting safety | Moderate | Table/chair placement, loading |
Build one template for each role, then reuse it. That way, managers already know the training plan, oversight needs, and first-shift tasks before the event begins.
Once each role has a clear template, communication can run on the same track too.
Send the right message at the right time through one main channel, with a backup method for urgent changes.
Every pre-event message should include the event name, date in M/D/YYYY format, start and end times in 12-hour AM/PM format, venue address, role description, dress code, pay rate and payment timeline, arrival time, parking or check-in instructions, training requirements, and supervisor and escalation contacts. Staff shouldn't have to chase any of this down. Quickstaff can centralize event details, reminders, and updates so staff have one source of truth.
| Touchpoint | Timing | Primary Content |
|---|---|---|
| Pre-boarding | Upon hire | Welcome kit, tax forms (I-9/W-4), handbook |
| Day-before | 24 hours prior | Reminder, venue address, dress code check |
| Event morning | 4 hours prior | Final call time, parking instructions, escalation contact |
| Mid-event | During shift | Break schedule, task adjustments |
| End-of-day | Post-shift | Checkout procedure, hours verification |
| Post-event | 24 hours after | Feedback survey, thank-you note |
Each touchpoint should do one thing well. When messages are predictable and complete, staff show up ready, and managers deal with fewer last-minute questions.
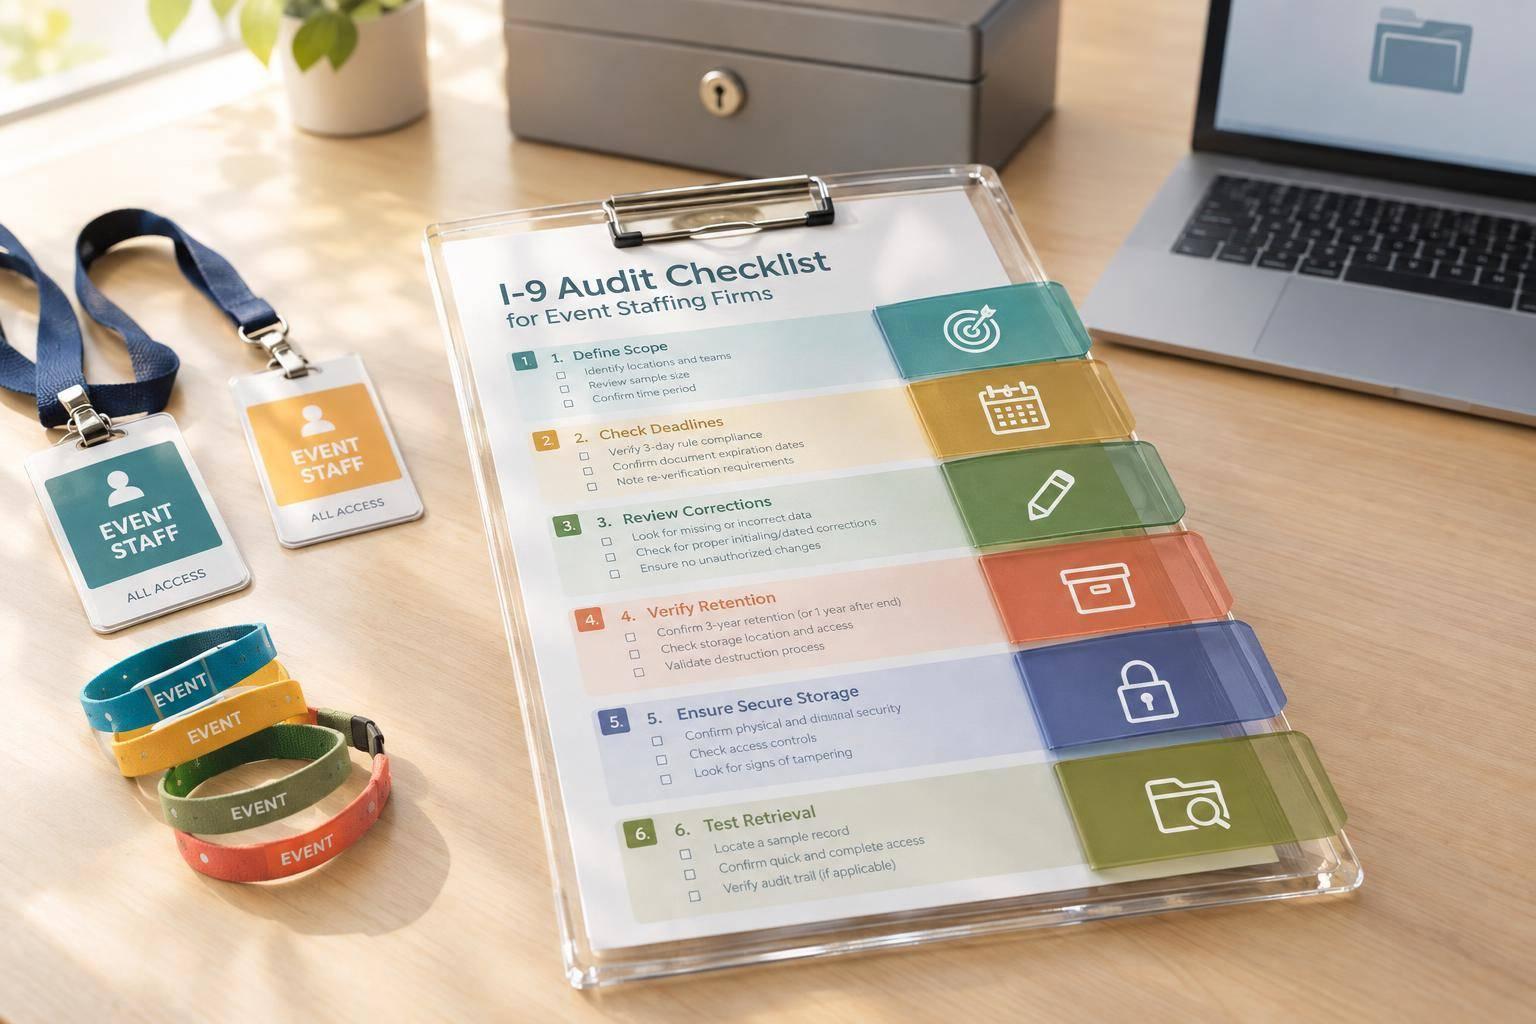
Make records part of onboarding, not a separate admin chore. Track I-9, W-4, and state tax forms in the same system from Day 1.
At a minimum, each staff record should include:
Digital records cut mistakes, make retrieval fast, and lower compliance risk.
| Feature | Paper-Based Records | Digital Records |
|---|---|---|
| Data accuracy | High risk of manual entry errors | High (validated fields, staff-entered) |
| Retrieval speed | Slow (physical filing) | Instant (searchable database) |
| Compliance risk | High (lost forms, expired IDs) | Low (automated expiration alerts) |
| Scalability | Difficult for growing teams | Seamless for any team size |
| Reporting | Manual tallying required | Automated (payroll/attendance exports) |
Connect records to scheduling and certifications so managers can check status fast.
Once roles, messages, and records are standardized, prep the team for the first shift.
Once roles, records, and communication are set, the next job is getting staff ready for the first event - and for every shift that follows. That usually comes down to three simple pieces: a clear pre-boarding timeline, a repeatable pre-shift huddle, and a checklist people can use when things get busy.
Staff should know what their role looks like before they walk into setup. Not while someone is rushing past with a cart. A simple timeline with five touchpoints helps keep that handoff clean, and each step should have one clear owner.
7–5 days out (HR or office manager): Send a welcome email with the pay rate, budget-friendly schedule access, and an availability request for the next 30–60 days. Share dress code basics too, like black non-slip shoes and all-black attire.
5–3 days out (HR/payroll + IT/admin): Make sure paperwork is done so the first paycheck goes out on time. Send any logins, badges, or QR codes needed for venue access. Add the staff member to the right messaging channel, and include transportation or parking details.
3–1 days out (operations manager): Run a short orientation, either virtual or in person. Cover company service standards, safe lifting rules, team lifts for heavier items, punctuality expectations, and what to do if they’re running late. Share the full first-event schedule in U.S. date and time format, plus the venue address and the name and role of the person they should report to when they arrive.
24 hours out (event lead or scheduler): Send a short prep message. Confirm the call time, share a location pin, repeat the dress code, and include weather notes if needed. For outdoor events, send the forecast, shade plan, hydration reminder, and rain plan. Ask staff to reply "confirmed" so you know they saw it.
Event day (event lead/supervisor): Check staff in when they arrive, hand out credentials, and supervise the first 30–60 minutes. At the end of the shift, do a short debrief and review checkout and end-of-shift reporting.
Once that pre-event timeline is done, the in-person huddle ties it all together.
A pre-shift huddle is where onboarding turns into action. Keep it to 10–15 minutes and use the same agenda every time. That way, it still works when the day feels chaotic.
Start with the basics: what kind of event it is, what matters most to the client, and the expected guest count. Then move into service flow and assignments. Who is covering which area? Who is the area lead? What are the key timings for cocktail hour, dinner service, speeches, last call, and breakdown?
After that, cover venue rules. Go over noise curfews, staff-only areas, restroom and meal locations, and any smoking or vaping rules.
Then spend 3–4 minutes on safety and physical demands. Point out exit routes, fire extinguishers, first aid kits, and any AED on site. Say the shift length and break plan out loud. For outdoor or high-heat events, share the forecast in Fahrenheit and give clear hydration guidance. For setup-heavy events, name the tasks that involve lifting, remind staff to use team lifts for anything over 50 lbs, and show where dollies and carts are kept.
Wrap up with escalation contacts. Make it clear who handles guest complaints, who takes the lead on medical issues, and when staff should escalate versus act right away. Before you break, ask a few people to repeat back key timings or their station assignment. It’s a simple check, but it catches confusion fast.
Even seasoned event staff can miss steps when the pace picks up. A short checklist gives people something steady to follow from arrival through checkout.
| Stage | Owner | Key Actions | Required Materials |
|---|---|---|---|
| Before arrival | Staff | Confirm shift time and venue; plan transport and parking; prepare uniform and tools; check the forecast; eat a light meal | Event invite or mobile app, dress code PDF |
| Briefing | Manager/Lead | Assign stations and areas; review guest count and service style; cover safety and emergency procedures | Venue map, station assignment sheet, huddle agenda |
| In-shift monitoring | Staff and Lead | Scan their area for guest needs and safety issues; watch hydration and fatigue; alert a lead early if problems emerge | Radio or comms app, shift schedule, water access |
| End-of-day | Staff | Complete breakdown tasks; return company equipment; verify timesheet accuracy; check out with the supervisor and submit any incident notes | Check-out log, incident report form if needed |
The checklist works best when it matches the role. A bartender’s version should include bar breakdown and inventory. A setup crew member’s version should include equipment return and loading dock procedures.
After each shift, note what confused staff or slowed the team down, then feed that back into the next onboarding cycle.
Onboarding gets better when you ask for feedback at set moments - and then use it.
Once staff finish a shift, you have a chance to make the next onboarding cycle better.
Three checkpoints help you spot the main gaps. Right after onboarding, ask whether the role instructions were clear, whether staff understand basic safety steps, and whether they know who to contact with questions. Keep it short: five questions or fewer in a simple digital form.
After the first event, focus on what happened on the ground. Did the pre-shift briefing set them up well? Did they have what they needed on-site, like the floor plan, radio, and contact list? Where did they feel unsure?
At 30, 60, and 90 days, shift toward long-term fit. Which tasks now feel natural? Which still feel shaky? Where could they handle more responsibility? Short pulse surveys at these milestones work well for frontline roles. Use the same core questions each time so you can compare answers without making a mess of the data.
Then use those responses to update role templates, briefing scripts, and checklists.
After each event, supervisors should log attendance, punctuality, guest-service performance, role fit, teamwork, and problem-solving notes in each staff profile.
Don’t overhaul the process because of one rough shift. Look for patterns across several events first. If three different events include notes like "bar staff unclear on ID policy", that points to a training gap, not a one-time slip. Add the missing step to the role template, update the pre-shift briefing script, and flag it for the next onboarding cycle.
The same goes for safety issues. If lifting technique or equipment handling keeps showing up in notes, that should lead to a checklist update - not just another verbal reminder. Quickstaff centralizes staff records, event notes, and scheduling in one place, so when a pattern shows up, the background is already there.
Feedback data also helps with staffing choices over time. Staff who score well on guest service, arrive on time, and stay calm under pressure are often your future captains and shift leads. Tag them in their profiles, give them small leadership chances, and track what happens.
And tell staff what changed. If you update a checklist or briefing because of their input, say it plainly:
"We added the bar setup diagram because staff flagged it as unclear."
That small step shows people their input had an effect. It also makes them more likely to speak up next time.
When feedback is built into the system, onboarding improves without adding more meetings.
A repeatable onboarding system needs six parts: one hiring handoff, role-based templates, a communication plan, compliant records, a pre-shift briefing, and a feedback loop.
When the handoff is clean, role setup gets easier. When role setup is clear, briefings run better. When briefings stay consistent, staff perform better. And when feedback is collected and used, the whole system gets sharper over time - with less firefighting and fewer repeat mistakes.
For growing U.S. event teams, this is the difference between scrambling every weekend and building a team that can scale. The goal is simple: a process you can run again next week, next month, and next season without rebuilding it from scratch.
Onboarding should have one clear owner - usually a staffing manager or coordinator. That person handles training, paperwork, role expectations, and day-to-day staffing calls as things change in the moment.
Having a single point person makes a big difference. It keeps the onboarding experience consistent, staff records accurate, and safety and compliance steps moving on time. Tools like Quickstaff can also help simplify documentation and team communication.
Keep staff records in one central database. That should include personal details, job title, employee ID, event history, performance metrics, and communication records.
You’ll also want to keep payroll files, wage calculations, work schedules, and hiring or termination documents for the required retention periods. For HIPAA-related workflows, store timestamped training logs tied to each role, along with course versions and assessment scores.
Quickstaff can help keep all of this in one place.
Reduce no-shows with clear communication and planning done ahead of time. Keep schedules, updates, and shift details in Quickstaff, send event briefs 48 to 72 hours before the shift, and use automated reminders so staff don't forget where they need to be.
It also helps to make things easy on the staff side. Encourage team members to sync shifts with their personal calendars, give them a simple way to manage availability, and keep a standby pool of 5% to 10% of your team ready for backup coverage.